10 Easy Steps to Do Yourself Car Interior Cleaning
Many car owners find interior cleaning to be a daunting task, often unsure where to start or overwhelmed by the process. You’re not alone—keeping your car spotless can feel like a chore, especially when busy schedules get in the way.
Luckily, with a few simple steps, you can easily freshen up your car’s inside yourself.
Start by removing trash and loose items, then vacuum seats, carpets, and surfaces thoroughly.
Wipe down the dashboard, door panels, and console with a damp microfiber cloth, and clean the floor mats outside.
Use vinegar and baking soda to neutralize odors and lift stains, and carefully wipe screens and touchpoints to avoid damage.
Clean windows with a vinegar solution, and finish by freshening the interior with baking soda or essential oils.
If you want more tips, keep going.
Key Takeaways
- First, remove trash, personal items, and organize your belongings. This makes the cleaning process much easier and less cluttered.
- Next, grab your vacuum and thoroughly clean the seats, carpets, and those tiny crevices. Use the right attachments to reach all those hard-to-get spots.
- Then, wipe down surfaces, dashboards, and touchpoints with microfiber cloths. Use suitable cleaning solutions to make everything shine and feel fresh.
- Don’t forget to clean and deodorize your mats and upholstery. A mix of vinegar and baking soda works great, plus some gentle scrubbing to lift dirt and odors.
- Finish up by cleaning the windows for a streak-free shine. Do a final inspection to catch any missed spots.
- Lastly, give your interior a quick freshening spray to leave everything smelling nice and clean.
Clear Out Trash and Loose Items From Your Car
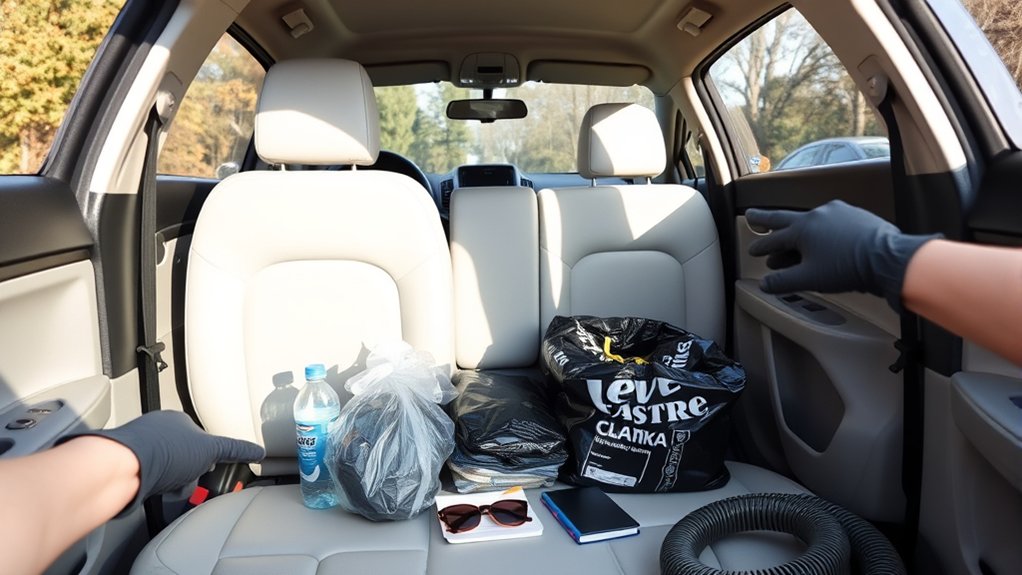
Before you start cleaning, it’s important to remove all trash and loose items from your car. Begin by collecting trash like wrappers, food containers, and empty bottles, then throw them away.
Next, take out the floor mats and shake or vacuum them outside to get rid of loose dirt and debris. Clear away loose items like maps, CDs, bags, or any personal belongings from seats, the dashboard, and door pockets.
Be sure to check under seats and in crevices for small items or debris that may have fallen into hard-to-reach areas. Organize remaining belongings by storing loose items in designated compartments or containers.
This step helps keep your car interior tidy and sets a solid foundation for the rest of your cleaning process.
Vacuum Seats, Carpets, and Hard Surfaces Thoroughly
Start by removing the floor mats and giving them a good shake or vacuum outside to get rid of loose dirt.
Use the right attachments, like a crevice tool and upholstery brush, to clean seats, carpets, and hard surfaces thoroughly.
Finish by wiping everything down with a microfiber cloth to remove any remaining dust and get that polished look.
Proper Vacuuming Techniques
To effectively vacuum your car’s interior, start with a vacuum that has different attachments like a crevice tool for tight spaces and an upholstery brush for seats and carpets. These tools help you reach places that are hard to access and ensure a thorough clean.
Begin vacuuming from the top, such as seat backs and headliners, then work downward to catch any falling debris. Remove the floor mats and vacuum both sides outside to get rid of embedded dirt. Pay close attention to seams, vents, and under-seat areas where dust and crumbs tend to gather.
Use gentle, overlapping passes to avoid pushing debris further into fibers or cracks. This technique helps you achieve a deep, comprehensive clean, leaving your car interior spotless and well-maintained.
Effective Surface Dust Removal
After vacuuming the main areas, it’s time to focus on thoroughly removing dust from all surfaces. Use your vacuum with attachments like a crevice tool and upholstery brush to target seats, carpets, and hard interior surfaces.
Vacuum in multiple directions to lift dust and debris from fibers, paying special attention to hidden spots like under seats and inside vents. For carpets and fabric upholstery, use the upholstery attachment to loosen embedded dirt before spot cleaning.
The vacuum’s brush or upholstery tool is great for dislodging dust from textured surfaces such as door panels, dashboard vents, and seat seams. Regular dust removal with proper vacuuming prevents buildup, reduces allergens, and keeps your interior looking fresh.
Finish by wiping surfaces with a microfiber cloth for an extra layer of dust control.
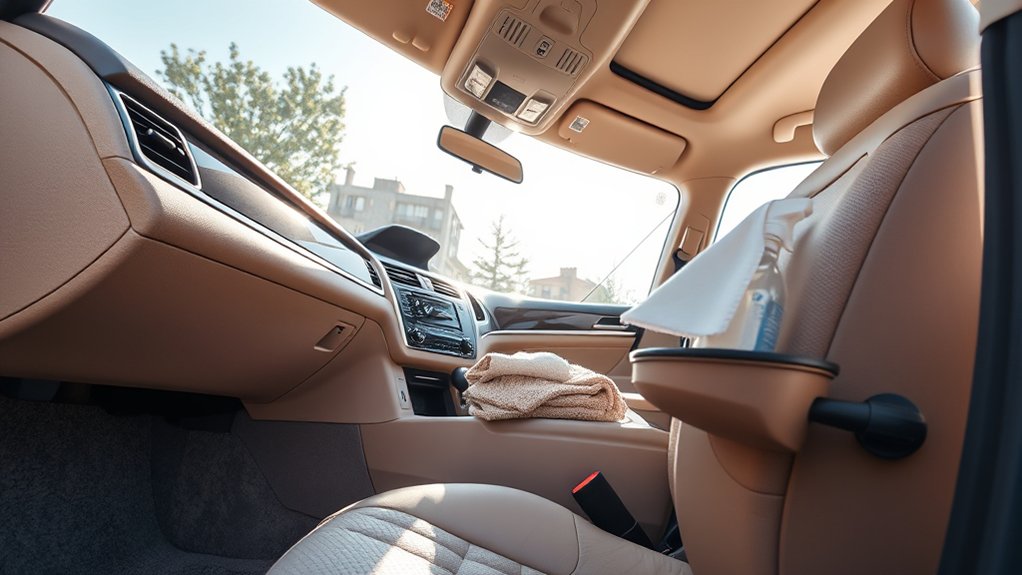
Wipe Down Dashboard, Door Panels, and Console With Household Items
Using household items like a microfiber cloth with water and a touch of dish soap can effectively clean your dashboard, door panels, and console.
Be gentle and avoid over-wetting to protect electronic components. Use a soft brush for crevices to get into tight spots.
Dry surfaces thoroughly to keep a streak-free finish and help your interior look fresh.
Effective Cleaning Solutions
A simple and effective way to clean your car’s interior is by making a household cleaning solution that’s gentle but works well. Mix equal parts distilled water and isopropyl alcohol (70% or higher) in a spray bottle to get a streak-free cleaner.
Dampen a microfiber cloth with this mixture and wipe down the dashboard, door panels, and center console. This helps remove dust, fingerprints, and grime easily.
For stubborn stains or sticky spots, add a few drops of dish soap to the mixture. Gently clean those areas with the microfiber cloth.
After wiping, use a dry microfiber cloth to buff and dry the surfaces. This prevents streaks and residue from building up.
Just remember to avoid direct contact with electronic parts and vents during cleaning to keep everything safe.
Gentle Wiping Techniques
To effectively clean your car’s interior surfaces, it’s important to use gentle wiping techniques that prevent damage and streaks. Start with a microfiber cloth dampened with water and a small amount of mild dish soap.
Use gentle wiping motions to clean the dashboard, door panels, and console, avoiding excess moisture that could damage surfaces. Wipe in a straight, overlapping manner to prevent streaks and ensure even cleaning, especially on textured or patterned areas.
For stubborn dirt or grime, add a few drops of isopropyl alcohol to the cloth. This boosts cleaning power without harming plastic or vinyl. After wiping, follow up with a dry microfiber cloth to remove any residual moisture.
This leaves your interior surfaces clean, streak-free, and well-maintained.
Protect and Maintain
After finishing gentle wiping techniques, maintaining your car’s interior is easier with regular cleaning using household items. Dust and wipe often to prevent grime buildup, oils, and fingerprints that can discolor surfaces over time.
For extra protection, apply a leather protectant on leather areas. Use a damp microfiber cloth with water and a mild household cleaner on other surfaces. This keeps everything looking fresh.
For stubborn stains, carefully wipe with a cloth dampened with isopropyl alcohol (70-90%). Finish by buffing with a dry microfiber to remove streaks and restore a matte look.
Regular cleaning keeps your car looking its best and supports ongoing detailing efforts. It also helps prolong the life of your interior surfaces.
Wash and Air-Dry Floor Mats for a Fresh Look
Before reinstalling your floor mats, it’s important to wash and air-dry them thoroughly for a fresh look. Start by removing the mats from your vehicle and shaking off loose dirt and debris.
Remove and shake out dirt before washing your floor mats for a clean, fresh look.
Spray the mats with a diluted degreasing or all-purpose cleaner, then let it sit for a few minutes. Use a stiff-bristled or nylon scrub brush to agitate the mats, paying special attention to stained or heavily soiled spots.
Rinse them with clean water to remove all soap residue and dirt, making sure no cleaner remains. After rinsing, hang or lay the mats flat in a well-ventilated area to air-dry completely.
Proper air-drying prevents mold and helps your floor mats stay fresh and clean.
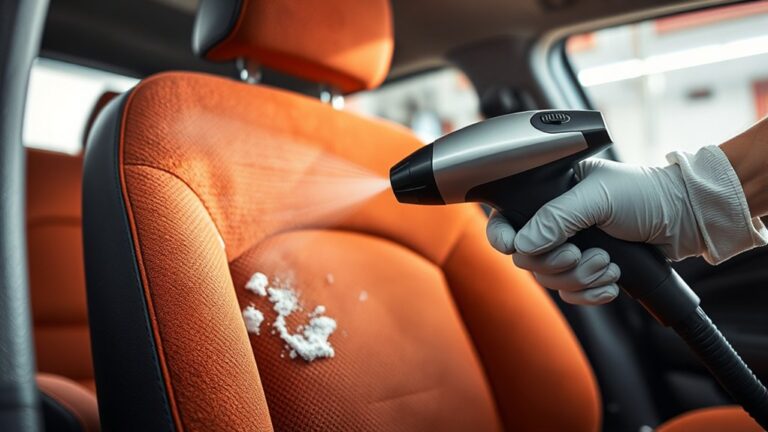
Remove Stains and Neutralize Odors Using Vinegar and Baking Soda
Using vinegar and baking soda is a simple way to tackle stains and odors in your car. Spray a vinegar-water mix on stains and let baking soda sit to absorb odors before vacuuming.
These natural solutions effectively break down grime and leave your interior smelling fresh.
Effective Stain Removal Techniques
Vinegar and baking soda are natural, powerful agents for removing stains and neutralizing odors from your car’s interior. For stains, mix equal parts vinegar and water in an upholstery cleaner spray, then blot to lift stubborn spots.
Apply baking soda directly onto stained or smelly areas, leave for at least 15 minutes, then vacuum thoroughly to remove odors. For salt or tough fabric stains, spray a mixture of vinegar and hot water (ratio 1:5), then blot or extract.
Use the table below to guide your stain removal techniques:
| Method | Solution | Application |
|---|---|---|
| Stain removal | Vinegar and water | Spray and blot |
| Odor neutralization | Baking soda | Sprinkle and vacuum |
| Tough stains | Vinegar, water, baking soda | Apply, sit, vacuum |
| Salt stains | Vinegar and hot water | Spray and blot |
| Residue removal | Baking soda | Sprinkle, sit, vacuum |
Odor Neutralizing Methods
To effectively neutralize odors and remove stains from your car’s interior, combining vinegar and baking soda offers a natural and powerful solution. Start by spraying a vinegar-water mixture onto stained areas. Let it sit for a few minutes before blotting or gently scrubbing to lift the stain.
For odor neutralizing, sprinkle baking soda directly onto carpets, upholstery, or inside air vents to absorb and neutralize persistent odors. This leaves a fresh scent and helps keep your car smelling clean.
You can also combine baking soda with vinegar to boost odor elimination and stain removal. The fizzing reaction helps lift grime and dirt from surfaces.
Allow the baking soda to sit for at least 15 minutes before vacuuming. This maximizes its odor-neutralizing benefits inside your car interior.
This simple method ensures a cleaner, fresher ride every time.
Clean and Protect Leather and Vinyl Surfaces With Safe Products
Ever wonder how to keep your leather and vinyl surfaces looking their best without risking damage? Start with a dedicated leather cleaner like Ultima Interior Shampoo Gel to gently remove dirt and grime.
Always test the cleaner on a small, hidden area first to prevent discoloration or drying. After cleaning, follow up with a protectant such as 303 Aerospace Protectant to keep surfaces supple and shielded from UV damage.
Use microfiber cloths to gently wipe into creases and seams, making sure dirt is lifted without harming the material. Remember, choose a leather cleaner designed specifically for vinyl surfaces for the best results.
It’s always a good idea to test products on inconspicuous areas first. Applying a protectant helps safeguard against UV damage, keeping your surfaces looking fresh longer.
Finally, wipe with microfiber cloths for gentle, effective cleaning—this helps maintain the material’s integrity and appearance over time.
Carefully Wipe Screens and Touchpoints Without Damage
When cleaning screens and touchpoints, it’s important to use the right method to avoid damage. Start with a clean, damp microfiber cloth, preferably with isopropyl alcohol (70% or higher).
Always spray the alcohol onto the cloth first, never directly onto electronic screens or touchpoints. This helps prevent liquid from seeping into openings.
Use a gentle wipe, rubbing in circular motions to remove dust, fingerprints, and oils. Don’t apply too much pressure to avoid scratches or damage.
Avoid ammonia-based or window cleaners, as they can harm the coatings on electronic screens. Regularly check the microfiber for dirt and lint, switching to a fresh section as needed.
This careful approach keeps your car’s screens and touchpoints clean without risking damage.
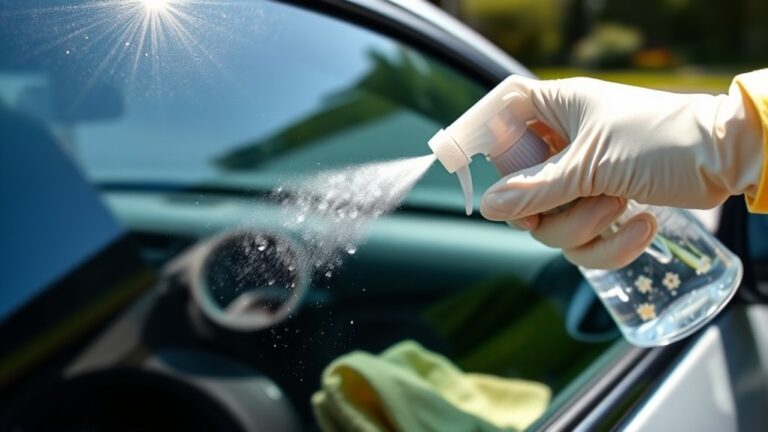
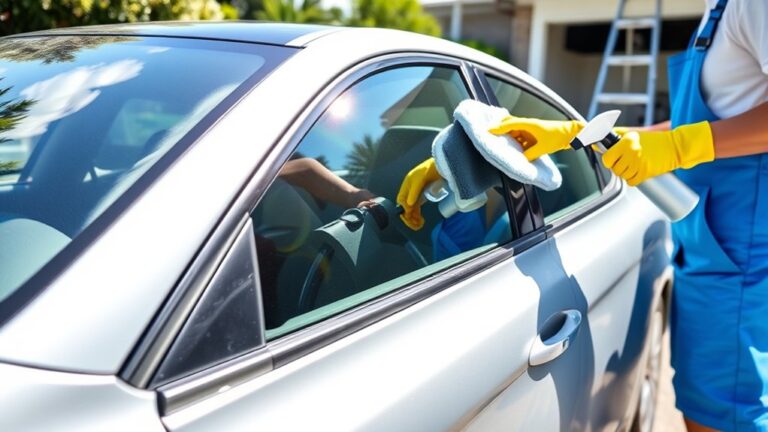
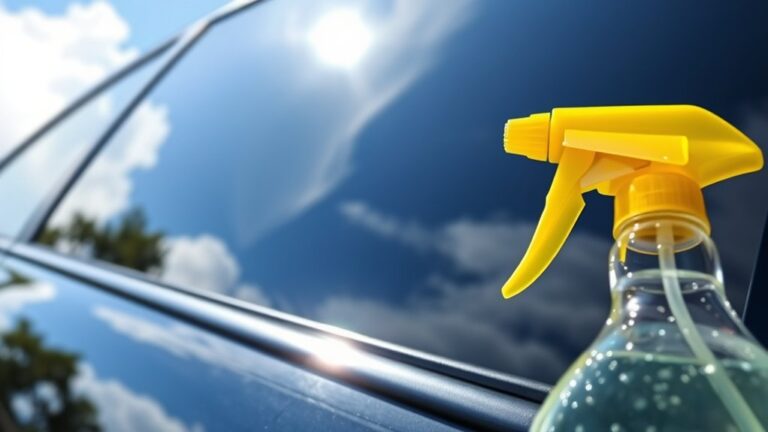
Clean Windows and Windshield Using Vinegar or Water Solutions
After carefully wiping down your screens and touchpoints, it’s time to turn your attention to your windows and windshield. To get a streak-free, crystal-clear view, use a vinegar solution or water-based glass cleaner.
Mix a 2:1 ratio of water to vinegar for a safe and effective cleaner that easily removes stains and water spots. Dampen a microfiber cloth with the solution and wipe the inside and outside of your windows and windshield in a consistent, top-to-bottom pattern.
For stubborn stains, you can increase the vinegar concentration or apply pure vinegar directly. Gently scrub with a soft cloth until the spots lift.
Finally, dry everything thoroughly with a clean microfiber towel to prevent streaks and make sure your glass is perfectly clear.
Sprinkle Baking Soda or Use Essential Oils to Freshen the Interior
Looking for an easy way to keep your car smelling fresh? Sprinkle baking soda evenly over carpets and upholstery, then let it sit for at least 15 minutes to absorb odors. Vacuum thoroughly afterward to remove any residue.
For a natural air freshener, add a few drops of essential oils to a bowl of baking soda or place open bowls with baking soda or scented oils inside your car. This helps eliminate odors and keeps your interior smelling pleasant without harsh chemicals.
You can also mix baking soda with water and essential oils to create a spray for fabric surfaces. This gives your car a crisp, fresh scent. Regularly revitalizing these mixtures will help your vehicle stay inviting, clean, and odor-free during your drives.
Dry Surfaces, Check for Missed Spots, and Reassemble Your Car
Once you’ve finished freshening up your car’s interior with baking soda and essential oils, it’s time to make sure everything is completely dry and spotless. First, grab a dry microfiber cloth and wipe down all interior surfaces, like vents, the dashboard, and door panels. This helps remove any leftover moisture and keeps streaks at bay.
Next, take a close look at hidden spots like under the seats, seat tracks, and inside crevices for any missed areas. Make sure all surfaces are dry before you reassemble or put back mats and accessories. This helps prevent mold or lingering odors.
Finally, carefully reassemble your floor mats, seat covers, and panels, making sure all clips and fasteners are secure. Do a quick visual check to ensure the interior looks clean, dry, and free of residue. If you can, air out your vehicle for a bit before you hit the road.
Frequently Asked Questions
How to Clean Car Interior for Beginners?
To clean your car interior for beginners, start by removing all trash and clutter. Vacuum seats, carpets, and mats thoroughly.
Use a damp microfiber cloth with mild soap to wipe hard surfaces, and spray cleaner onto the cloth—not directly on surfaces.
Clean glass with a dedicated cleaner and microfiber towel. Finish by applying a protectant suited to your materials, helping your interior look fresh and stay durable.
How Do I Clean My Car Inside Myself?
You can clean your car interior yourself by starting with trash and debris, then thoroughly vacuuming seats and carpets.
Use damp microfiber cloths with mild soap or specialized cleaners to wipe down surfaces. Clean glass with a dedicated cleaner, and gently blot stains on upholstery.
Finish by applying protectants like leather conditioners, reassemble any removed items, and enjoy a fresh, spotless interior. Sometimes, the simple act of caring creates a surprising sense of pride.
What Is the 2 Bucket Method of Auto Detailing?
The 2 Bucket Method is a car detailing technique where you use one bucket for soapy water and another for rinsing.
You dip your wash mitt in the soapy water, then rinse it in the clean bucket before applying it to your car.
Adding grit guards to each bucket traps dirt, reducing scratches.
This method keeps grime away from your paint, making your car wash safer and more effective.
What Is the Hardest Color Car to Maintain?
Black cars are the toughest to maintain, like a mirror reflecting every flaw. They show dirt, water spots, and scratches more clearly than lighter shades.
To keep their glossy finish, you need frequent washing, polishing, and careful attention. Their deep, sleek look demands extra effort and patience.
That’s what makes them the most challenging color to keep pristine. If you love that stunning shine, be prepared for the constant upkeep black cars require.
Conclusion
With these simple steps, your car’s interior will look and smell fresh, just like a new car! Think of it as giving your vehicle a much-needed spa day. Regular cleaning keeps everything spotless and inviting, making every drive more enjoyable.
So, roll up your sleeves and tackle it step by step—you’ll be amazed at how satisfying a clean car can be. Before long, your vehicle will shine brighter than a diamond in the sun. Doing your own car interior cleaning is a great way to keep your car looking its best.