How You Can Safely Use Awesome Cleaner on Car Paint
Many car owners struggle with keeping their vehicle’s paint looking shiny and new, especially with so many cleaning products out there. You’re not alone—finding the right cleaner that’s safe and effective can be a challenge.
To safely use Awesome Cleaner on your car paint, start by thoroughly washing your vehicle to remove loose dirt with a gentle soap and soft sponge.
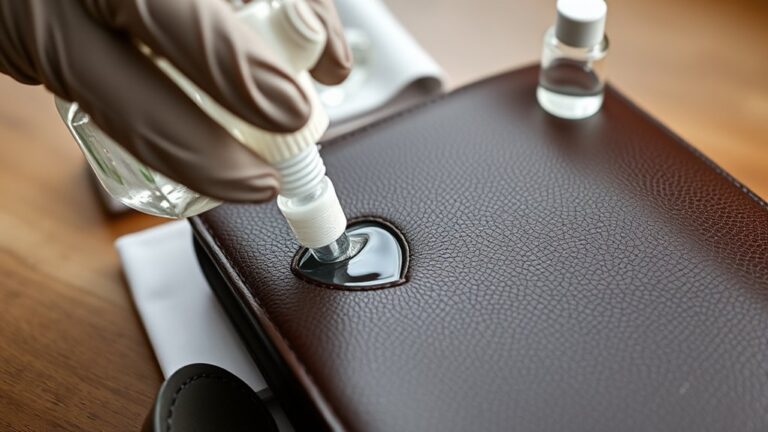
Always dilute the cleaner according to the label, testing a small hidden area first.
Apply with a microfiber cloth or sponge in light, straight strokes, working in small sections.
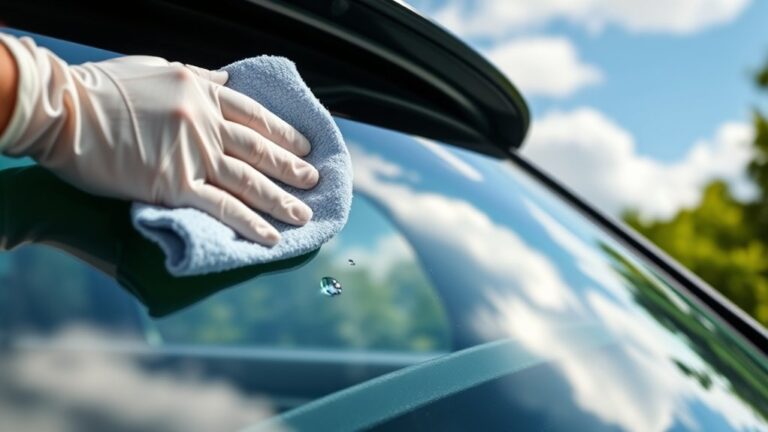
Rinse thoroughly and dry with a microfiber towel to prevent streaks.
Keep in mind how often to use it to protect your paint’s finish—learn more below.
Key Takeaways
- Always dilute Awesome Cleaner according to the label, and it’s a good idea to test a small hidden area first.
- Use soft, clean tools like microfiber cloths. Work gently in small sections to avoid any damage.
- Rinse thoroughly after cleaning and dry your car with a microfiber towel. This helps prevent water spots and streaks.
- Try to avoid applying Awesome Cleaner in direct sunlight. It can cause spotting and streaking on your paint.
- Use the cleaner once a month or as needed. Don’t overdo it, as this can affect your car’s paint finish.
Why Using Awesome Cleaner Safely on Your Car Matters
Using Awesome Cleaner safely on your car is essential because improper application can damage your paint and reduce its lifespan. If you don’t follow the right steps, harsh chemicals or aggressive scrubbing can cause scratches, dullness, or peeling. Safety measures guarantee that the cleaner works effectively without harming your vehicle’s finish.
Overusing the product or applying it in direct sunlight can lead to streaks or spots that are hard to remove. Taking precautions, like testing in a small area first and using a soft cloth or sponge, helps protect your paint.
When you prioritize safety, you extend the life of your car’s finish, keeping it shiny and well-maintained. Proper use isn’t just about cleanliness; it’s about preserving your car’s value and appearance.
Preparing Your Car Before Applying Awesome Cleaner
Before applying Awesome Cleaner, give your car a good wash to remove loose dirt, dust, and debris. This step helps the cleaner work better and prevents scratches.
Use a gentle car wash soap and a soft sponge, paying close attention to crevices and wheels. Rinse thoroughly with water to clear away soap and loosen particles.
Dry the surface completely using a microfiber towel to avoid water spots. It’s also a good idea to inspect your car’s paint for any damage or chips that might need fixing before cleaning.
How to Dilute Awesome Cleaner for Safe Use on Car Paint
Once your car is thoroughly cleaned and dried, it’s time to prepare Awesome Cleaner for use.
Start by reading the product label carefully to find the recommended dilution ratio.
Usually, you’ll mix a small amount of Awesome Cleaner with water—about 1 part cleaner to 10 parts water is a good starting point.
Use a clean bucket and a measuring cup or spray bottle for accuracy.
Pour the cleaner into the container, then add water gradually, stirring gently or shaking the bottle to blend well.
Avoid using concentrated cleaner directly on your car, as it can damage the paint.
Always test a small, hidden area first to make sure it’s compatible.
Proper dilution ensures effective cleaning while protecting your car’s paint.
Step-by-Step: Applying Awesome Cleaner Without Damaging Your Paint
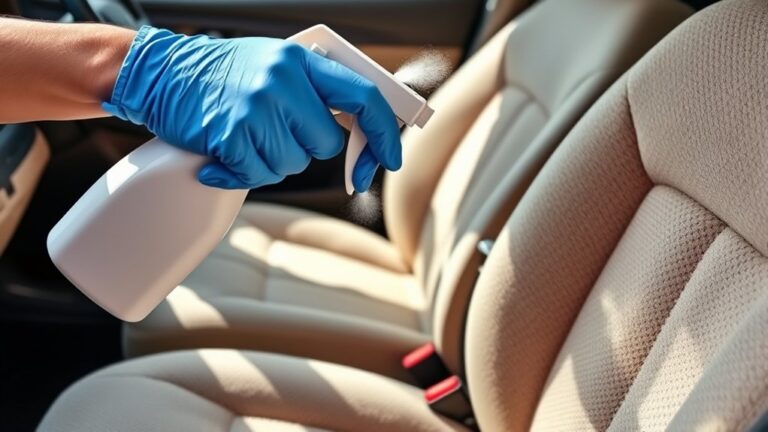
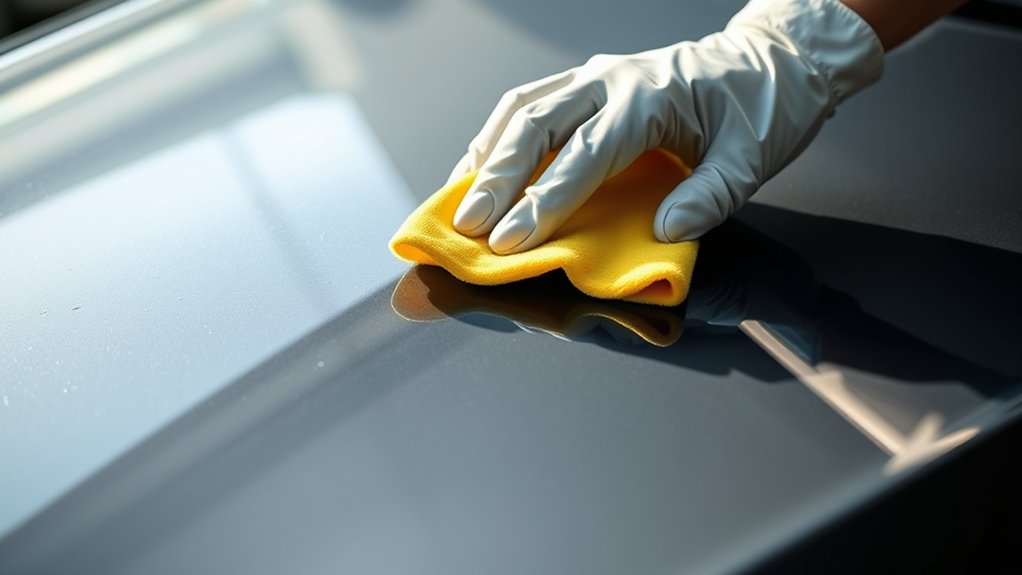
Begin by applying Awesome Cleaner with a soft sponge or microfiber cloth, working in small, manageable sections. Gently glide the cloth over the surface using light pressure, avoiding aggressive scrubbing that could scratch the paint.
Make sure to keep the cloth damp but not soaked, and frequently rinse it to remove dirt and debris. Work from the top of the car downward to prevent dirt from spreading to cleaned areas.
Use circular motions for even coverage, but don’t press too hard. After applying the cleaner, let it sit for a few moments to loosen dirt and grime. Rinse the area with clean water before moving on to the next section.
This careful, systematic approach helps protect your paint while effectively cleaning your vehicle.
Tips to Prevent Scratches and Dullness During Cleaning
To keep your car’s paint looking its best, use soft cleaning tools and gentle techniques.
Make sure to rinse and dry your vehicle regularly to prevent dullness and scratches.
These simple habits can make a big difference in maintaining a smooth, shiny finish.
Use Soft Cleaning Tools
Using soft cleaning tools is essential to protect your car’s paint from scratches and dullness. Opt for microfiber cloths or gentle wash mitts instead of abrasive sponges or brushes. These materials are designed to lift dirt and grime without damaging the surface.
Always verify your tools are clean before use; dirt trapped in rough materials can scratch the paint. When wiping or rinsing, use light pressure to avoid unnecessary abrasion.
Avoid using old or worn-out cleaning tools, as they can be rougher and more likely to cause damage. Switching to soft, high-quality tools helps maintain your car’s glossy finish and prevents the dull appearance caused by scratches or etching.
Proper tools are a simple yet effective way to keep your car looking its best.
Apply Gentle Cleaning Techniques
Gently cleaning your car’s paint is key to preventing scratches and dullness. By using careful techniques, you protect the finish and keep your vehicle looking new. Here are three essential tips to guarantee a safe clean:
- Use soft, microfiber cloths or sponges to avoid abrasive contact.
- Apply cleaning products in straight, gentle strokes. Never scrub in circles.
- Work from top to bottom so dirt and debris don’t drag across clean surfaces.
Taking these steps helps lift dirt without scratching, preserves the shine, and keeps your car looking pristine. Remember, patience and gentle handling are your best tools to protect your paint’s flawless look. With mindful techniques, your vehicle stays glossy and scratch-free longer.
Regularly Rinse and Dry
Regularly rinsing your car before drying is essential to prevent scratches and dullness. This simple step removes loose dirt and debris that can scratch the paint during wiping. Use a gentle stream of water to thoroughly rinse all surfaces, paying attention to crevices and seams.
Patience is key—rushing increases the risk of damage. After rinsing, dry your car with a soft, clean microfiber cloth to avoid water spots. Think of this process as giving your car a gentle hug, protecting its shine and integrity.
| Dirt & Debris | Rinsing Effect | Result |
|---|---|---|
| Grains of sand | Loosen and wash away | Sparkling, scratch-free finish |
| Tree sap | Flushed out easily | Clear, vibrant paint |
| Bird droppings | Removed gently | Bright and protected surface |
Choosing the Right Tools and Materials for Safe Car Cleaning
Choosing the right tools and materials is key to cleaning your car safely and effectively. Using the wrong supplies can damage the paint or finish, so it’s important to pick gentle, high-quality items that protect your vehicle’s surface.
Selecting gentle, high-quality tools ensures safe, effective car cleaning and protects your vehicle’s finish.
Here are three essential tools to have on hand:
- Microfiber Wash Mitt – Soft and non-abrasive, it lifts dirt without scratching your paint.
- Two-Bucket System – One bucket for soapy water, and another for rinsing. This helps prevent dirt from transferring back onto your car.
- pH-Balanced Car Shampoo – Gentle on paint, it cleans well without stripping protective coatings.
Using the proper tools gives you peace of mind and helps keep your car looking its best. Invest in quality supplies, and you’ll enjoy safer, more satisfying results every time you clean.
Rinsing and Drying Your Car After Using Awesome Cleaner
After applying Awesome Cleaner, thoroughly rinse your car with clean water to remove any remaining residue and dirt. Use a gentle stream to ensure all cleaner residue is washed away, paying close attention to crevices and hard-to-reach areas.
Proper rinsing helps prevent streaks and spots caused by leftover cleaning agents. Once rinsed, dry your car promptly to avoid water spots, which can damage the paint.
Use a soft microfiber towel or a chamois to gently blot and wipe the surface, working from top to bottom. Avoid air drying, as this can leave mineral deposits or streaks.
Be sure to dry all areas, including mirrors and door jambs. Proper rinsing and drying help maintain your car’s shine and protect the paint from water spots and mineral buildup.
Common Mistakes to Avoid When Cleaning Your Car With Awesome Cleaner
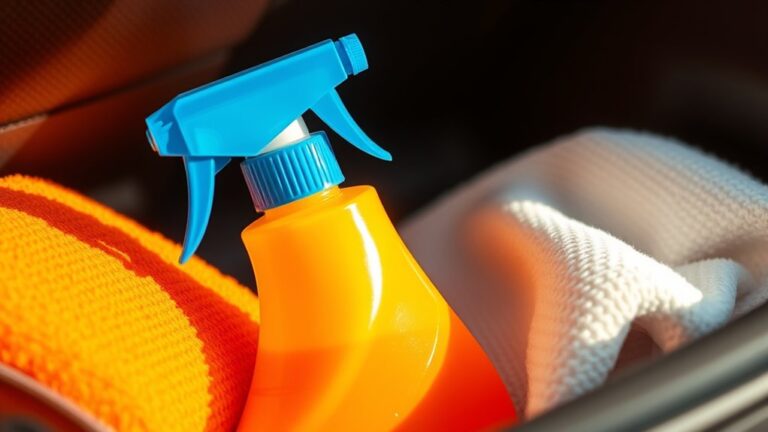
One common mistake to avoid is using Awesome Cleaner on a hot or sunny surface. It can dry too quickly, which might leave streaks or spots. This can ruin your finish and make cleaning pretty frustrating. Be mindful of the environment when you’re washing your car.
Here are three mistakes to watch out for:
- Using too much cleaner wastes product and leaves residue.
- Scrubbing aggressively can scratch or damage your paint.
- Neglecting to rinse thoroughly leaves cleaner and dirt behind, which can harm your paint over time.
Avoid these pitfalls, and you’ll get a safe, streak-free shine. Your car will look stunning and well-maintained.
How Often Should You Use Awesome Cleaner on Your Car?
You don’t need to use Awesome Cleaner every time you wash your car. Overusing it can strip away protective layers and harm your paint.
Ideally, apply Awesome Cleaner once a month or when your car’s surface is noticeably dirty or greasy. Think of it like a deep clean—reserved for when regular washing isn’t enough.
To help, here’s a quick guide:
| Frequency | Description |
|---|---|
| Weekly | Light dirt, regular wash |
| Monthly | When grime, bugs, or tree sap appear |
| Rarely | Heavy stains or after long storage |
| Occasionally | For deep cleaning or prepping for waxing |
| Never | If your car is spotless and protected |
Stick to this schedule to keep your paint safe and shiny without overdoing it.
Troubleshooting: What to Do If Your Car’s Paint Looks Dull or Damaged
If your car’s paint looks dull or damaged, start by figuring out what’s causing the problem. Understanding the issue is the first step to fixing it properly.
Once you know what’s wrong, choose the right techniques to restore your paint. Using the correct method will help you get that shine back and keep your car protected in the long run.
Identify Cause of Dullness
Dull or damaged car paint often signals underlying issues that need addressing before polishing or cleaning. To fix the problem, you first need to identify the cause.
Check for surface contamination like dirt, bird droppings, or tree sap. These can cause a dull appearance and hide the paint’s true shine.
Inspect for oxidation, which shows up as faded, chalky, or matte-looking paint. This happens when UV rays break down the clear coat over time.
Examine the surface for scratches or peeling clear coat. Deep scratches or peeling areas make the paint look dull and damaged, needing targeted repairs.
Knowing what’s causing the dullness helps you pick the right treatment, making restoration safe and effective.
Apply Correct Restoration Techniques
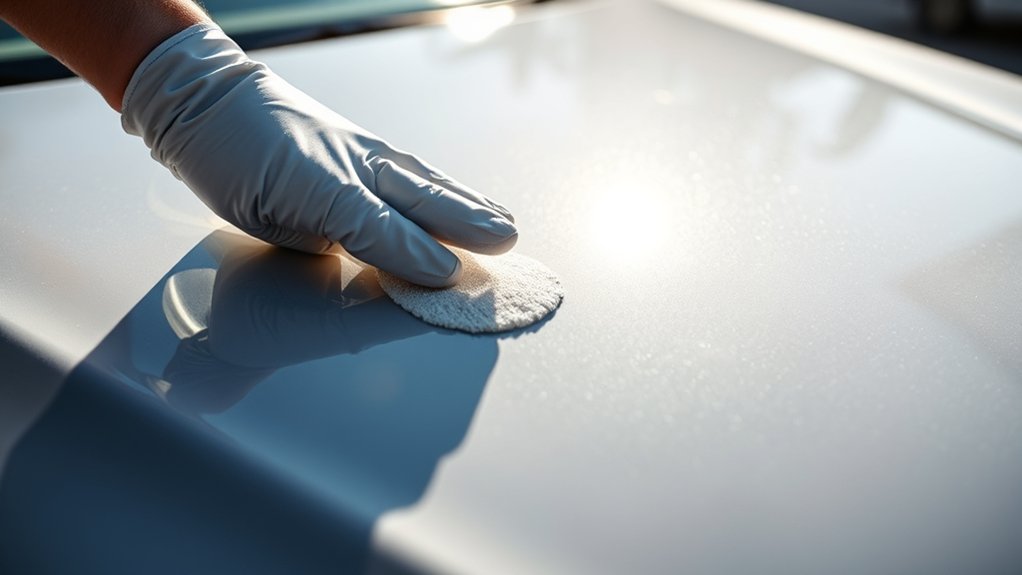
Once you’ve identified the cause of the dullness or damage, the next step is to choose the right restoration techniques to bring back your car’s shine.
If your paint is just dull due to oxidation, use a clay bar or polishing compound to gently remove the oxidized layer.
For light scratches or swirls, apply a fine abrasive polish and buff in circular motions.
If the paint is heavily damaged or faded, consider wet sanding with very fine grit sandpaper, followed by polishing and waxing.
Always test a small area first to avoid further damage.
Use a soft microfiber cloth or polishing pad and work slowly, making sure not to apply too much pressure.
Proper technique is key to restoring your paint without causing additional harm.
Frequently Asked Questions
Can Awesome Cleaner Damage Ceramic or Clear Coat Finishes?
Awesome Cleaner can damage ceramic or clear coat finishes if you use it improperly or too often. Its strong cleaning agents might strip away protective layers, especially if you scrub too hard or leave it on for too long.
To avoid damage, always follow the manufacturer’s instructions. It’s a good idea to test it on a small, hidden area first and avoid using it on hot surfaces or in direct sunlight.
Regularly using proper car care products helps keep your finish shiny and protected over time.
Is Awesome Cleaner Suitable for Use on Tinted Windows or Trim?
Awesome Cleaner isn’t ideal for tinted windows or trim because it contains chemicals that might cause fading or damage. You should avoid spraying it directly on tinted areas or trim surfaces.
Instead, use a cleaner specifically designed for those materials. Always test a small, hidden area first to be safe.
This way, you protect your car’s appearance and avoid accidental damage, ensuring a safe, clean result.
How Long Should I Wait Before Driving My Car After Cleaning?
You should wait at least 15 to 30 minutes after cleaning your car before driving it. This allows the Awesome Cleaner to dry completely and prevents any residue from transferring onto your driving surfaces or other vehicles.
If you’ve used the cleaner on the paint or windows, make sure those areas are thoroughly dry. Giving it ample time guarantees your car stays clean and protected while you’re on the road.
Can Awesome Cleaner Remove Persistent Water Spots or Stains?
Did you know that water spots can reduce your car’s resale value by up to 20%? Awesome Cleaner can help remove persistent water spots and stains, but it might take a bit more effort.
Just apply the cleaner directly to the spots and let it sit for a few minutes. Then, gently scrub with a soft cloth.
Rinse thoroughly and dry to reveal a clearer, spotless finish. Repeat if necessary for stubborn stains.
Is It Safe to Use Awesome Cleaner on Matte or Satin Paint Finishes?
Using Awesome Cleaner on matte or satin finishes isn’t recommended. These finishes have special textures that can be damaged by harsh chemicals, which might cause a glossy or uneven look.
If you need to clean these surfaces, choose a gentle, pH-neutral cleaner made specifically for matte or satin paint. Always test a small, hidden area first to make sure there’s no adverse reaction before cleaning the whole surface.
Conclusion
By balancing best practices with careful cleaning, you’ll keep your car’s paint pristine and protected. Remember to read, rinse, and repeat with patience and precision.
Proper preparation, cautious application, and consistent care create a clean, glossy finish that lasts. Stay savvy, steer clear of scratches, and enjoy the shine.
Using safe techniques with Awesome Cleaner helps you avoid damage and ensures your car’s paint stays looking its best. Safe, simple, smart—your car’s exterior will thank you, and you’ll keep cruising confidently with a beautiful, blemish-free paint job.