How to Use Upholstery Cleaner on Car Seats Safely
Many car owners struggle with keeping their car seats clean and fresh, especially after spills or daily use. You’re not alone—maintaining upholstery can feel like a constant battle.
Luckily, using an upholstery cleaner can make the job easier and help your seats look like new.
To use upholstery cleaner on your car seats safely, start by checking the manufacturer’s recommendations and testing the cleaner on a hidden spot for discoloration.
Vacuum thoroughly first, then spray the cleaner evenly onto the fabric. Use a soft brush or cloth to work in the solution and avoid over-wetting.
Let the seats dry completely, and consider applying a protectant afterward. Following these steps carefully can keep your seats looking great—continue for more tips and best practices.
Key Takeaways
- Always test the cleaner on a hidden spot first. This helps you check for any discoloration or damage before applying it to the entire seat.
- Vacuum your seats thoroughly to get rid of loose dirt and debris. It makes the cleaning process much more effective.
- Follow the instructions on the product carefully. Pay attention to recommended sitting and drying times so you don’t damage the fabric.
- Use a soft brush or microfiber cloth to spread the cleaner evenly. Being gentle helps prevent any fabric damage.
- Make sure the seats are completely dry after cleaning. Consider applying a protective treatment to keep your seats cleaner for longer.
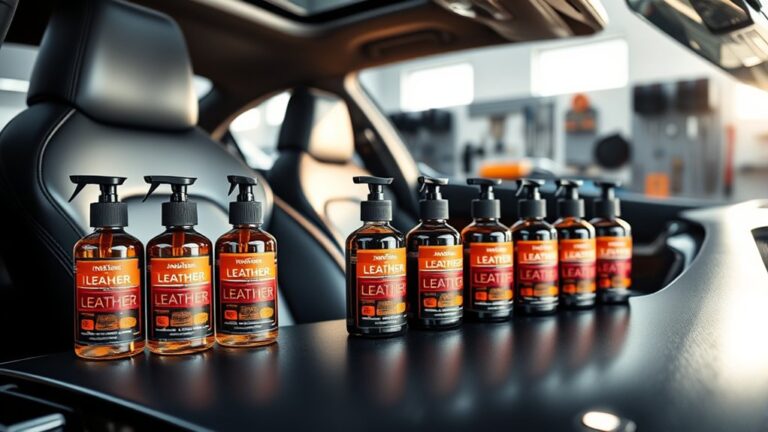
How to Choose the Best Upholstery Cleaner for Car Seats
Choosing the right upholstery cleaner for your car seats is key to removing stains and dirt without harming the fabric. Start by checking your car’s manufacturer recommendations or labels on the seats.
Look for cleaners made specifically for automotive upholstery or fabrics similar to yours. Think about the types of dirt or stains you usually deal with—grease, pet hair, or coffee spills—and pick a cleaner designed to target those.
Choose cleaners designed for automotive fabrics that target common stains like grease, pet hair, or coffee spills.
Read reviews and product labels carefully to make sure the cleaner is safe for your seat material. Avoid harsh chemicals or bleach that can discolor or weaken the fabric.
It’s also a good idea to test a small, hidden area first. This helps prevent possible damage and ensures the cleaner works well with your seats.
Choosing the right cleaner will help you clean thoroughly while protecting your seats’ durability and look.
Preparing Your Car Seats for Cleaning
Before you start cleaning your car seats, it’s important to prepare them properly to get the best results. First, remove all loose items like trash, mats, and cushions. Vacuum thoroughly to pick up dust, dirt, and debris from the surface and crevices. This helps prevent particles from spreading or becoming embedded during cleaning.
Next, check the fabric for stains or spots that might need pre-treatment. Use a gentle spot cleaner or a damp cloth on targeted areas. Make sure the seats are dry before applying any upholstery cleaner to avoid dilution or damage. Here’s a quick overview of the steps:
| Step | Action | Purpose |
|---|---|---|
| Remove items | Take out all loose objects | Clear surface and avoid contamination |
| Vacuum | Clean seats thoroughly | Remove dirt, dust, debris |
| Spot treat | Address stains or spots | Prevent setting or spreading |
How to Safely Test Your Upholstery Cleaner First
Start by applying a small amount of the cleaner to a hidden patch of your car seat. Wait for it to dry completely before checking the area for any discoloration or damage.
If everything looks good, you can confidently proceed with cleaning the entire seat.
Patch Test Area
To make sure your upholstery cleaner won’t damage your car seats, it’s important to do a patch test first. Pick a small, hidden spot like the corner of a seat or under a cushion.
Dampen a clean cloth with the cleaner, then gently apply it to that spot. Let it sit for about 10-15 minutes. Afterward, check for any discoloration, fading, or damage.
If the fabric’s color stays the same and there’s no deterioration, you’re good to go. Otherwise, avoid using that cleaner on your seats or try a different product.
This quick step helps protect your upholstery from harm and saves you from costly repairs later on.
Wait for Dryness
Once you’ve applied the upholstery cleaner to the test spot, it’s important to wait until the area is completely dry before inspecting the results. This guarantees you see the true effects of the cleaner without interference from residual moisture.
Rushing this step might lead to misjudging the cleaning’s effectiveness or overlooking potential damage. During drying, avoid touching or covering the spot, as this can trap moisture and skew results.
Keep the area well-ventilated to speed up drying. Use a fan or open windows to help things along. Check in good lighting to see the true results and avoid blotting with paper towels that may alter the fabric.
Once dry, check for color changes, texture, or any signs of damage. If everything looks good, you can proceed confidently with cleaning the entire seat. Remember, patience here saves you from costly mistakes later.
Wait at least a few hours before inspecting. Be cautious of lingering odors or discoloration, and ensure the area is fully dry before making any final judgments.
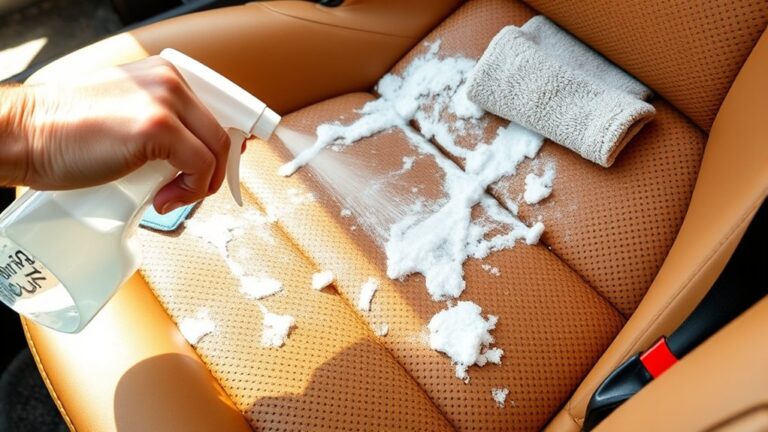
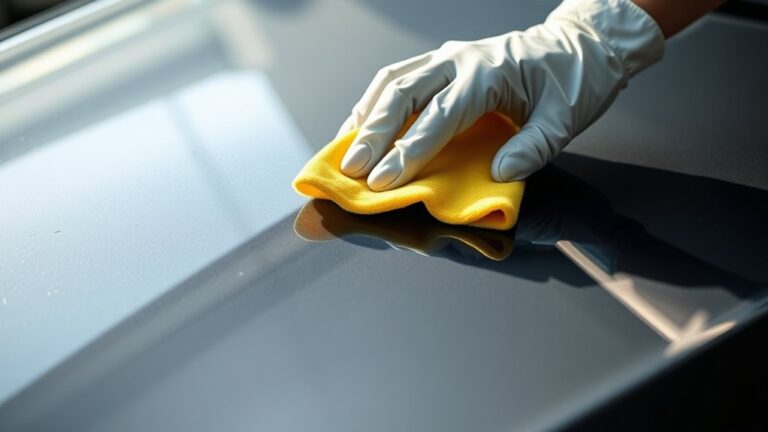
Applying Upholstery Cleaner Correctly to Your Car Seats
Before applying upholstery cleaner to your car seats, thoroughly vacuum the area to remove loose dirt and debris. This step guarantees the cleaner works effectively and prevents dirt from embedding deeper into the fabric.
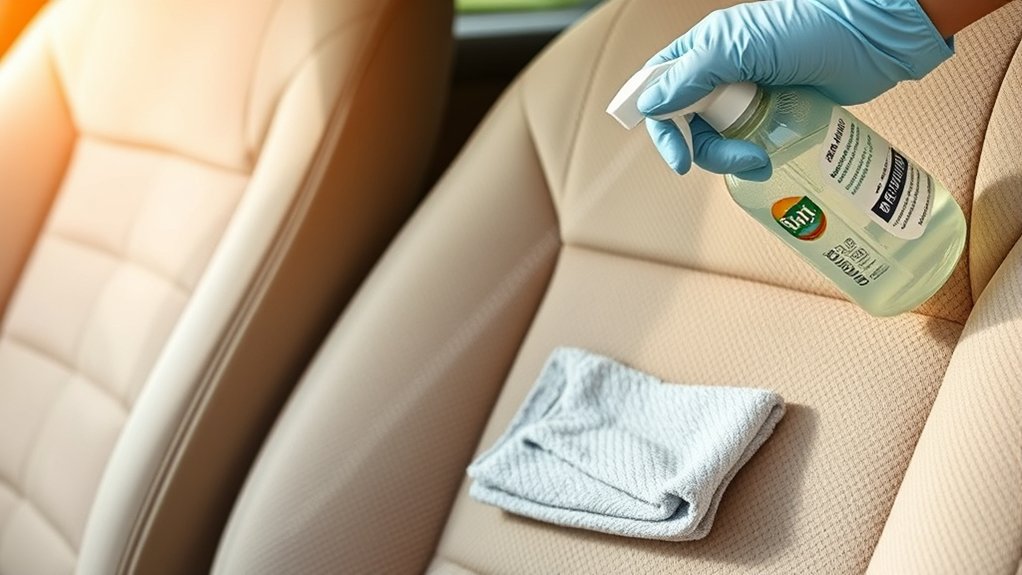
Shake the upholstery cleaner well before use, then spray it evenly onto the seats, focusing on heavily soiled spots. Avoid oversaturating the fabric, as excess liquid can seep into cushions and cause mold or odors.
Use a soft-bristled brush or microfiber cloth to gently work the cleaner into the fabric, lifting dirt without damaging the material. Pay attention to seams and crevices where dirt tends to build up.
After applying, let the cleaner sit for the recommended time before proceeding to any further cleaning steps.
Removing Coffee Stains and Pet Odors Effectively
Are coffee stains and pet odors lingering stubbornly on your car seats? To tackle them effectively, act quickly. Blot fresh coffee spills with a clean cloth to absorb the liquid.
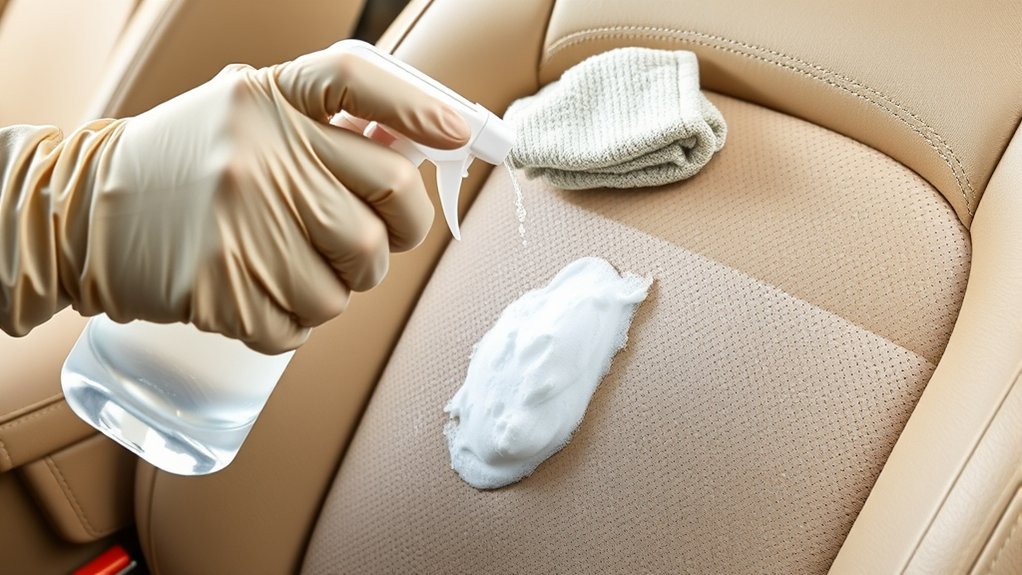
For persistent stains, mix a solution of equal parts water and white vinegar, then lightly spray onto the stain. Use a soft brush or cloth to work the solution in.
For pet odors, sprinkle baking soda over the area and let it sit for 15 minutes before vacuuming. Consider using enzymatic cleaners designed for pet odors, applying them directly to affected spots.
- Blot spills immediately
- Use vinegar-water solution for stains
- Apply baking soda for odors
- Allow baking soda to sit before vacuuming
- Use enzymatic cleaners for tough odors
Drying and Protecting Your Car Seats After Cleaning
After cleaning your car seats, it’s important to dry them thoroughly to prevent mold and mildew from forming. Use a clean microfiber towel to pat down the seats and soak up any excess moisture.
If you can, leave the windows open or park in a sunny, well-ventilated spot to speed up the drying process. For quicker results, a portable fan or a hairdryer on a cool setting works well—just keep it a safe distance from the fabric.
Once the seats are dry, consider applying a fabric protectant spray. It helps repel future stains and spills, keeping your seats cleaner longer.
Make sure the seats are completely dry before you start using your vehicle again. This prevents trapping moisture inside, which could cause issues down the line.
Proper drying and protection will help your upholstery last longer and keep your car smelling fresh and clean.
Common Mistakes to Avoid When Cleaning Car Upholstery
When cleaning your car upholstery, avoid overusing cleaning products, as too much can damage the fabric or leave residue.
Always follow the manufacturer’s instructions to prevent mishaps and ensure effective cleaning.
Skipping this step can lead to costly mistakes and incomplete results.
Overusing Cleaning Products
Using too much cleaning product might seem like it would clean your car seats better, but it often has the opposite effect. Excess cleaner can leave residues that attract dirt and cause staining or discoloration.
Overapplication can also make drying longer, which increases the risk of mold or mildew growth. Plus, too much product can damage delicate fabrics or leave a sticky film that feels uncomfortable.
To avoid these issues, keep these tips in mind:
- Use only the recommended amount on the label
- Test on a small, hidden area first
- Avoid saturating the fabric
- Wipe away excess cleaner promptly
- Allow proper drying before use
Sticking to proper quantities guarantees your seats stay clean and undamaged.
Ignoring Manufacturer Instructions
Ignoring manufacturer instructions can lead to ineffective cleaning or even damage your car seats. Each upholstery cleaner is formulated differently, so using the wrong product or applying it incorrectly can cause discoloration, fabric weakening, or staining.
Before cleaning, read the label carefully and follow the recommended usage instructions, including the amount to use and dwell time. Skipping these steps might seem quicker, but it risks compromising your seats’ fabric or foam.
Some cleaners require specific drying times or testing in hidden areas. Neglecting these steps can result in unexpected damage. Always adhere to the manufacturer’s guidelines to guarantee safe, effective cleaning.
Taking the time to follow instructions prevents costly repairs and keeps your seats looking their best longer.
How to Keep Your Car Seats Clean and Fresh Over Time
Keeping your car seats clean and fresh over time takes consistent effort and smart habits. Regular maintenance helps prevent dirt buildup and keeps your seats looking like new.
Start by vacuuming weekly to remove loose debris and dust. Using seat covers or mats can protect against stains and wear, especially if you often carry pets or kids.
Wipe down surfaces with a gentle cleaner to eliminate odors and bacteria. It’s best to avoid eating in your car to reduce spills and crumbs.
Finally, schedule deep cleaning sessions every few months using upholstery cleaner for stubborn stains. This keeps your car seats fresh and looking their best.
Frequently Asked Questions
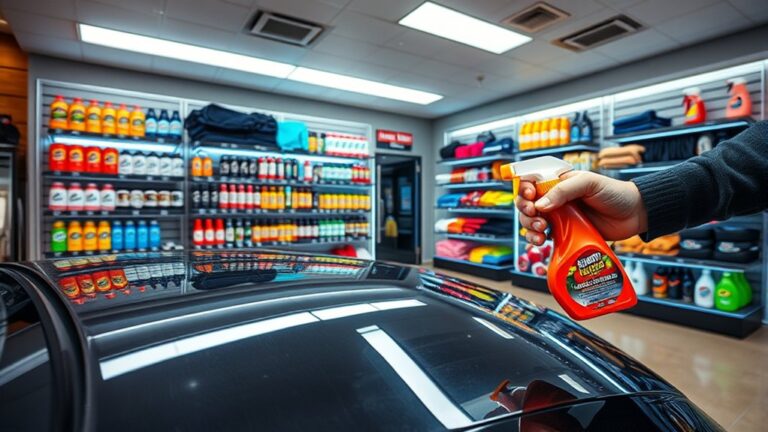
Can I Use Household Cleaning Products on My Car Seats?
You should avoid using household cleaning products on your car seats because they might contain harsh chemicals that can damage the fabric or cause discoloration.
Instead, go for products that are specifically made for automotive upholstery. If you’re in a pinch, test a small, hidden area first to see how it reacts.
Always follow the manufacturer’s instructions, and try using a gentle cleaner to help keep your seats looking good and lasting longer.
How Often Should I Deep Clean My Car Upholstery?
You should deep clean your car upholstery every three to six months, depending on how often you use your car. Regular cleaning helps remove dirt, dust, and grime, which can cause buildup and damage over time.
If you have kids, pets, or tend to spill things often, think about cleaning more frequently. This keeps your seats looking their best and smelling fresh.
Sticking to this schedule will keep your seats soft, spotless, and comfortable. Regular cleaning helps your car look luxurious and inviting mile after mile.
Is Steam Cleaning Safe for All Fabric Types?
Steam cleaning is generally safe for most fabric types, but you should check the manufacturer’s instructions first.
Delicate fabrics like silk or velvet might not tolerate high heat or moisture well, so avoid steam cleaning those.
For durable fabrics like polyester or nylon, steam cleaning can effectively remove dirt and bacteria.
Always test a small hidden area first to ensure no damage or discoloration occurs before you proceed with a full clean.
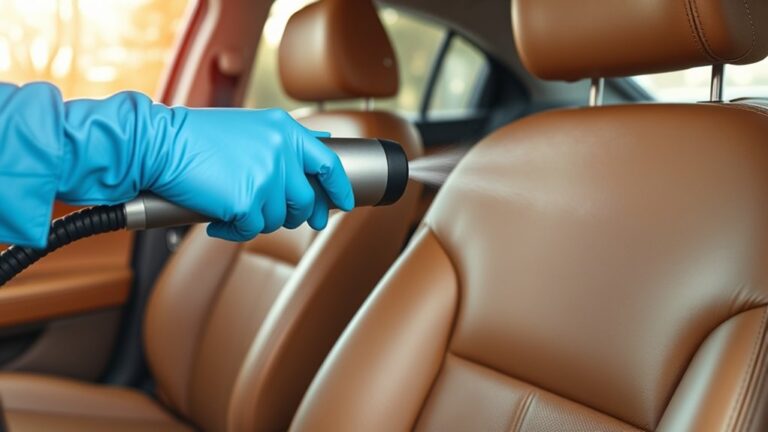
What Precautions Should I Take With Leather Car Seats?
Leather car seats need special care—about 70% of leather can crack or fade if not handled properly.
To keep them looking their best, avoid using harsh chemicals and abrasive scrubbers.
Instead, use a leather-specific cleaner and always test it on a small, hidden area first.
When cleaning, keep the seats out of direct sunlight to prevent damage.
After cleaning, apply a leather conditioner to keep the seats soft and prevent cracking.
With these simple steps, your seats will stay looking new longer.
Can Upholstery Cleaners Damage Car Seat Stitching?
Upholstery cleaners can damage car seat stitching if used improperly. Harsh chemicals or scrubbing too hard can weaken or loosen the stitches over time.
To avoid this, use a gentle cleaner made for automotive fabrics. Be careful when applying it, and don’t scrub directly on the stitches.
Always test the cleaner on a small, hidden area first. Follow the manufacturer’s instructions to keep your seat’s stitching safe.
Conclusion
Think of your car seats as the canvas of your daily journey—each stain or odor a mark that tells your story. With the right cleaner and gentle care, you can keep this canvas vibrant and inviting.
Treat your seats like a cherished friend, tending to them with patience and respect. This way, you’ll preserve their comfort and appearance over time.
Using an upholstery cleaner safely will ensure your car seats stay fresh and clean. Remember to follow the instructions carefully and test the cleaner on a small, hidden area first.
By taking these simple steps, you’ll keep your car seats looking great and smelling fresh. A little care goes a long way in maintaining a comfortable, inviting space for every trip.