How to Clean Your Car Interior in 10 Easy Steps
Many car owners know the struggle of keeping their car interior clean and fresh. Between busy schedules and everyday messes, it’s easy for your car to look cluttered and dusty. You’re not alone—cleaning your car interior can feel overwhelming, but with a simple plan, it’s totally doable.
To clean your car interior in 10 easy steps, start by gathering essential supplies like microfiber cloths, cleaners, and a vacuum. Remove clutter and trash, then deep clean and let your mats soak before reinstalling.
Vacuum carpets and upholstery thoroughly, wipe down surfaces, and organize interior items for better functionality. Finish with freshening sprays or air fresheners, then do a final inspection.
Keep your car looking great by following these simple tips. Continue for detailed guidance.
Key Takeaways
- Gather all your cleaning supplies and take out any trash or personal items from inside the car. It’s easier to clean when everything is cleared out.
- Next, focus on the floor mats. Deep clean them and make sure they’re completely dry before putting them back. Check for any damage and replace them if needed.
- Use a vacuum with the right attachments to thoroughly clean the carpets, upholstery, and those tricky crevices. This will get rid of dirt and dust hiding in every corner.
- Wipe down all surfaces, including the dashboard and windows, using microfiber cloths and suitable cleaners. Take your time to reach every spot.
- Finish up by using odor neutralizers to keep the interior smelling fresh. Open the windows and let some fresh air circulate to ventilate the space.
Gather Your Supplies for a Quick and Effective Car Interior Clean
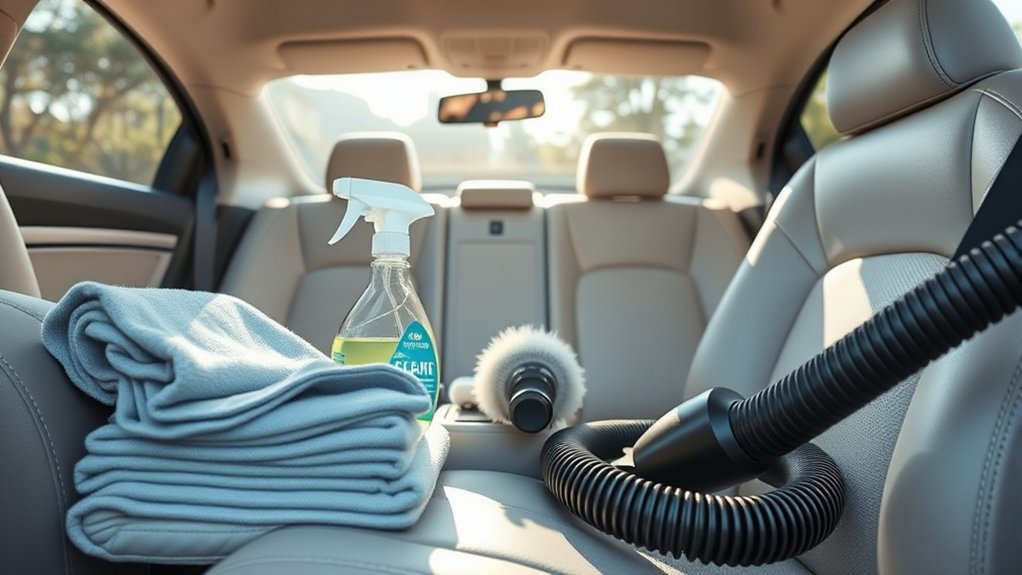
Before you start cleaning, gather all the supplies you’ll need to make the process easier and faster. Start with a microfiber cloth, which is great for cleaning surfaces without scratching.
Have an all-purpose cleaner ready to tackle dirt and grime on areas like the dashboard and seats. A vacuum with the right attachments will help you remove dust and debris from carpets and tight spots.
Check if you have specialty items like a crevice brush or leather conditioner for targeted cleaning. If you’re planning to clean windows or mirrors, grab a glass cleaner and microfiber towels for streak-free results.
Getting everything ready beforehand will make your cleaning smoother, so you can finish quickly and effectively.
Remove Clutter and Trash for a Fresh Start
Start by pulling into a shaded spot to make decluttering easier and keep surfaces clean. Empty all compartments, like door pockets, the glove box, and under seats, to find hidden trash. Toss out unnecessary items and set aside what you want to keep in organizers for quick access.
Clear All Compartments
To give your car interior a fresh start, you need to clear out all compartments thoroughly. Start by removing all personal items, trash, and loose debris from door pockets, the glove box, center console, and under seats.
Discard crumpled receipts, snack wrappers, and old drinks to eliminate clutter and odors. Set aside essential items you want to keep for organized storage later.
Don’t forget to clear the trunk by removing everything and sweeping out dirt or debris. To stay organized, use small containers or organizers to group remaining items.
This step will create a clean, clutter-free environment, making your car interior look and feel fresh. Properly cleared compartments set the foundation for a thorough interior cleaning.
Dispose of Unnecessary Items
After clearing out all compartments, it’s time to dispose of unnecessary items to create a truly fresh environment. Start by trashing crumpled receipts, snack wrappers, and empty drink bottles to eliminate clutter and odors.
Discard any loose items or personal belongings that no longer serve a purpose. Set aside essential items you want to keep, and organize them in small containers or organizers to prevent future clutter buildup.
Proper disposal is key. Separate items to take home for recycling or trash to keep your car tidy. Pull your vehicle into a shaded area to make sorting easier and more comfortable.
Deep Clean Your Floor Mats Before Reinstalling
Start by soaking your rubber mats in a mixture of dish soap and vinegar for 15-20 minutes to loosen dirt.
Scrub them thoroughly with a stiff brush, paying attention to textured areas. Then rinse with clean water and let them dry completely.
Finally, check for signs of wear and replace any damaged mats before reinstalling.
Soak and Scrub Thoroughly
Removing your floor mats from the car is the first step in deep cleaning them. Once out, soak the mats in a bucket of warm water mixed with dish soap and vinegar for at least 15-20 minutes. This helps loosen embedded grime and stains.
After soaking, follow these steps: Use a stiff-bristled brush or scrub sponge to scrub the mats thoroughly, paying special attention to stained or heavily soiled areas. Don’t forget to clean the corners and textured surfaces where dirt tends to hide.
Rinse the mats completely with clean water to wash away soap residue and loosened dirt. Check for any remaining spots, then let the mats air dry in a well-ventilated area before reinstalling.
This soaking and scrubbing process guarantees your mats are deeply cleaned and fresh.
Dry Properly Before Use
To guarantee your floor mats are fully dry before reinstalling, give them plenty of time to air out in a well-ventilated area—at least 24 hours is recommended. This helps any remaining moisture evaporate completely, which prevents mold and mildew growth.
Use a clean, dry microfiber cloth to remove any lingering dampness from the mats, making sure there are no water spots or damp patches. Avoid reinstalling wet mats, as residual moisture can cause odors and damage your interior flooring over time.
For faster drying, hang rubber mats in a well-ventilated space or use fans to speed up moisture evaporation. Make sure all mats are thoroughly dry before placing them back in your vehicle to keep your interior fresh and clean.
Check for Wear
Before reinstalling your floor mats, it’s important to inspect them thoroughly for signs of wear, like fraying, thinning areas, cracks, or holes. These issues can reduce their protective function and lead to more damage.
To make sure your mats are still in good shape, follow these steps:
- Check the surface and edges for excessive wear or cracks.
- Look for holes or thinning spots that could affect durability.
- Make sure the mats still fit securely and provide enough coverage.
- Consider replacing mats with significant damage or wear to keep your vehicle safe and protected.
Addressing damage early helps prevent further deterioration and keeps your car interior looking and functioning its best.
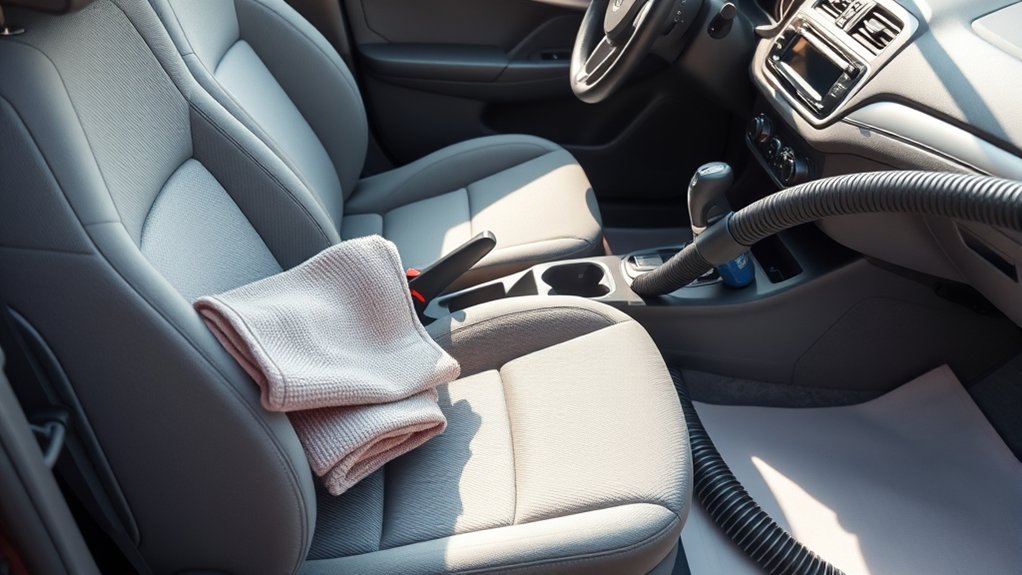
Vacuum Carpets and Upholstery to Remove Dust and Debris
Using a high-powered vacuum with a brush attachment is essential for thoroughly cleaning your car’s carpets and upholstery. It helps lift dust, dirt, and crumbs, especially in seams and crevices where debris hides.
A high-powered vacuum with a brush attachment is key to deep cleaning your car’s carpets and upholstery.
Remove the floor mats and vacuum underneath to eliminate trapped dirt. Focus on tight spots like between seats and under cushions, where debris often collects.
Use a narrow crevice tool to reach deep into corners, seams, and hard-to-access areas for complete debris removal. Vacuum in overlapping strokes, working from the top of the interior downward, to lift dust from all surfaces effectively.
This method guarantees your carpets and upholstery are thoroughly cleaned, leaving your car interior fresh and well-maintained.
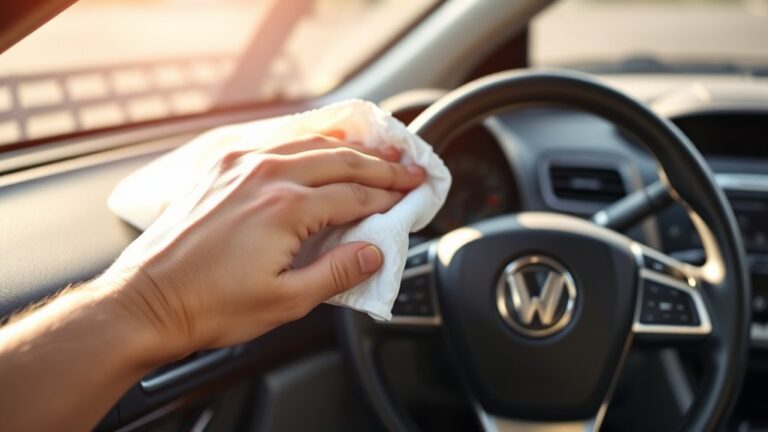
Wipe Down Surfaces and Dashboard for a Spotless Look
Wiping down your car’s surfaces is essential for a clean, polished interior. To do this effectively:
- Use a damp microfiber cloth combined with a gentle all-purpose cleaner to wipe the dashboard, center console, and door panels. This helps remove dust, fingerprints, and grime.
- Pay special attention to seams, edges, and crevices by using a small brush or cotton swab to clear out hidden dirt.
- For electronic displays and touchscreens, turn off the device and gently wipe with a microfiber cloth dampened with an LCD-specific cleaner to avoid streaks.
- Finish by buffing the surfaces with a dry microfiber cloth to achieve a streak-free, polished look. Avoid harsh chemicals that could damage delicate surfaces.
Clean Car Windows and Mirrors for Clear Visibility
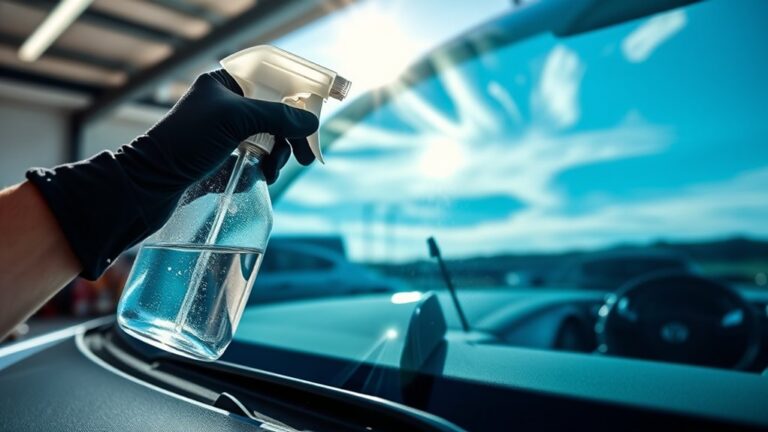
Keeping your car windows and mirrors spotless is essential for clear visibility while driving. Use a good-quality glass cleaner sprayed onto a microfiber cloth, not directly on the glass, to avoid streaks.
Keep car windows spotless with quality cleaner and microfiber cloth for clear, streak-free visibility.
Wipe the windows and mirrors with horizontal strokes from top to bottom for even coverage. After cleaning, buff with a dry microfiber towel to get a streak-free, crystal-clear finish.
Don’t forget to clean the inside of the rearview mirror and sun visors with a gentle cleaner and microfiber cloth. Regularly removing dirt, fingerprints, and insects helps keep your glass surfaces clear.
This maintenance boosts maximum visibility and makes your drives safer.
Reinstall and Organize Floor Mats and Interior Items
Make sure your floor mats are completely dry before reinstalling them to prevent mold and odors.
Place them in their correct positions, ensuring they fit snugly and don’t slide around.
Organize your interior items using small containers or designated spaces to keep everything accessible and clutter-free.
Proper Mat Placement
Have you checked that your mats are completely dry before reinstalling them? Proper mat placement is key to safety and comfort.
First, make sure each mat fits snugly into its designated space, avoiding bunching or sliding.
Second, during installation, double-check that the mats are aligned correctly with the pedal area to prevent interference.
Third, regularly verify that the fit remains secure, especially after driving or cleaning.
Fourth, consider upgrading to high-quality, all-weather mats for better protection and easier maintenance.
Proper fit and secure placement not only prevent slipping but also improve safety and vehicle looks.
Taking a few moments to install mats correctly makes a big difference in your driving experience and interior longevity.
Organize Interior Items
After making sure your mats are properly placed and secure, shift your focus to organizing the rest of your interior. To keep clutter under control, assign specific spots for items you use often like charging cables, water bottles, and snacks.
Place rarely used items in the back or trunk to keep your front tidy and easy to access. Use small organizers or compartments for smaller items to keep everything neat and prevent shifting while you drive.
Double-check that everything is securely stored for safety and efficiency. Here’s a quick guide to help you organize your interior:
| Item Type | Storage Location | Notes |
|---|---|---|
| Charging cables | Console compartment | Keep cables accessible |
| Water bottles | Door pocket | Prevent spills and clutter |
| Snacks | Glove compartment | Easy to reach during drives |
| Small items | Organizer trays | Keep things from shifting |
| Rarely used items | Trunk | Clear space in the front |
Organize Your Car Interior for Better Functionality
Organizing your car interior can greatly boost its functionality and safety. When everything has a designated place, you can find what you need quickly and avoid clutter.
Designate specific spots for charging cables, water bottles, snacks, and emergency supplies so they’re easy to access. Keep items you use often toward the front for quick reach, while storing less-used things in the back or trunk.
Use small organizers or bins inside compartments like glove boxes and door pockets to keep things tidy and easy to find. Regularly clear out trash and unnecessary items to maintain a clean interior.
Make sure all items are secured so they don’t shift while you’re driving. This not only keeps your car safer but also helps reduce distractions. Good organization makes your driving experience more enjoyable and stress-free.
Freshen Your Car With Odor Control and Air Fresheners
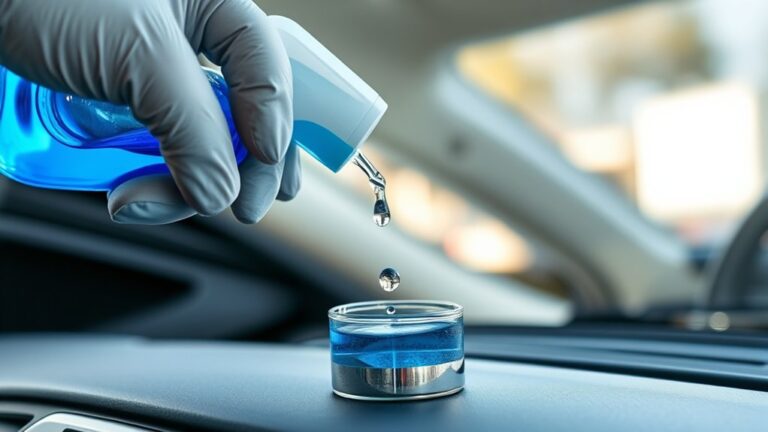
A clean and organized car interior not only looks good but also helps keep the air fresher. Using an air freshener or essential oil diffuser instantly makes your car smell inviting.
A tidy car interior enhances appearance and keeps the air fresh and inviting.
For stubborn odors, place baking soda or activated charcoal overnight to absorb smells without masking them. Regularly replacing cabin air filters also helps prevent musty or stale odors from circulating.
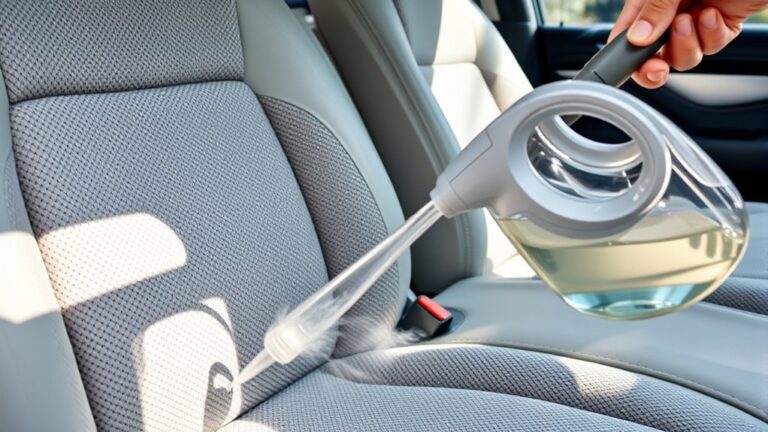
Spray odor-neutralizing products directly on upholstery and carpets to get rid of deep-seated smells effectively. Good ventilation is important too—open windows or run the air conditioning with fresh filters to keep the air inside fresh.
These simple steps will help you maintain a pleasant environment and keep your car a comfortable, clean space every time you hit the road.
Final Inspection and Tips to Keep Your Car Clean
To keep your car’s interior looking clean and fresh, it’s important to do a final inspection after cleaning. This step helps make sure every surface is spotless and streak-free.
During your final check, look over all interior items like mats and organizers to make sure they’re properly reinstalled and secure.
Make sure windows and mirrors are clear, streak-free, and give you good visibility. Check for any water spots or residue that could cause damage or make surfaces sticky.
Also, double-check that no cleaning products have been left behind or caused any harm. Doing this regularly will help keep your car interior in great shape.
- Do a quick visual check for streaks or leftover residue.
- Confirm all interior items are correctly in place.
- Ensure windows and mirrors are streak-free.
- Look for any damage or sticky spots that need attention.
Frequently Asked Questions
How to Clean Car Interior Fast and Easy?
To clean your car interior fast and easy, start with a quick vacuum using crevice tools to remove loose dirt from seats and mats. Wipe down surfaces like the dashboard and door panels with a microfiber cloth and cleaner.
Clean the windows and mirrors with a glass cleaner, then shake out or hose down mats to give them a fresh look. Keep a small cleaning kit handy for quick touch-ups on high-touch areas whenever needed.
What Are the 7 Steps of Cleaning?
Think of cleaning your car interior as sculpting a masterpiece. The 7 steps guide you: start by decluttering to clear the way, then vacuum to lift dirt and crumbs.
Wipe surfaces clean, wash mats and upholstery deep, clean the windows for clarity, and finally, organize everything neatly. These steps guarantee your car looks fresh and feels inviting.
They’ll make your car a space you’ll enjoy every time you drive.
What Is the Hardest Color Car to Maintain?
The hardest car color to maintain is black. You’ll notice dust, water spots, and scratches more easily on it.
To keep your black car looking its best, you need to wash it often, avoid harsh brushes that can cause swirl marks, and polish it regularly.
Black cars show every blemish, so you have to be extra careful during cleaning to keep that glossy finish and hide imperfections.
Is Dawn Dish Soap Safe for Car Interior?
Yes, Dawn Dish Soap is safe for your car interior—if you use it right! When diluted properly, it’s like a superhero that cuts through greasy grime without harming plastics or vinyl.
But beware: using it straight or in concentrated form can cause dryness, cracking, or damage to protective coatings. Always follow instructions, do a patch test first, and avoid using it on leather to keep your interior pristine and protected.
Conclusion
Now that you’ve followed these simple steps, your car interior will be looking sharp and feeling fresh. Keep up with regular cleaning to stay ahead of the game because a tidy car is a happy car.
Don’t let clutter pile up—staying organized makes your drives more enjoyable. Remember, a clean car reflects you, so take pride in maintaining it.
With a little effort, your vehicle will always be in tip-top shape. Regularly cleaning your car interior with the right tools and techniques ensures it stays fresh and inviting.