How to Make Car Cleaning Slime in 7 Easy Steps
Are you tired of struggling to get your car spotless, especially those tricky little spots? You’re not alone—many people find it hard to reach every corner and keep their car looking brand new.
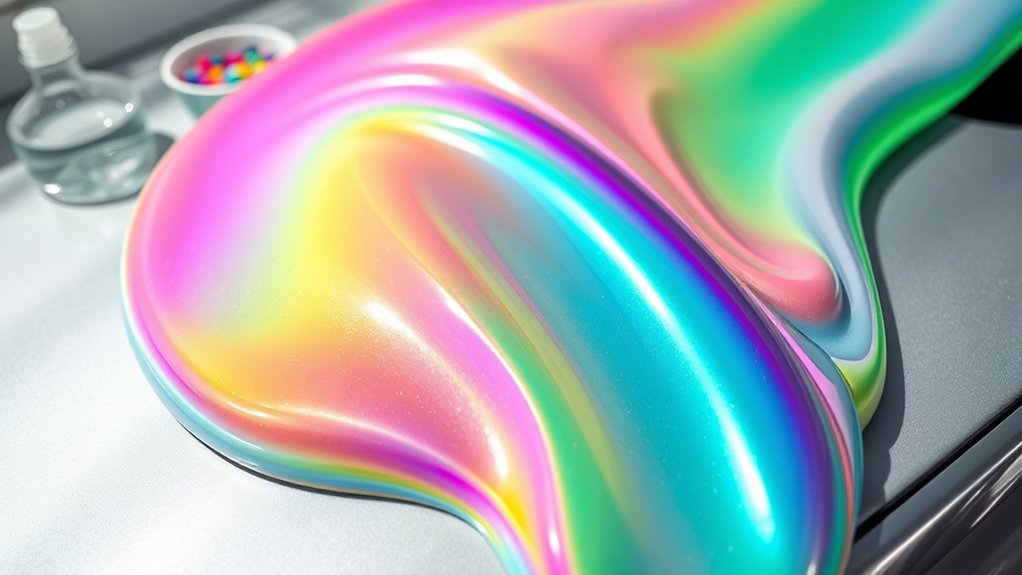
Luckily, there’s a fun and easy way to make cleaning less of a chore: DIY car cleaning slime. It’s a simple, effective tool that can make your car’s interior shine.
To make car cleaning slime in 7 easy steps, start by gathering white glue, baking soda, saline solution, and optional food coloring.
Mix the glue with baking soda, then slowly add the saline solution while stirring until it pulls away from the bowl’s sides. Knead until smooth, adjusting the texture if needed.
Store it in an airtight container for future use. Want to uncover more tips for perfecting your slime? Keep going for detailed instructions and troubleshooting advice.
Key Takeaways
- Mix white school glue with baking soda. Slowly add saline solution until the slime starts to form.
- Keep stirring until you get the right consistency. If it’s too sticky, add a bit more saline. If it’s too stiff, knead it a little longer until it’s pliable.
- Test the slime by stretching and squishing it. If it doesn’t feel right, you can add a bit of activator or lotion to adjust.
- Once you’re happy with the texture, store the slime in an airtight container. Keep it in a cool, dry place so it stays fresh for reuse.
- Use your slime to press into tight spaces, mold around edges, and lift dirt effectively. It’s perfect for cleaning those hard-to-reach spots in your car.
Why Use DIY Car Cleaning Slime? Benefits and Why It Works
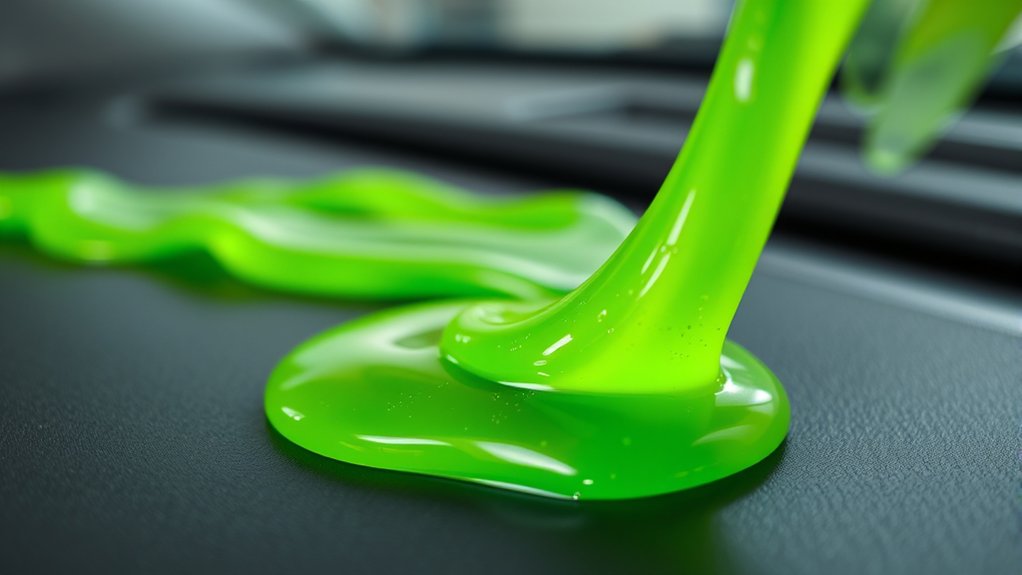
Using DIY car cleaning slime is a smart choice because it effectively reaches into tight spaces and removes dirt that traditional cleaning methods often miss. It’s especially useful for cleaning air vents, cup holders, and other small crevices where dust and debris hide.
The slime’s unconventional texture allows it to mold into uneven surfaces, extracting grime without scratching or damaging surfaces. Unlike brushes or cloths, it can access areas that are hard to reach, saving you time and effort.
Plus, it’s reusable—simply knead it to clean and store it for future use. This makes it an economical and eco-friendly option.
Gather the Ingredients to Make Your Homemade Car Cleaning Slime
To make your homemade car cleaning slime, start by gathering a few simple ingredients: white school glue, baking soda, saline solution (containing boric acid and sodium borate), and optional food coloring for a fun touch.
These items are easy to find and budget-friendly, making your DIY project simple and affordable. Before you begin, double-check that your saline solution contains boric acid, as this is key for the slime’s consistency.
Having everything ready ensures a smooth process without interruptions. Keep these ingredients nearby, and you’ll be all set to create a fun, effective cleaning tool for your car’s interior and hard-to-reach spots.
Mix Up Your Slime: Step-by-Step Instructions
To make your slime, start by gathering all your ingredients and mixing them thoroughly.
Keep an eye on the consistency, adding more of an ingredient if it’s too sticky or too firm.
Once everything’s well combined, adjust until you get a smooth, pliable slime ready for cleaning.
Gather Necessary Ingredients
Gather all the necessary ingredients before you start mixing. Having everything ready makes the process smoother and saves you time.
You’ll need liquid glue, preferably clear or white, baking soda, and contact lens solution with boric acid. Make sure you have these on hand before you begin.
The glue acts as the base, while baking soda helps give the slime its texture. The contact lens solution activates the slime, making it stretchy and great for cleaning.
Optional extras include food coloring for fun or essential oils for a fresh scent. Double-check your supplies to avoid any interruptions.
Getting everything ready now keeps your project efficient and stress-free, so you’re all set to mix with confidence.
Mix Ingredients Thoroughly
Start by pouring the liquid glue into a mixing bowl. Add the baking soda and stir well to combine. Then, slowly pour in the contact lens solution while stirring continuously.
Keep mixing until the slime begins to pull away from the sides of the bowl and becomes firm. Use your spoon or spatula to knead the mixture, making sure the ingredients are fully integrated.
If the slime feels sticky, add a few more drops of contact lens solution and continue kneading. Work thoroughly so all the ingredients are evenly distributed.
This step is really important for getting the right consistency, making your slime stretchy, smooth, and easy to handle for cleaning your car.
Adjust Consistency as Needed
If your slime feels too sticky or too stiff after kneading, it’s time to adjust its consistency. To make it easier to handle and better for cleaning, you can tweak the texture.
If it’s too sticky, add a small amount of cornstarch or baking soda gradually, kneading well after each addition. If it’s too stiff, mix in a few drops of water or a tiny splash of dish soap to soften it up.
Keep these tips in mind:
- Add small amounts gradually to avoid overcorrecting
- Knead thoroughly after each adjustment
- Test the slime’s texture before making more changes
This way, you’ll get the perfect, pliable consistency to clean your car with ease.
Test and Perfect Your Slime’s Texture for Best Results
To guarantee your slime is just right for cleaning, you need to test its texture and make adjustments as needed. Start by stretching and squishing your slime to check its flexibility.
If it feels too sticky or melts easily, add a bit more activator or cornstarch and knead thoroughly. If it’s too stiff and doesn’t mold well, incorporate a small amount of lotion or water, then knead until smooth.
Confirm the slime is pliable but not sticky, so it can easily pick up dirt and dust from your car’s surfaces. Consistent testing during the mixing process helps you find the perfect balance.
How to Use Your Car Cleaning Slime to Reach Hidden Spots
Using your cleaning slime is perfect for reaching tight spots and crevices your cloth can’t access. Gently press it into vent grills and other hard-to-reach areas to lift dust and dirt.
This way, you’ll keep your car thoroughly clean, even in the smallest corners.
Target Hard-to-Reach Areas
Car cleaning slime works really well for reaching tight, overlooked spots where regular tools might not do the job. Just press the slime gently into cracks and crevices, then lift it out to pull away dirt and debris.
Use your fingers to mold the slime around sharp edges or tight corners for the best contact. Focus on areas like deep inside cup holders and console crevices, or around gear shifters and handbrakes.
Don’t forget to target narrow door panel gaps and window tracks for a thorough clean. The slime makes it easy to get into those hard-to-reach spots without any hassle.
Clean Vent Grills Effectively
Vent grills often trap dust and debris deep inside, making them tricky to clean with just a cloth or brush. That’s where your car cleaning slime comes in handy.
Gently press the slime onto the vents and let it conform to the shape of the grill slats. As you lift it away, the slime will pick up dust and dirt from hard-to-reach areas.
Be sure to press firmly enough to reach into crevices but avoid applying too much force, which could damage delicate parts. Move the slime slowly across the vents to maximize dirt removal.
After each use, knead the slime to expose a fresh surface. This method is quick, effective, and perfect for reaching into tight spaces where traditional tools fall short.
Remove Dust From Crevices
After cleaning vent grills, you’ll notice tiny dust particles hiding in the narrowest crevices and hard-to-reach spots. Car cleaning slime is perfect for getting these hidden areas spotless. Just press a small piece of slime into tight spaces, and it molds around the contours, lifting dust effortlessly.
To get the best results, try gently pressing the slime into deeply recessed areas, then peeling it away to trap the dust. You can also use a pin or toothpick to shape the slime for extremely narrow gaps.
Keep the slime slightly moist for better adhesion in dry, dusty spots. This simple trick makes sure even the tiniest dust particles won’t escape, leaving your car interior fresh and dust-free.
Store and Reuse Your Slime for Future Cleaning
To keep your cleaning slime effective for future use, it’s important to store it properly. After using it, knead the slime to remove dirt and then put it in an airtight container or a resealable plastic bag.
Make sure the container is clean and dry to prevent moisture from affecting the slime’s texture. Keep it in a cool, dry place away from direct sunlight, which can make the slime dry out or get sticky.
Avoid exposing the slime to extreme temperatures. Heat can melt it, and cold can make it brittle. Proper storage helps preserve its elasticity and sticky qualities.
This way, your slime will stay effective and last longer. With good storage habits, you’ll be ready for your next cleaning session whenever you need it.
Troubleshoot Common Issues With Your Homemade Car Cleaning Slime
Sometimes your homemade car cleaning slime might not work as well as you’d like, but most common issues are easy to fix. If it’s too sticky, just add a small amount of cornstarch and knead it until it feels right.
If it’s too firm or crumbly, try mixing in a few drops of water or some liquid soap to soften it up. And if the slime isn’t picking up dirt well, make sure you’re pressing firmly and rolling it gently over the surfaces.
Here are some quick tips:
- Adjust the texture with cornstarch or water
- Knead thoroughly for even consistency
- Use gentle, firm pressure when cleaning
These simple tricks can help you get the best results every time.
Frequently Asked Questions
Can I Customize the Slime’s Scent or Color?
Yes, you can definitely customize your cleaning slime’s scent and color. To change the scent, just add a few drops of your favorite essential oil or fragrance oil into the slime mixture before it sets.
For the color, mix in food coloring or liquid watercolor until you get the shade you want. Just make sure to knead the slime well after adding these ingredients so they’re evenly spread out and don’t change the texture.
Is DIY Car Cleaning Slime Safe for All Vehicle Surfaces?
Over 70% of vehicle owners prefer eco-friendly cleaning products, and DIY car cleaning slime is generally safe for most surfaces when made correctly. You should test it on a small, hidden area first to verify compatibility.
Avoid using overly sticky or harsh ingredients, and don’t use the slime on delicate finishes like matte or textured surfaces.
Proper application and testing help guarantee your slime cleans effectively without damaging your vehicle.
How Long Does Homemade Slime Typically Last?
Homemade slime usually lasts about 1 to 2 weeks if stored properly in an airtight container. You should check it regularly for signs of drying out or mold.
To extend its lifespan, keep it away from direct sunlight and moisture. If the slime becomes too sticky or hard, you can add a bit of contact lens solution or cornstarch.
Proper storage and maintenance help you get the most use out of your DIY cleaning slime.
Can I Add Cleaning Agents to Enhance Effectiveness?
Yes, you can add cleaning agents to boost your slime’s cleaning capabilities. Just be cautious—use gentle, non-abrasive cleaners to avoid damaging your car’s surfaces.
Mix in a small amount of mild dish soap or a gentle all-purpose cleaner, making sure it blends smoothly with the slime. Test a small spot first to prevent any adverse reactions.
Enhancing your slime like this can help it pick up stubborn dirt and grime more effectively.
What Are Alternative Ingredients if I Have Allergies?
If you have allergies, you can swap out common ingredients for safer options. Use natural, hypoallergenic alternatives like cornstarch instead of borax or synthetic fragrances.
Baking soda is a gentle cleaning agent that’s usually safe for sensitive skin. Always check ingredient labels for potential allergens, and do a small patch test first.
You might also consider using commercial, allergy-friendly cleaning slimes designed specifically for sensitive users.
Conclusion
Think of your homemade car cleaning slime as a trusty seeker, venturing into the nooks and crannies of your vehicle like a curious adventurer. With each press and lift, it uncovers hidden dirt, revealing a sparkling, fresh interior.
By mastering this simple tool, you’re giving yourself a loyal companion that makes cleaning easy and satisfying. It transforms your car’s interior from a dusty wilderness into a pristine sanctuary.
Using car cleaning slime regularly keeps your vehicle looking its best. It’s a fun, effective way to maintain that spotless shine and fresh feel inside your car.