How to Clean Leather Car Seats in 10 Easy Steps
Many car owners want their leather seats to look brand new but often feel overwhelmed by the cleaning process. You’re not alone—keeping leather car seats spotless can seem tricky, especially with stubborn stains and dirt.
Luckily, with a few simple steps, you can restore their beauty and keep them looking great.
To clean your leather car seats in 10 easy steps, start by thoroughly vacuuming to remove loose dirt, especially in seams and perforations.
Next, choose a pH-neutral, water-based leather cleaner and perform a patch test.
Use a microfiber cloth or soft brush to gently wipe the seats, avoiding excessive water or harsh scrubbing.
For stubborn stains, a leather-specific cleaner or rubbing alcohol can help.
Finish by conditioning to restore moisture.
Keep your seats looking great by following these tips—more details can help you master the process.
Key Takeaways
- Vacuum the seats thoroughly, paying special attention to the seams and perforations. This helps remove loose dirt and debris that can get trapped.
- Before applying any cleaner to the entire seat, test a pH-neutral leather cleaner on a hidden spot. This way, you can make sure it won’t cause any damage.
- Use a microfiber cloth or a soft brush with just a little cleaner. Gently wipe the seats to clean them without harming the leather.
- Make sure to dry the seats completely with a soft, dry microfiber cloth. This prevents any moisture from damaging the leather over time.
- For long-term upkeep, condition the leather every three months with a UV-protected, pH-neutral conditioner. This keeps the leather soft and protected against sun damage.
How to Prepare Your Leather Seats for Cleaning
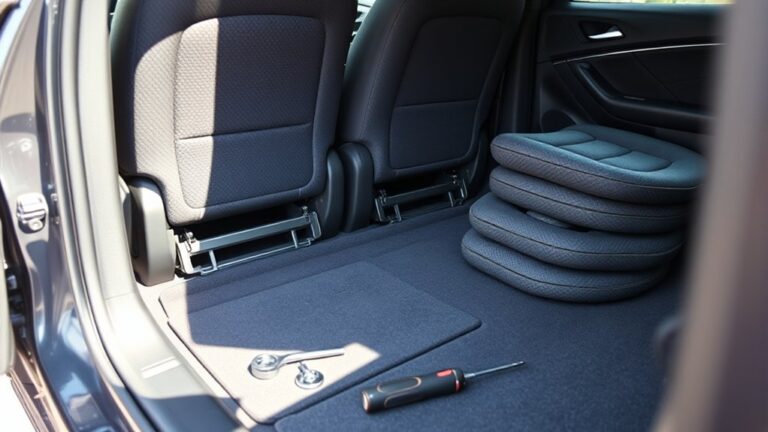
Before you start cleaning your leather seats, it’s important to prepare them properly. Begin by vacuuming the seats thoroughly with a narrow attachment to remove loose dirt, crumbs, and debris from the surface and crevices. This step makes the cleaning process much more effective.
Next, inspect the seats for any damage like cuts, tears, or stains. Cover these areas with masking tape to keep cleaner from entering damaged spots. Check your vehicle’s manual for specific cleaning instructions and recommended products for your leather seats.
Be careful around perforated areas, and avoid spraying cleaner directly onto the seats. This helps prevent liquid from seeping into the holes. Finally, remove any loose items like trash or seat covers so you have a clear, unobstructed surface to work on.
Choosing the Right Leather Cleaner for Your Car
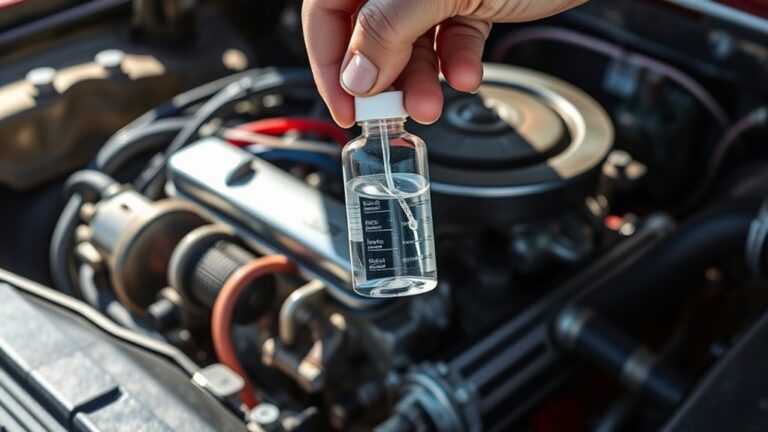
Selecting the right leather cleaner is key to keeping your car’s seats looking good without causing any damage.
Look for products made specifically for automotive interiors, as they’re designed to be gentle yet effective on leather seats.
Choose products specifically formulated for automotive interiors to ensure gentle, effective leather seat cleaning.
Check the labels for pH-neutral and water-based formulas—they’re safest and help prevent discoloration or cracking.
Avoid household cleaners like dish soap or furniture polish because they can strip away the leather’s natural oils.
It’s also a good idea to pick a product with UV protection to help preserve the leather’s color and prevent fading over time.
Before applying the cleaner to the whole interior, do a patch test on a hidden spot to make sure it won’t cause discoloration.
This careful approach helps keep your leather seats looking their best for years to come.
Step-by-Step: Vacuum and Remove Surface Dirt Safely
To effectively clean your leather seats, start by thoroughly vacuuming them with a soft-bristled attachment to remove surface dirt and debris.
Use the vacuum’s soft-bristled attachment to gently lift loose particles from the leather, paying close attention to seams, stitching, and perforations.
For tight spots and deep cracks, switch to a crevice tool or narrow nozzle to access hard-to-reach areas where dirt tends to accumulate.
Before moving on, gently lift and shake out any loose debris, making sure it doesn’t scratch the leather during cleaning.
Always begin with dry vacuuming to prevent pushing dirt further into the leather or causing scratches.
This careful step sets a solid foundation for a spotless, well-maintained set of clean seats.
How to Clean Leather Seats Without Damage
To clean leather seats without causing damage, choose pH-neutral cleaners and always test them on a hidden spot first.
Use gentle techniques like soft brushes or microfiber cloths, and avoid soaking the leather with excess water or harsh household cleaners.
Be sure to dry thoroughly after cleaning to prevent moisture damage and help preserve the leather’s finish.
Use Proper Cleaning Products
Using the right cleaning products is essential to keep your leather car seats looking their best without causing damage. Always choose products specifically made for leather upholstery to avoid drying or cracking.
Look for a gentle, pH-neutral leather cleaner that preserves the leather’s natural oils and keeps it looking great. Before applying it fully, test the cleaner on a small, hidden area to make sure it’s compatible.
Avoid household cleaners like bleach, ammonia, or dish soap because they can strip away the protective coating. After cleaning, use a high-quality, water-based leather conditioner to keep your seats soft and prevent deterioration.
Using proper cleaning products will help maintain your leather’s durability and luxurious feel. This ensures your seats stay beautiful and last a long time.
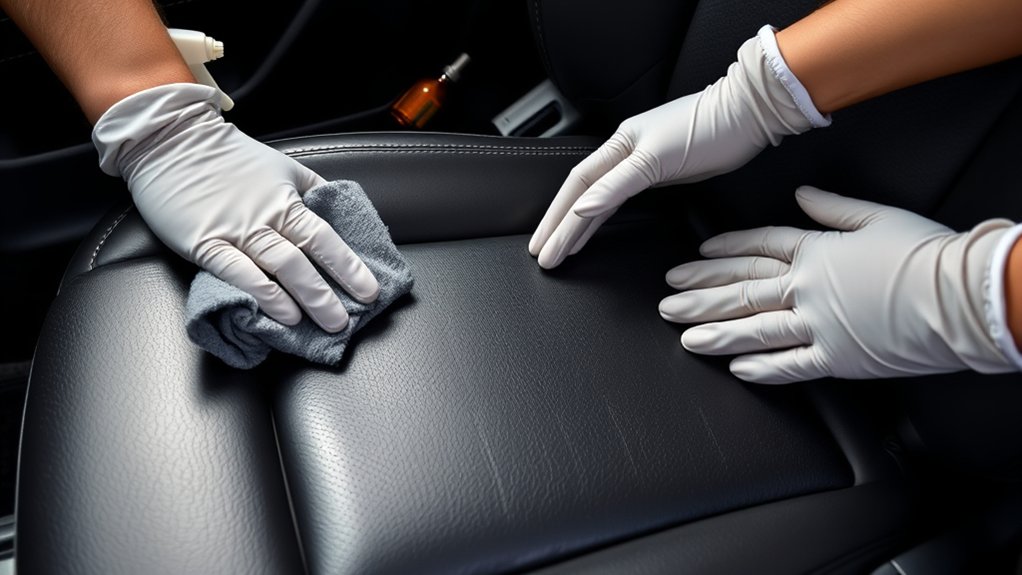
Gentle Cleaning Techniques
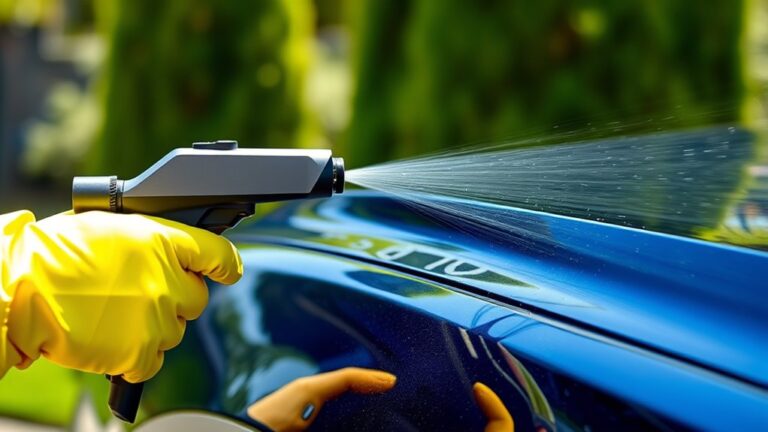
Gentle cleaning techniques are essential for preserving the quality of your leather seats. Use a damp microfiber cloth with a leather-specific cleaner to gently wipe the surface, avoiding excess moisture that can harm the leather.
Employ a soft-bristled brush or non-abrasive scrub pad to lift dirt from pores and crevices without scratching. Always test cleaning products on a hidden area first to prevent discoloration.
Avoid harsh chemicals, household cleaners, or abrasive tools that can strip protective coatings, leading to cracks or fading. Patience and gentle motions are key—clean in small sections with light pressure using circular motions to prevent damage.
After cleaning, follow up with a leather conditioner to keep your seats soft and well-maintained.
Deep Cleaning Stubborn Stains and Grime
To remove stubborn stains and grime, use a leather-specific cleaner and a soft-bristled brush to gently scrub the affected areas.
For tougher stains, apply a small amount of rubbing alcohol with a cotton swab before cleaning. Repeat as needed, allowing the leather to dry between sessions.
Finish by wiping with a damp microfiber cloth and applying a leather conditioner to restore moisture.
Effective Stain Removal Techniques
When dealing with tough stains and grime on leather car seats, using a specialized leather cleaner followed by targeted scrubbing can really help. Start with a pH-neutral or leather-specific deep cleaning solution to loosen stubborn dirt.
Gently scrub deep stains with a soft-bristled brush to lift embedded grime without harming the leather surface. For really stubborn spots, try mixing one part white vinegar with two parts linseed oil—this homemade solution can be quite effective.
After cleaning, wipe away residues with a damp microfiber cloth, making sure no harsh chemicals are left behind. Finally, always condition your leather seats afterward to restore moisture and protect against future stains.
Deep Grime Extraction Methods
Deep grime can be stubborn to remove, but applying a dedicated cleaner and letting it sit for a few minutes helps loosen the dirt before scrubbing. Focus on deep grime by gently scrubbing the leather surface with a soft-bristled brush or microfiber cloth. This loosens stubborn dirt embedded in the surface and crevices.
For hard-to-reach spots like seams, crevices, and perforated areas, use a detail brush or toothbrush to extract grime lodged in those tight spaces. Be careful not to spray cleaner directly onto perforated leather; instead, apply it to a cloth or brush to prevent excess liquid from entering the pores.
After scrubbing, wipe the surface with a damp microfiber cloth to remove residue and prepare for conditioning.
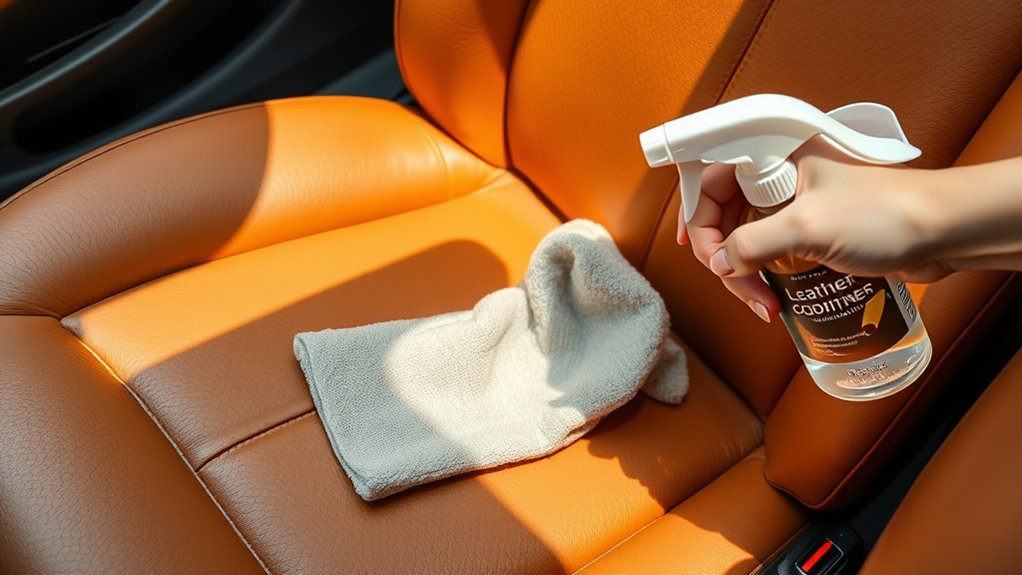
How to Condition Leather Seats to Keep Them Soft and Durable
Maintaining soft and durable leather seats requires regular conditioning with a high-quality, water-based, pH-neutral leather conditioner. This helps keep the leather soft and prevents cracking over time.
Start by thoroughly cleaning the leather seats before applying the conditioner. Use a microfiber cloth or sponge to evenly spread the conditioner in small circular motions, covering all areas.
Let the conditioner sit undisturbed for at least one hour in a shaded spot. This allows it to penetrate the leather fibers and restore the natural oils.
After that, buff the seats with a dry microfiber cloth to bring back their natural shine and remove any excess product. Regular conditioning helps preserve the leather’s natural oils and boosts durability.
It also provides protection against UV damage, keeping your seats soft, protected, and long-lasting.
Best Tips for Cleaning Perforated and Delicate Leather Areas
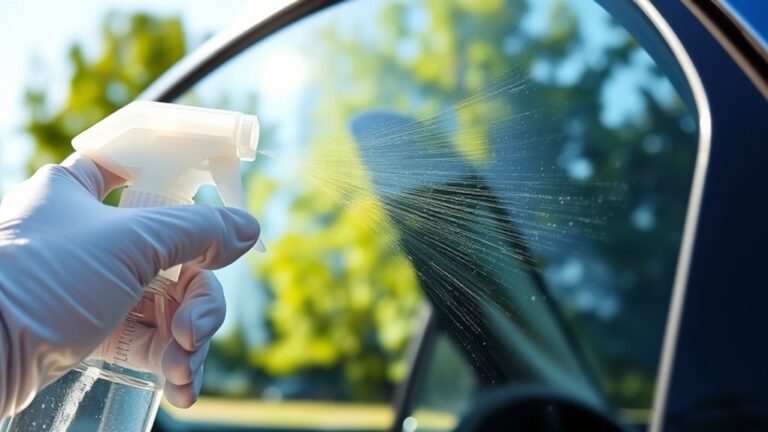
When cleaning perforated and delicate leather, use gentle techniques like soft brushes and microfiber cloths to lift dirt without damaging the surface.
Apply cleaning products carefully by spraying onto your cloth or brush, not directly into the holes, to control moisture and prevent seepage.
Always dry thoroughly afterward and test products on hidden areas to avoid discoloration or deterioration.
Gentle Cleaning Techniques
To clean perforated and delicate leather areas effectively, it’s important to use gentle techniques that protect the material’s integrity. Use a soft microfiber cloth or a gentle brush to carefully scrub perforated surfaces, avoiding too much pressure that could tear or damage the leather.
Always spray your cleaning solution onto the microfiber cloth instead of directly onto the perforated areas. This helps control the amount of cleaner and keeps the pores protected. When wiping delicate leather, use a light, circular motion to minimize stress and keep the surface looking its best.
Remember to test any cleaning products on a hidden spot first. This way, you can prevent discoloration or weakening of the material. Keep these tips in mind:
- Use a gentle touch
- Opt for microfiber cloths
- Scrub with care
- Protect perforations
- Test before applying
Controlled Product Application
Applying cleaning products carefully is essential to protect perforated and delicate leather surfaces. Instead of spraying cleaner directly onto these areas, spray it onto a soft-bristled brush or microfiber cloth for proper application. This prevents excess liquid from seeping into holes or seams.
Use a damp microfiber cloth with minimal cleaner, making sure the leather is only slightly moist. Avoid over-saturation, which can cause damage. When cleaning perforated leather, employ gentle scrubbing to prevent tearing or damaging the pores.
Always finish by drying the area thoroughly with a soft, dry microfiber cloth. This helps prevent moisture from penetrating into the perforations. Following these steps helps ensure effective cleaning while safeguarding your leather seats from unnecessary harm.
How Often Should You Clean and Condition Leather Seats?
Regularly cleaning and conditioning your leather seats is key to keeping them looking good and lasting longer. Aim to clean every 3 to 4 months to stop dirt from building up and to maintain that fresh appearance.
You should condition the leather about every 3 months. This helps keep it soft and prevents cracking over time. If your seats are light-colored or get a lot of use, consider cleaning and conditioning more often, like every 2 months.
Be careful not to overdo it. Cleaning or conditioning too often can actually harm the leather. Always follow the manufacturer’s instructions for best results.
To keep your seats in top shape and avoid damage, remember these points:
- Clean every 3 to 4 months
- Condition every 3 months
- Deep clean more often if heavily used
- Use a high-quality leather conditioner
- Avoid over-cleaning to prevent damage
Common Mistakes to Avoid When Cleaning Leather Car Seats
Cleaning leather car seats needs careful attention to avoid mistakes that can cause damage. One common error is using household cleaners like dish soap or all-purpose cleaners. These can strip away natural oils and lead to cracking over time.
It’s also important to test a leather cleaner on a hidden area first. That way, you can check for any bad reactions or discoloration before applying it more broadly. Be careful not to spray cleaner directly onto perforated seats.
Excess liquid can seep into the holes and damage the foam underneath, so spray sparingly. Never use abrasive brushes or harsh scrubbing tools—they can scratch or puncture the leather surface.
Avoid dark-colored cloths that might transfer dye onto your seats. That can cause stains or discoloration. By steering clear of these mistakes, you’ll keep your leather seats looking their best and well-maintained.
Long-Term Tips for Maintaining Your Leather Seats
Maintaining your leather car seats over time requires consistent care and attention. Regular cleaning and conditioning every three months help prevent cracking and fading.
Use high-quality, pH-neutral leather conditioners with UV protection to keep your leather seats supple and vibrant. To prevent UV damage and discoloration, park in shaded areas or use sunshades.
Use pH-neutral, UV-protected leather conditioners to keep seats soft and vibrant while preventing sun damage.
Keep up with monthly quick cleanings using a microfiber cloth to remove surface dirt and spills before they cause long-term harm. Schedule professional deep cleaning and conditioning sessions at least twice a year for the best maintenance.
This routine ensures your leather seats stay soft, protected, and looking new longer. Remember to clean and condition every 3 months, use leather protectant with UV protection, and avoid direct sunlight exposure.
Frequently Asked Questions
How to Clean Leather Seats Quickly?
To clean leather seats quickly, grab a damp microfiber cloth with a little leather cleaner or mild soap. Wipe down high-touch areas like the seats and armrests, keeping the cloth lightly damp to avoid damage.
For stubborn spots, gently scrub with a soft-bristled brush before wiping away the residue. After cleaning, air out the seats for 10-15 minutes to help them dry faster and stay in good condition.
Can I Use Dawn on Leather Car Seats?
A stitch in time saves nine, and that’s especially true with leather. You shouldn’t use Dawn on your leather car seats because it can strip away natural oils, damage the protective coating, and cause fading or cracking over time.
Instead, opt for a leather-specific cleaner or a mild, pH-neutral solution recommended by your vehicle manufacturer. This approach keeps your seats clean without risking long-term damage.
Does Murphy’s Oil Soap Clean Leather?
Murphy’s Oil Soap isn’t designed for leather, so it doesn’t effectively clean or protect your seats. Instead, it can strip away natural oils, which may cause cracks and damage over time.
You might notice a sticky residue or dullness if you use it. To keep your leather looking its best, stick with a cleaner made specifically for leather. This will clean gently without harming the surface.
Is WD-40 Good for Leather Seats?
You might think WD-40 is a quick fix, but it’s not good for leather seats. Its lubricant and solvent properties can strip away natural oils, causing cracks and fading over time.
Plus, it leaves greasy residues that attract dirt. Instead, use products specifically designed for leather. They protect, clean, and preserve your seats, ensuring they stay soft and vibrant longer.
Trust the right products for the best results.
Conclusion
Now that you’re armed with these foolproof steps, your leather seats will shine brighter than your neighbor’s new car. Avoid the temptation to scrub like a mad scientist or ignore regular cleaning because nothing says “luxury” like a seat that looks like it’s been through a mudslide.
Keep up with maintenance, and your leather will thank you with a long, happy life. After all, who doesn’t want seats that look this good without breaking the bank? Proper cleaning and care make all the difference in keeping your car looking showroom fresh.