Do It Yourself Car Upholstery Cleaner in 8 Easy Steps
Feeling overwhelmed by the thought of cleaning your car upholstery? You’re not alone—many people struggle with keeping their car interiors fresh and spotless.
Luckily, you don’t need fancy products or professional help to do a great job. With a few simple ingredients and some easy steps, you can DIY your way to a cleaner, more inviting ride.
To clean your car upholstery yourself in 8 simple steps, start by gathering supplies like baking soda, dish soap, and microfiber cloths.
Vacuum thoroughly and spot-treat stains for best results.
Make a DIY cleaner by mixing baking soda and warm water, then apply it to affected areas.
Gently scrub, rinse, and wipe with damp cloths.
Allow your seats to dry completely, then finish with pet hair removal and maintenance tips.
Keep going to uncover all the details for a fresh, clean interior.
Key Takeaways
- Gather supplies like baking soda, dish soap, microfiber cloths, and a spray bottle for effective cleaning.
- Vacuum thoroughly to remove dirt, dust, pet hair, and debris before applying any cleaner.
- Mix a DIY cleaner with baking soda and warm water. Test it on a hidden spot first to make sure the color doesn’t fade.
- Lightly spray the affected areas. Use a soft brush or cloth to scrub gently. Then wipe everything clean with damp microfiber towels.
- Let the upholstery dry completely in the air. Once dry, you can apply a fabric or leather conditioner to keep it protected and smelling fresh.
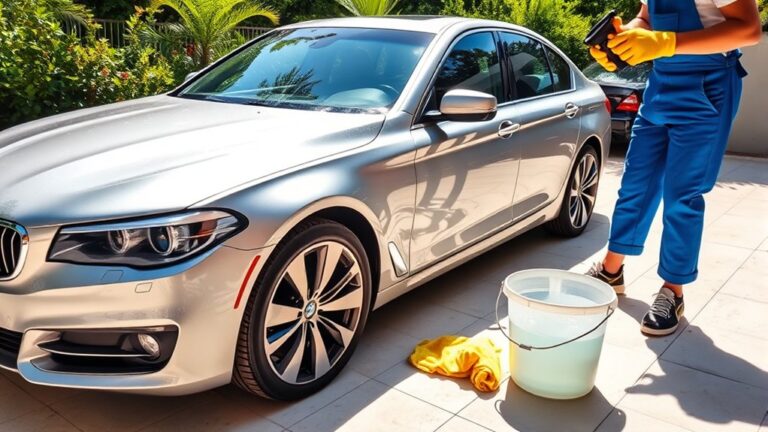
Gather Supplies and Set Up Your Workspace for Car Upholstery Cleaning
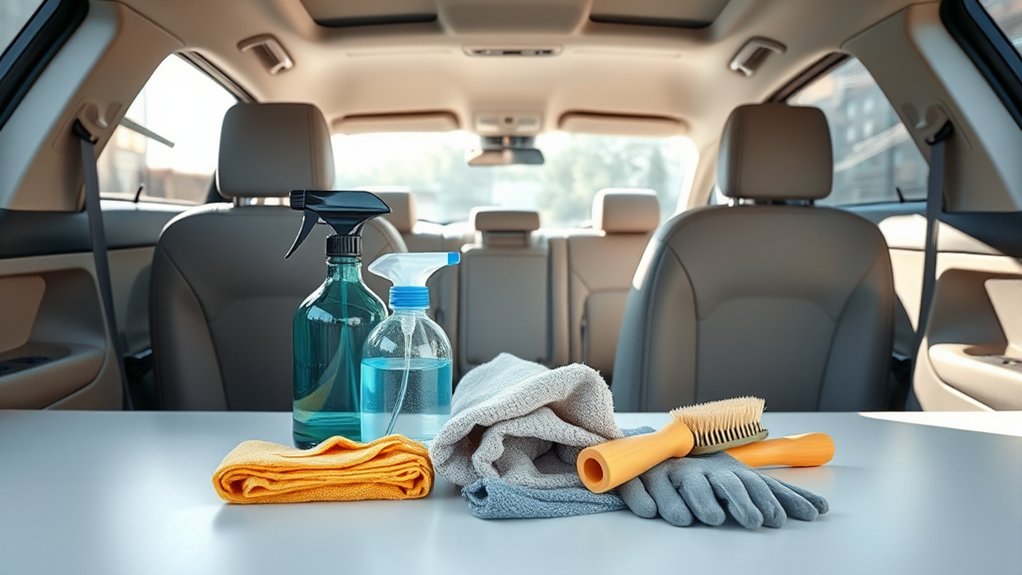
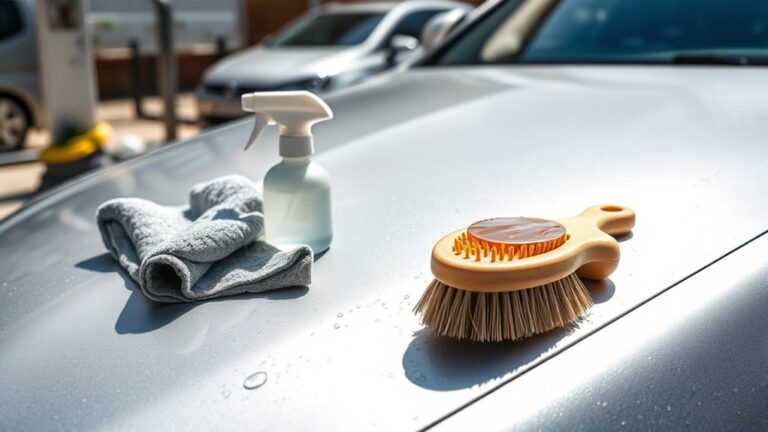
Before you start cleaning your car upholstery, gather all the supplies you’ll need, like baking soda, dish soap, a spray bottle, microfiber cloths, and a scrub brush.
Set up your workspace in a well-ventilated area, such as outdoors or in a garage, so the fumes can escape easily. Lay down towels or drop cloths to protect your surrounding surfaces from spills or overspray.
Before applying any cleaning solution, vacuum thoroughly to remove loose debris like crumbs and dirt. This step helps the cleaner work better and prevents dirt from scratching the fabric.
Prepare your cleaning solution in the spray bottle by mixing baking soda and dish soap. Having everything ready and organized makes your upholstery cleaning more efficient and mess-free.
Vacuum and Spot-Treat Stains Before Applying Cleaner
To guarantee your upholstery gets a thorough clean, start by vacuuming the entire surface to remove loose dirt, dust, and debris. This step makes sure the fabric is free of particles that could interfere with stain removal or the cleaner’s effectiveness.
Next, identify any noticeable stains or spots that need targeted treatment. Use a small amount of upholstery cleaner or water with a soft cloth or handheld brush to spot-treat these areas.
Be sure to conduct a spot test on a hidden section first to prevent discoloration or damage. Allow the pre-treatment to sit for a few minutes, giving it time to loosen stubborn stains.
Once pre-treated, you’re ready to proceed with the full cleaning, knowing your fabric is prepped for the best stain removal.
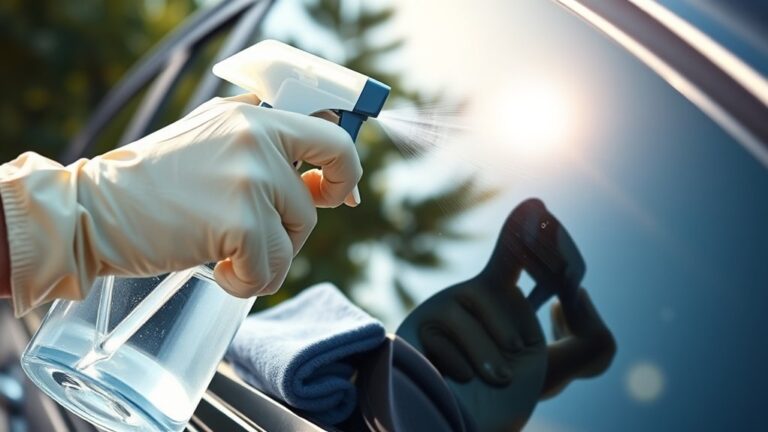
Make Your Own Upholstery Cleaner Step-by-Step
Once you’ve pre-treated and spot-cleaned your upholstery, it’s time to make your own effective cleaner. Start by mixing ¼ cup of baking soda with 1 cup of warm water in a spray bottle until fully dissolved.
Before applying, test the homemade solution on a hidden spot to avoid any discoloration. Lightly spray the stained or dirty areas, but be careful not to oversaturate so the foam or padding doesn’t get soaked.
For stain removal and deep cleaning, use a soft-bristled brush or microfiber cloth to scrub in gentle circular motions. After cleaning, wipe the area with a damp cloth and let it air dry or pat dry with a clean towel.
This simple DIY upholstery cleaner is great for removing stains and freshening up your car seats effortlessly.
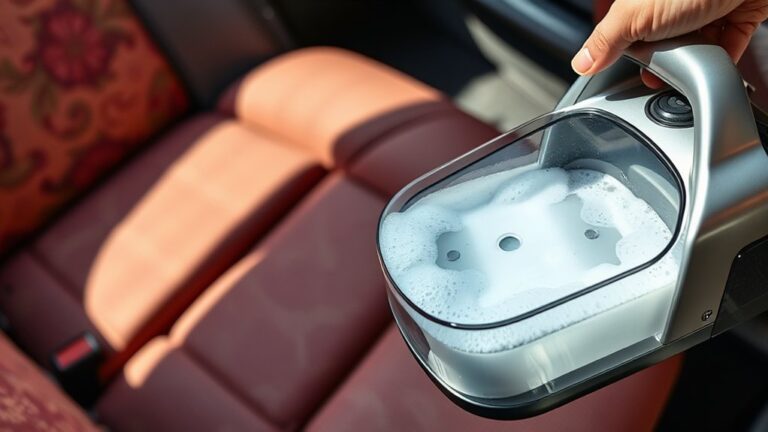
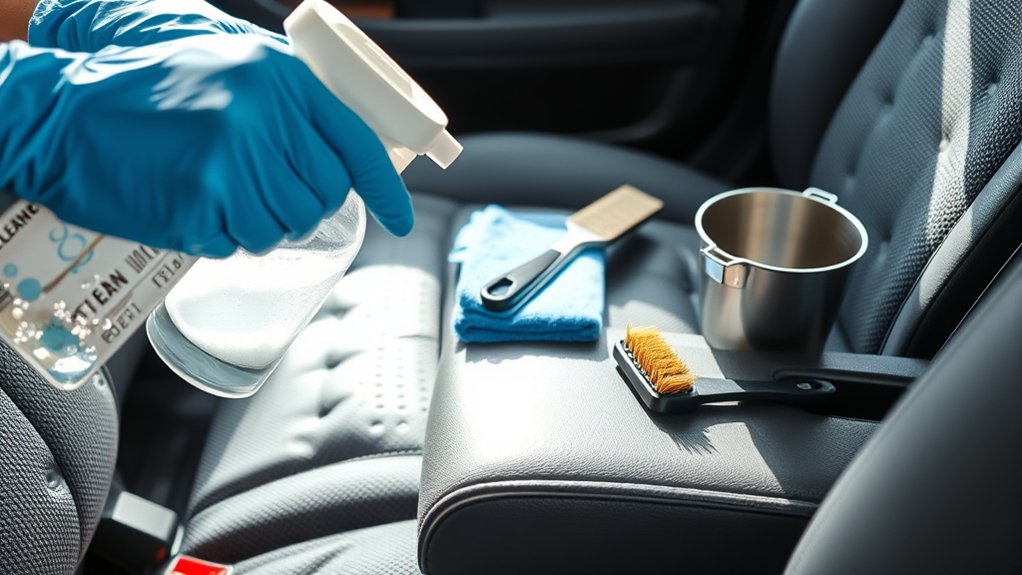
Apply and Gently Scrub Car Seats and Upholstery
Vacuum your car seats and upholstery thoroughly to remove loose dirt and debris, creating a clean surface for cleaning. Lightly spray your DIY upholstery cleaner onto the fabric, avoiding oversaturation to prevent water damage.
Use a soft-bristled scrub brush or sponge to gently work the cleaner into the fabric with circular motions. Focus on stained or heavily soiled areas, applying extra gentle pressure to lift dirt without damaging the fabric.
After scrubbing, wipe the area with a damp cloth to remove any remaining residue, ensuring a clean surface. Finally, dry the fabric with a soft towel or allow it to air-dry completely.
This gentle approach helps lift stains and dirt effectively while preserving the integrity of your car’s upholstery.
Rinse and Wipe Away Residue With Damp Cloths
After applying your DIY upholstery cleaner and scrubbing the fabric, it’s important to remove any remaining residue with a damp microfiber cloth. Gently wipe away dirt and loosened cleaner, making sure not to spread residue around.
Rinse the cloth frequently in clean water to keep it effective at removing dirt and leftover cleaner. If stubborn spots stay, use a second damp cloth to repeat the wiping until the surface feels clean and free of residue.
After that, blot the area with a dry cloth to absorb excess water and prevent streaks or water spots. Finally, let your upholstery air dry in a well-ventilated space, opening windows if you can, to avoid mold or mildew growth.
Dry Your Car Upholstery Properly to Prevent Mold
To prevent mold, make sure to dry your upholstery thoroughly within 24-48 hours.
Use fans, open windows, or park in sunlight to boost airflow and speed up the drying process.
Remove excess water with towels or a vacuum to help everything dry faster.
Don’t forget to check hidden areas and keep doors and windows open until everything is completely dry.
Proper Air Circulation
Have you thought about how important proper air circulation is for drying your car upholstery effectively? Good airflow and ventilation help control moisture and prevent mold.
To improve air exchange, keep your windows and doors fully open during and after cleaning. Using fans or a portable blow dryer on cool settings can speed up drying and boost airflow.
Avoid sealing damp areas with plastic, as this traps moisture and slows evaporation. Regularly check for any lingering dampness and make sure everything dries thoroughly.
Proper air circulation not only improves the air quality inside your vehicle but also stops mold from growing by removing moisture efficiently.
Combining effective airflow with good ventilation is your best defense against a musty, mold-prone interior.
Use Absorbent Materials
Using absorbent materials is a simple way to ensure your upholstery dries completely and keeps mold away. Use microfiber towels or a dry sponge to blot excess water from fabric or leather surfaces.
Removing moisture properly helps your upholstery dry faster and reduces mold and mildew risk. During drying, press a dry cloth or your hand on the upholstery. If no moisture transfers, it’s dry enough.
Boost drying by increasing airflow through open doors, windows, or fans. Avoid covering damp upholstery with blankets or mats, as trapped moisture can promote mold growth.
Efficient moisture removal and good ventilation are key to preventing mold and ensuring your upholstery dries thoroughly.
Remove Pet Hair and Dirt for a Fresh Interior
Start by using a damp microfiber cloth or rubber gloves to lift pet hair from your upholstery. Press and pull across the surface for best results.
You can also use a lint roller or masking tape wrapped around your hand for quick removal of hair from fabric and carpeted areas.
For embedded hair, gently brush the upholstery with a soft-bristled brush before vacuuming. This will help keep your interior fresh and clean.
Use Damp Microfiber Cloths
Damp microfiber cloths are a simple but effective way to clean pet hair and dirt from your car upholstery. Using a damp cloth helps lift pet hair, surface dirt, dust, and loose debris with just a gentle wipe, which also prevents scratches on delicate fabric.
Microfiber cleaning traps pet hair and dirt in its tiny fibers, making vacuuming afterward much easier. For stubborn pet hair, wipe in one direction to dislodge it from the fibers and ensure a thorough clean.
Regular use of damp microfiber cloths not only removes debris but also prevents buildup. This keeps your car’s interior fresh and inviting, making cleaning a quick and easy task.
Gently wipe upholstery to lift pet hair and dirt. Use damp microfiber cloths for effective cleaning, and wipe in one direction to dislodge stubborn pet hair.
Employ Rubber Gloves or Tape
Employing rubber gloves or tape is an easy way to remove pet hair and dirt from your car upholstery. Rubber gloves work well because their textured surface traps hair as you rub in a sweeping motion.
For stubborn pet hair, dampen the gloves slightly to boost cleaning power. Alternatively, press a piece of tape, like masking or painter’s tape, firmly onto the fabric and peel it away to lift pet hair and dirt.
Be gentle to avoid damaging the upholstery, and use a sweeping motion to gather loose debris. Regularly clean or replace your gloves and tape to keep them effective.
This simple method helps keep your interior fresh and free of pet hair, making upholstery cleaning easier and more efficient.
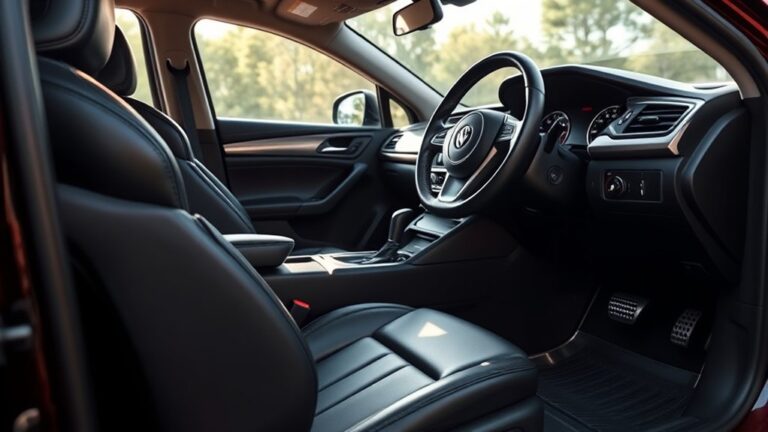
Tips for Maintaining Your Car’s Clean and Fresh Look
Maintaining your car’s clean and fresh appearance takes consistent effort and attention to detail. Regularly vacuum your seats to pick up loose dirt and prevent stains from settling in.
Use an odor neutralizer, like baking soda or vinegar, to keep fabrics smelling fresh. Clean spills and stains immediately with a mild cleaning solution or DIY cleaner to avoid permanent discoloration.
Protect your upholstery by avoiding excess moisture and making sure seats dry completely after cleaning. Periodically condition fabric or leather surfaces to keep them supple and looking their best.
Here are some key tips:
- Always vacuum before applying any cleaning solution to loosen dirt.
- Use a stain removal method promptly so stains don’t set in.
- Allow everything to dry thoroughly and then apply a conditioner to refresh and shield the upholstery.
Frequently Asked Questions
What Is the Best Homemade Upholstery Cleaner for a Car?
The best homemade upholstery cleaner for your car combines equal parts white vinegar and water with a few drops of dish soap, creating a versatile solution.
You can also sprinkle baking soda before vacuuming to absorb odors. For stubborn stains, mix hydrogen peroxide with dish soap.
Always do a patch test first to avoid damage. This DIY approach effectively cleans and deodorizes your car’s upholstery naturally and affordably.
What Is a Good Interior Automotive Cleaner Homemade?
A good homemade interior automotive cleaner combines vinegar, baking soda, and dish soap for effective cleaning and deodorizing. You can mix vinegar and water in a 2:1 ratio to tackle grime.
Sprinkle baking soda to absorb odors, and add a few drops of dish soap to break down grease. This natural, non-toxic mix works well on fabric, vinyl, and plastic surfaces.
It leaves your car fresh and clean, using simple ingredients you probably already have at home.
Can You Use Dawn Dish Soap to Clean Car Upholstery?
Yes, you can use Dawn dish soap to clean your car upholstery. Just dilute about 1 ounce of Dawn in a gallon of water, then apply it with a soft cloth or sponge.
This gentle solution lifts dirt and stains without damaging the fabric. Be sure not to use it full-strength to avoid soap residue or discoloration.
After cleaning, wipe with a clean, damp cloth and let it air dry.
How to Clean Car Upholstery Yourself?
To clean your car upholstery yourself, start by vacuuming the seats thoroughly to remove loose dirt. Mix a DIY cleaner with household ingredients like baking soda, vinegar, or dish soap, then test it on a hidden spot.
Spray the cleaner on stains, let it sit, and scrub gently with a soft brush or microfiber cloth. Wipe with a damp cloth and let the upholstery air dry for a fresh, clean look.
Conclusion
Now that your car upholstery shines like new, enjoy the fresh, inviting space you’ve created. It’s satisfying to see your effort pay off—yet, every spill or crumb reminds you that maintenance is ongoing.
Just as a garden needs regular care, your car’s interior thrives with consistent attention. So, adopt the routine, cherish the clean, and turn your vehicle into a cozy sanctuary amidst life’s chaos.
Keep up with your DIY car upholstery cleaner routine to maintain that fresh look. Clean today, enjoy the ride always.