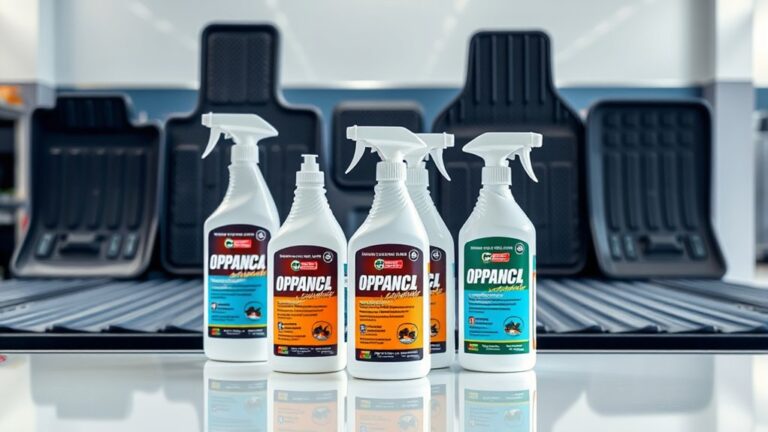
How to Safely Use a Steam Cleaner on Leather Car Seats
Many car owners want to keep their leather seats looking like new but worry about damaging the material. You’re not alone—finding safe, effective cleaning methods can be tricky. That’s why a steam cleaner can be a great tool if used correctly.
To safely use a steam cleaner on leather car seats, make sure the cleaner is set to low or medium heat and keep a safe distance from the surface. Test a small, hidden area first to ensure no damage occurs.
Use gentle, quick passes to prevent harm to your leather. Remove debris beforehand to avoid scratching the surface. Be careful not to use excessive moisture or pressure during cleaning.
After you’re done, apply a quality leather conditioner to keep your seats soft and protected.
Want to get the best results without risking harm? Keep going, and you’ll learn more.
Key Takeaways
- First, test the steam cleaner on a hidden spot to make sure it won’t damage your leather. This is a quick step that can save you from bigger issues later.
- Use low or medium heat settings and keep the steam cleaner at a safe distance from the leather surface. No need to get too close or use high heat.
- Hold the steam cleaner gently and avoid pressing it hard against the seats. Be careful not to over-saturate the leather with steam.
- Focus on cleaning crevices and seams well, but try not to let the steam directly touch the main leather areas. This helps prevent any water damage.
- After you’re done, apply a good quality leather conditioner. It will keep your seats soft, protected, and looking great.
Is Steam Cleaning Safe for Leather Car Seats?

Is steam cleaning safe for leather car seats? Yes, but you need to be careful. Steam cleaning can be safe if you use the right equipment and techniques.
Steam cleaning can be safe for leather seats with proper equipment and gentle techniques.
The main thing is to keep the steam at a low temperature and hold it at a safe distance from the leather to avoid damage. Leather is sensitive to too much moisture and heat, which can cause cracking or warping.
Make sure your steam cleaner has adjustable settings, and use a soft cloth or microfiber attachment. It’s also a good idea to test a small, hidden area first to see how the leather reacts.
If you do it right, steam cleaning can remove dirt, grime, and bacteria without harsh chemicals. It leaves your seats clean and refreshed.
Just remember, moderation and proper technique are key to keeping your leather safe.
How to Prepare Your Leather Seats for Steam Cleaning
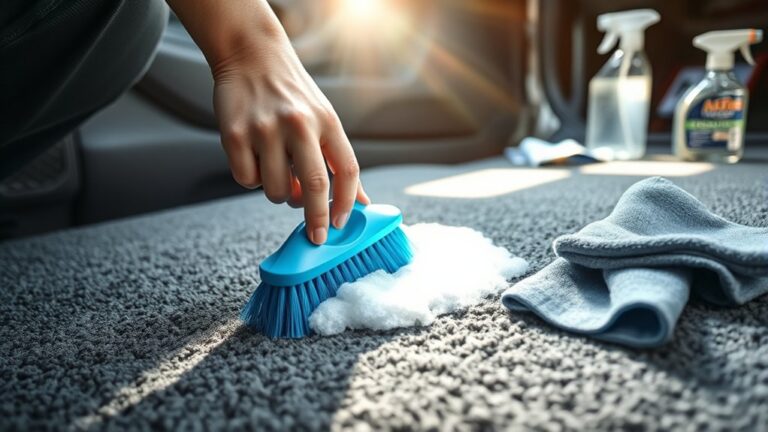
Before steam cleaning, make sure to remove all debris and dust from your leather seats. This helps prevent scratching and keeps the cleaning process smooth.
Always test the steam cleaner on a hidden spot first. This way, you can be sure it won’t damage your leather before you start cleaning the entire seat.
Doing these simple steps will help ensure your cleaning is both safe and effective.
Clear Debris and Dust
Start by removing any loose debris and dust from your leather seats using a vacuum cleaner with a brush attachment. This step helps prevent dirt from embedding deeper during steam cleaning and ensures a thorough job.
Pay attention to crevices and seams where dust tends to settle. To make this easier, use the following table as a guide:
| Area to Clean | Tips |
|---|---|
| Seat surfaces | Vacuum slowly to lift surface dirt |
| Seams and crevices | Use a small attachment or brush |
| Backrests & cushions | Check for dust buildup |
Taking time to clear debris will make your steam cleaning more effective. It also helps preserve the leather’s condition.
This simple step guarantees a cleaner, more polished result.
Test in Hidden Area
Since leather can be sensitive to heat and moisture, it’s really important to test the steam cleaner on a hidden spot first. Look for an inconspicuous area, like the underside of a seat or a seam, where any damage won’t be noticeable.
Turn on your steam cleaner and gently apply a small amount of steam to that spot. Wait a few minutes and then check for any discoloration, warping, or signs of damage.
If the leather looks fine, you can go ahead and clean the visible areas. But if you notice any issues, it’s best to reconsider using the steam cleaner or try a different technique.
Doing this test helps you avoid costly damage and gets you familiar with how your leather reacts to steam.
Choosing the Right Steam Cleaner Settings for Leather
Choosing the right steam cleaner settings for leather seats is key to avoiding damage while getting them clean. Set your steamer to low or medium heat, and steer clear of high temperatures that could harm the leather.
Keep the steam pressure gentle or low to prevent tearing or warping. It’s a good idea to test the steam on a hidden spot first to see how the leather reacts.
Avoid holding the steam in one place for too long. Quick, controlled passes help protect the finish and loosen dirt effectively.
Adjusting these settings helps keep your leather seats looking their best without risking damage. Always go for gentle, controlled steam for the safest, most effective clean.
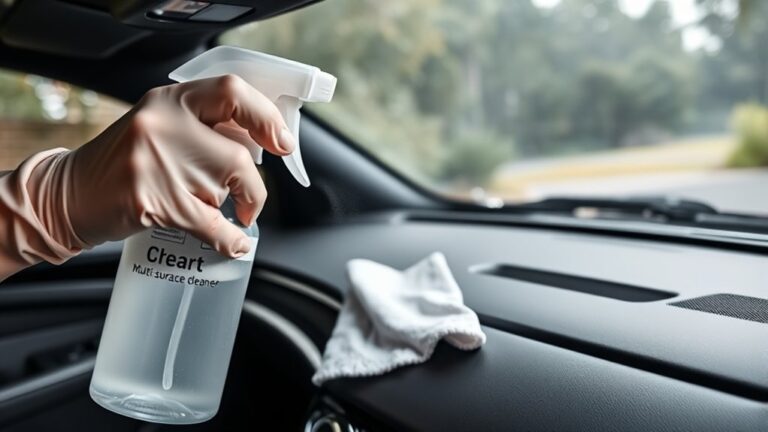
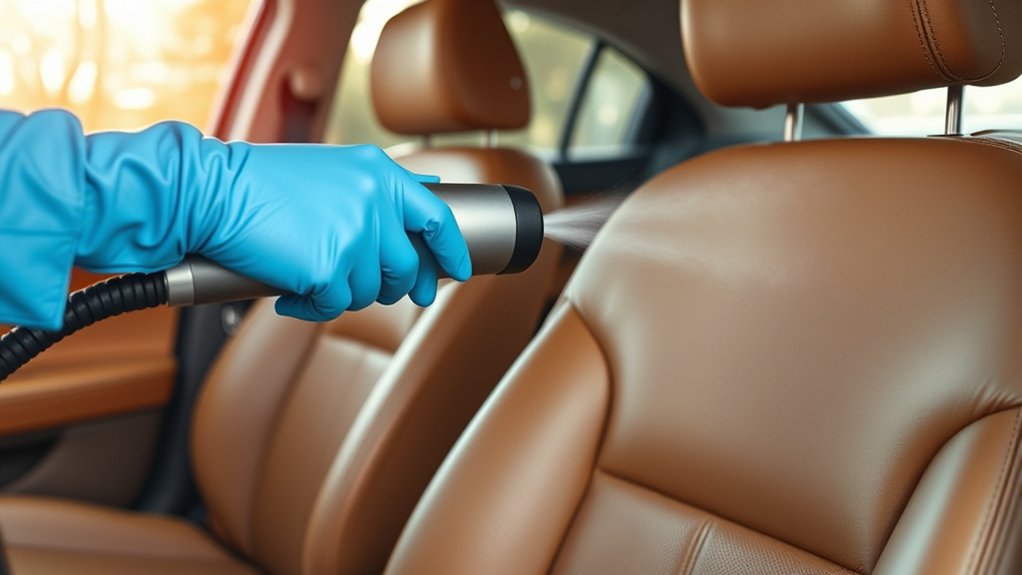
Applying Steam Safely to Leather Seats
To apply steam safely, set your cleaner to a proper temperature—hot enough to clean but not so hot it damages the leather. Always test the steam on a hidden area first to check for any adverse reactions.
Use gentle pressure to avoid harming the leather’s surface while cleaning. This helps ensure you clean effectively without causing any damage.
Proper Temperature Settings
Making sure the steam temperature is just right is key for safely cleaning leather car seats. Too hot, and it can damage the leather; too cool, and it won’t clean effectively. Aim for a temperature between 212°F (100°C) and 230°F (110°C).
Check your steam cleaner’s manual for recommended settings. If it doesn’t have adjustable controls, use a thermometer to monitor the temperature. Keep the nozzle moving and avoid direct contact with the hot steam.
Always test on a hidden area first to make sure the temperature won’t harm the leather. Maintaining the proper steam temperature protects your seats and ensures a thorough clean.
Test in Hidden Area
Before applying steam to your leather seats, it’s important to test the cleaner on a small, hidden spot first. Pick a place like underneath a seat or along the side panel where it won’t be noticed if there’s any damage.
Turn on your steam cleaner and hold it a few inches from the surface. Gently apply steam and wait a few minutes. Then, carefully check the area for any discoloration, cracking, or softening of the leather.
If everything looks fine, you can go ahead and clean the rest of the seats. But if you see any issues, avoid using the steamer on the other areas. This quick test helps prevent costly damage and makes sure your cleaning stays safe and effective.
Use Gentle Pressure
Gently hold the steam cleaner a few inches above the leather surface, and apply light, even pressure as you move it across the seats. Using too much force can damage the leather or push moisture into seams and stitching. Keep the pressure gentle to avoid over-saturating the material.
Focus on smooth, steady motions to guarantee even cleaning. To maximize safety and effectiveness, avoid pressing hard to prevent leather damage. Keep the nozzle moving to prevent moisture buildup.
Use minimal steam to avoid excess moisture. Constantly monitor the leather for signs of over-saturation.
Spot Cleaning Stains on Leather Seats
When you spot a stain on your leather car seat, quick action can help stop it from setting in. First, gently blot the stain with a clean, damp cloth to lift any excess. Avoid rubbing, since that can spread or push the stain deeper into the leather.
For tougher spots, check out the table below for the right cleaning solutions:
| Stain Type | Recommended Solution |
|---|---|
| Oil or grease | Mix mild soap with water, then gently blot |
| Ink or dye | Use a small amount of rubbing alcohol |
| Food or drink | Dampen a cloth with mild soap and water |
| Salt or sweat | Diluted vinegar with water |
Always test any cleaner on a hidden spot first to make sure it won’t harm your leather.
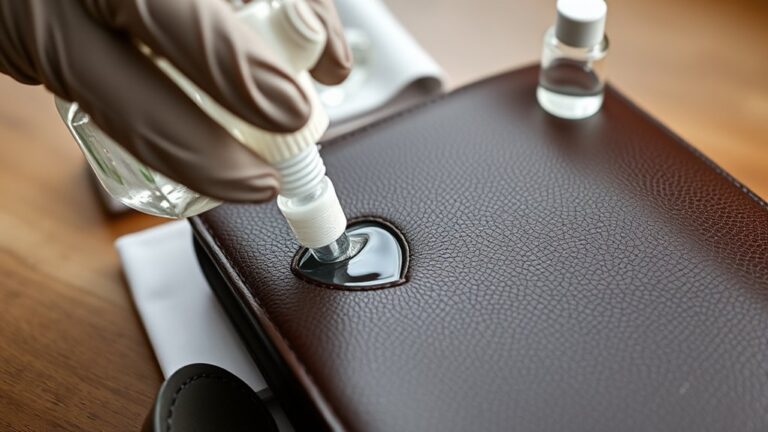
Post-Cleaning Care: Conditioning and Protecting Leather
Once you’ve successfully removed stains and cleaned your leather seats, the next step is to protect and preserve their look. Conditioning and protecting your leather help prevent cracks, fading, and drying out.
To do this effectively, start by applying a high-quality leather conditioner to restore moisture. Then, use a protectant to create a barrier against spills and UV rays. Be sure to follow the product instructions carefully for even coverage.
Remember to recondition your seats every 3-6 months to keep them soft and supple. Always test products on a small, hidden area first to avoid discoloration. Avoid over-conditioning, which can cause residue buildup.
Proper care ensures your leather seats stay soft, durable, and looking their best for the long run.
Common Mistakes to Avoid When Steam Cleaning Leather
While steam cleaning can effectively refresh your leather seats, it’s easy to make mistakes that can damage the material. One common error is holding the steamer too close or applying too much pressure, which can cause the leather to crack or warp.
Another mistake is using too much heat or moisture, leading to water spots or stains. Harsh cleaning agents or overly aggressive brushes can also harm the surface.
Rushing through the process without testing on a small area might result in unexpected damage. Always avoid over-saturating the leather and keep the steam at a safe distance.
When to Call a Professional for Leather Seat Cleaning
Sometimes, professional help is the best way to go if your leather seats have deep stains, a lot of wear, or damage that steam cleaning can’t fix. Know when your efforts aren’t enough, and it’s time to call in a pro. Consider reaching out if:
When stains, cracks, or damage overwhelm your efforts, consulting a professional ensures your leather seats stay pristine.
- The stains are stubborn or deeply embedded.
- The leather has significant cracks or tears.
- There’s persistent mold or mildew.
- You notice discoloration or uneven fading.
Professionals have special tools and solutions to handle tough stains and repair damage without causing more harm. If you’re unsure about your seats’ condition or steam cleaning hasn’t improved their look, don’t hesitate to get expert help. This way, your leather seats stay in top shape and last longer.
Frequently Asked Questions
Can Steam Cleaning Damage the Leather’s Finish or Color?
Steam cleaning can damage the leather’s finish or color if you use too much heat or hold the steam nozzle too close. You might cause discoloration or a loss of shine.
To prevent this, keep the steam at a low setting, maintain a safe distance, and avoid prolonged contact. Always test on a small, hidden area first to make sure the leather responds well before cleaning the entire seat.
How Often Can I Safely Steam Clean My Leather Seats?
You can safely steam clean your leather seats every 3 to 6 months, kind of like giving your car a gentle spa day. Regular cleaning helps keep dirt and oils away without risking damage.
Just be careful not to overdo it, since too much moisture can harm the leather. Always let your seats dry completely afterward, and use a soft cloth to maintain their shine and softness.
This way, your leather stays fresh, clean, and protected.
Is Steam Cleaning Suitable for All Types of Leather?
Steam cleaning isn’t suitable for all leather types. If you have sensitive or delicate leather, like aniline or semi-aniline, the heat and moisture can cause damage, such as discoloration or warping.
For more durable leathers like pigmented, top-coated, or coated leather, steam cleaning can work if you’re careful. Always test a small, hidden spot first.
Use a low steam setting and proceed gently to avoid potential harm.
What Signs Indicate My Leather Seats Need Professional Cleaning Instead?
About 60% of car owners notice signs that indicate professional cleaning is needed. You should consider expert help if your leather seats have deep stains that don’t lift with cleaning, persistent odors, or visible cracking and discoloration.
If your attempts at cleaning haven’t restored the seats’ appearance or if you’re unsure about using a steam cleaner safely, it’s best to seek professional services to prevent damage.
Are There Specific Cleaning Products to Use After Steaming?
After steaming your leather seats, it’s best to use a gentle leather cleaner or a pH-balanced conditioner made specifically for automotive leather. These help restore moisture, keep the leather soft, and prevent damage.
Make sure to test a small, hidden area first to check for any reactions. Avoid harsh chemicals or all-purpose cleaners, as they can strip away the leather’s natural oils.
Regular conditioning will keep your seats looking fresh and help prevent cracking over time.
Conclusion
Using a steam cleaner on leather car seats can be safe if you follow proper steps and use the right settings. Just make sure to prepare your seats, apply steam gently, and condition afterward to keep your leather soft and protected.
Avoid rushing or using too much heat, as leather is sensitive. Take your time to ensure you don’t damage the material. Using the correct steam cleaner settings is key to safe cleaning.
With care, steam cleaning can effectively refresh your seats without damage. It’s a great way to keep your car’s interior looking good and feeling comfortable again, especially when using a steam cleaner on leather car seats.