How to Use a Carpet Cleaner on Car Seats Safely
Many car owners struggle with keeping their car seats clean and odor-free, especially after long trips or messy outings.
If you’re looking for an easy way to refresh your vehicle’s interior, using a carpet cleaner can be a game-changer. But safety is key, so it’s important to know how to do it right.
To use a carpet cleaner safely on your car seats, start by removing all personal items and loose debris with a vacuum or brush.
Test the cleaner on a hidden spot and wait for any discoloration. Spray or apply it directly to stained areas, avoiding oversaturation.
Work in small sections, then extract excess moisture with a wet/dry vacuum or blot with towels.
For more detailed tips on keeping your seats spotless and odor-free, keep going.
Key Takeaways
- Test the cleaner on a small, hidden area first. This helps you check for any discoloration or damage before applying it to the whole seat.
- Use the cleaner sparingly. Be careful not to oversaturate the seats, as too much moisture can lead to mold and damage.
- Make sure to use cleaning products that are specifically formulated for your seat fabric. Always follow the instructions on the label to avoid any issues.
- Work in small sections so you can focus on one area at a time. Let the cleaner sit for a few minutes to loosen dirt and stains before you extract.
- After cleaning, be sure to dry the seats thoroughly. You can use a vacuum, towels, or fans to speed up the drying process. This helps prevent mold and bad odors from developing.
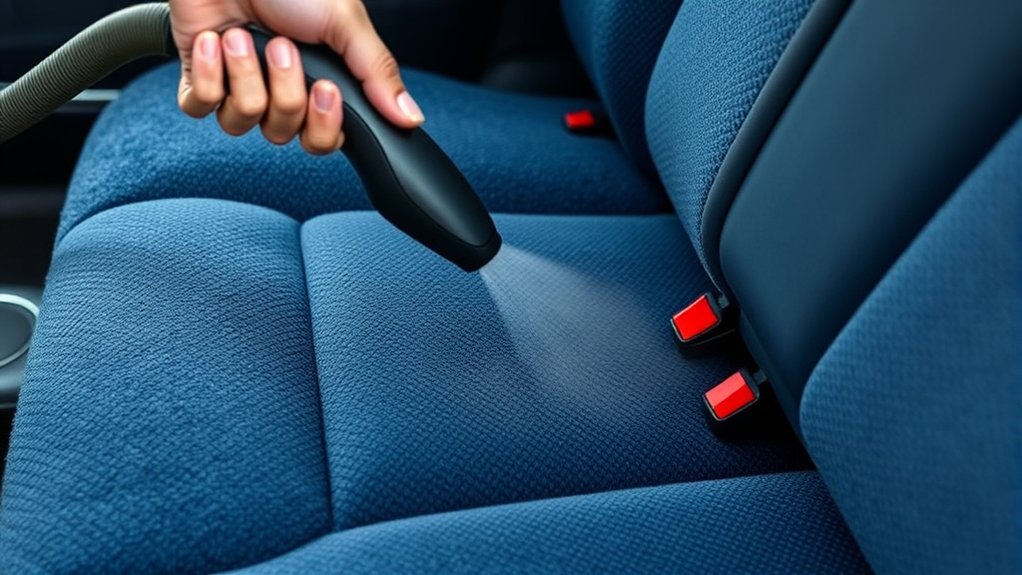
How to Prepare Your Car Seats for Cleaning
Before you start cleaning your car seats, it’s important to get everything ready first. Remove all personal items, trash, and loose debris from the seats and floor.
Use a handheld vacuum or brush to pick up crumbs, dirt, and pet hair. Pay extra attention to seams and hard-to-reach spots.
If you notice any large stains or spots, treat them with a stain remover or a mild cleaning solution. Let it sit for a few minutes before cleaning.
Make sure your seats are dry and free of excess moisture before using the carpet cleaner. If they’re very dirty or sticky, wipe them down with a damp cloth to loosen dirt.
Proper preparation helps ensure your cleaning is more effective and comprehensive.
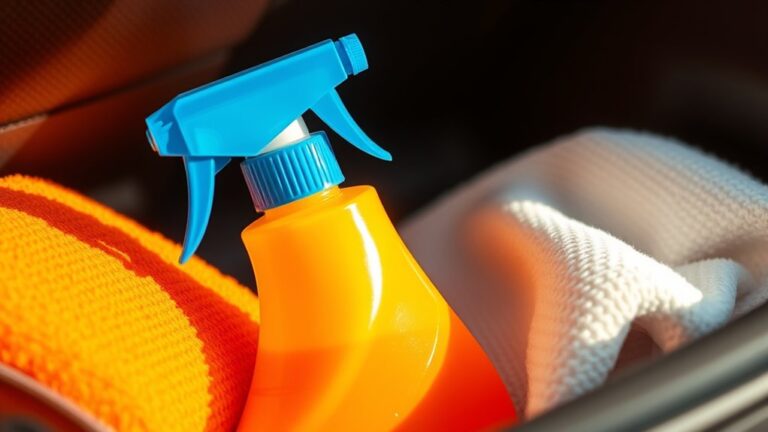
Choosing the Right Carpet Cleaner for Car Seats
When choosing a carpet cleaner, make sure it has a cleaning formula suitable for your car seats’ fabric. It’s important to pick a product that works well with your upholstery.
Check that the cleaner is compatible with your car seats to avoid any damage.
Using the right cleaner helps you clean effectively without risking harm to your seats.
Suitable Cleaning Formulas
Choosing the right carpet cleaner for your car seats is key to effective and safe cleaning. You want formulas that remove dirt without damaging fabric or leaving residues. For light stains and regular upkeep, go for a mild foaming cleaner or a solution with pH-neutral ingredients.
For tougher stains, pick enzymatic cleaners or stain-specific formulas. Always check the labels to make sure the product is suitable for upholstery and won’t cause discoloration. Here’s a quick guide:
| Cleaner Type | Best For |
|---|---|
| pH-neutral | General cleaning, delicate fabrics |
| Enzymatic | Organic stains, pet messes |
| Heavy-duty | Deep stains, heavy soil |
Choose the right one based on the stain and fabric sensitivity for safe, effective cleaning.
Compatibility With Upholstery
Making sure your carpet cleaner is compatible with your car seats’ upholstery is key to avoiding damage and getting great results. Different materials like leather, fabric, or vinyl need specific cleaning methods and products.
Check your car seat manufacturer’s guidelines or labels to find out what cleaning products and procedures are recommended. Using the wrong cleaner can cause discoloration, cracking, or deterioration.
For delicate or sensitive fabrics, choose gentle, upholstery-specific formulas. For tougher, more durable materials, you might need stronger solutions.
Always test a small, hidden area first to see how your upholstery reacts. By picking a cleaner suited to your seat’s material, you’ll clean effectively without harming your car seats’ integrity.
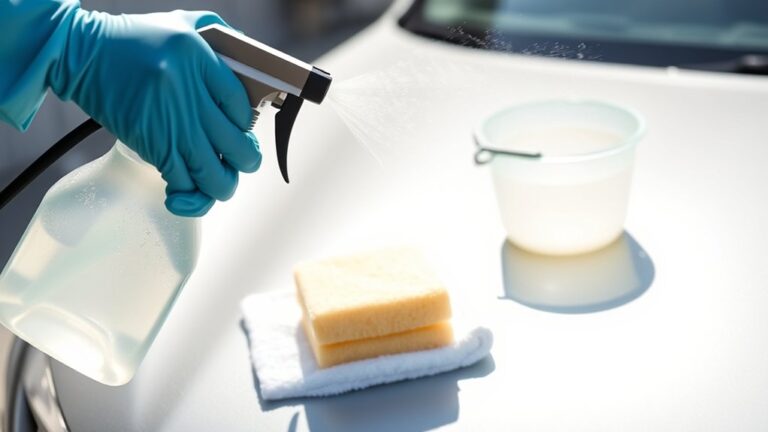
Test Your Car Seat Cleaner on a Hidden Area
Before you start cleaning the entire car seat, it’s important to test the cleaner on a small, hidden area. Choose a spot like the underside of the seat or a corner that’s rarely visible.
Apply a small amount of the cleaner and wait a few minutes. Check for any discoloration, fading, or fabric damage.
If the fabric changes color or feels strange, don’t go ahead with cleaning. This step helps make sure the cleaner won’t cause any damage or stains.
Taking this precaution can save you time and effort later. Always follow the product instructions carefully during the test for the best results.
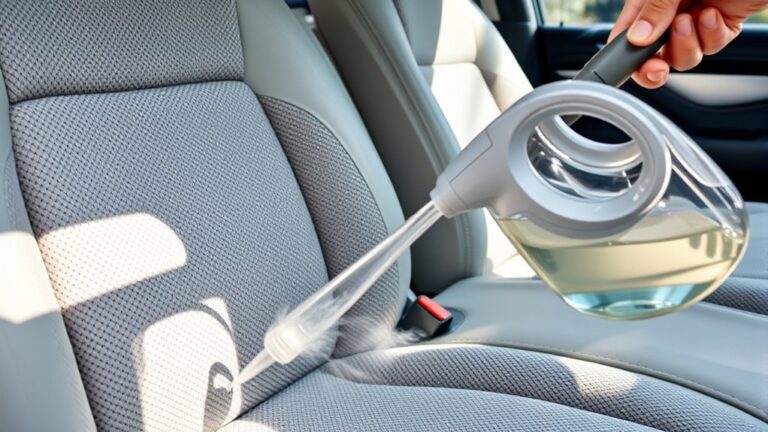
How to Apply Carpet Cleaner to Your Car Seats
Start by applying the carpet cleaner directly to the stained or soiled areas of your car seats. Use a spray bottle or foam applicator to target these spots precisely.
Make sure to cover the area thoroughly, but don’t oversaturate, as that can lead to mold or damage. If your cleaner is concentrated, dilute it according to the manufacturer’s instructions before applying.
For stubborn stains, you may need to apply a little extra cleaner, but avoid going overboard. Work in small sections to ensure even coverage.
Keep the nozzle a few inches from the surface to prevent overspray. Once the cleaner is applied, let it sit for a few minutes before moving on to the next step.
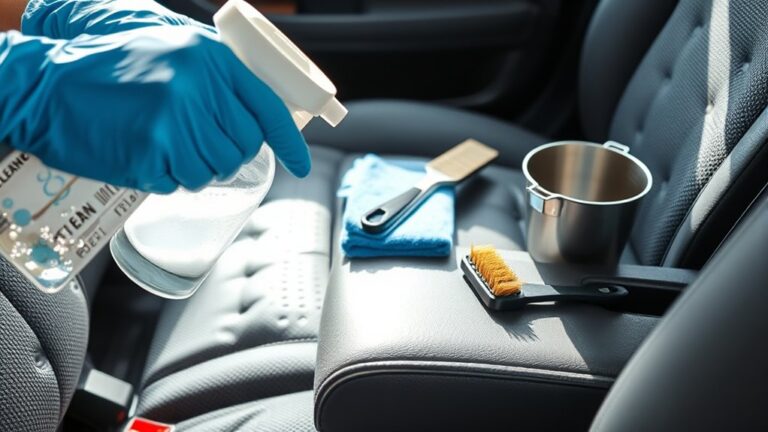
Gently Scrub Stains and Dirt for Best Results
To effectively remove stains and dirt, use a soft bristle brush to gently scrub the area. Apply light pressure so you don’t damage the fabric.
Then, rinse with clean water to lift any remaining dirt. This careful approach keeps your car seats clean without causing unnecessary wear.
Use Soft Bristle Brush
Gently scrubbing the stained or dirty areas with a soft bristle brush helps lift dirt without damaging the fabric. The gentle motion guarantees you remove grime while protecting your car seats’ integrity.
A soft brush reaches into fibers, loosening stubborn dirt that vacuuming alone can’t remove. This step makes a noticeable difference, leaving your seats feeling fresh and clean.
| Feeling Fresh | Confidence Restored | Seat Looks New |
|---|---|---|
| Clean & Inviting | Proud of Your Car | Satisfaction Grows |
| Soft Bristle Care | Gentle Yet Effective | Better Results Achieved |
Apply Gentle Pressure
Pressing lightly as you scrub helps remove dirt without damaging delicate fabric fibers. Use gentle, circular motions to lift stains without applying too much force. Applying too much pressure can cause fibers to fray or become misshapen, making your seats look worn over time.
Focus on the stained or soiled areas, but don’t press so hard that the fabric feels compressed or distorted. Let the cleaning solution do the work; your job is to guide it gently into the fabric. Consistent, gentle pressure guarantees you lift dirt effectively while preserving the integrity of your car seats.
Rinse With Water
After applying the cleaning solution, it’s important to rinse the area with water to remove loosened dirt and residue. Use a clean, damp cloth or spray bottle with plain water to gently rinse the spot. This helps prevent soap buildup and makes sure all dirt is fully lifted.
Be careful not to oversaturate the seat, as excess water can damage the foam underneath. Use a towel to blot excess moisture and speed up drying. Here’s a quick guide:
| Step | Method | Tip |
|---|---|---|
| Rinse with Water | Lightly spray or wipe the area | Use minimal water to avoid over-saturating |
| Blot Excess Moisture | Press with a clean towel | Remove as much water as possible |
| Allow to Dry | Air dry or use a fan | Prevent mold and odors |
This process helps keep your seats clean and dry.
How to Remove Excess Moisture After Cleaning
Once you’ve finished cleaning your car seats, the next step is removing excess moisture to prevent mold and odors. Use a wet/dry vacuum to extract as much water as possible from the fabric.
Focus on seams, crevices, and heavily soaked areas. If you don’t have a vacuum, gently blot the seats with clean, dry towels to absorb moisture.
Apply firm pressure but avoid rubbing, as it can spread dirt or damage the fabric. For stubborn wet spots, consider using compressed air or a portable fan to help speed up moisture removal.
Getting most of the water out reduces drying time and lowers the risk of mold growth. Taking this step carefully helps prepare your seats for proper drying later.
How to Dry Your Car Seats Safely and Thoroughly
To dry your car seats safely, start by letting fresh air circulate inside your vehicle. This helps speed up the drying process and keeps things fresh.
Use towels to absorb any remaining moisture, focusing on wet spots. Be sure to press gently so you don’t damage the fabric.
Make sure everything is completely dry before driving to prevent mold or odors. Taking your time now will save you headaches later.
Air Out the Seats
Air drying your car seats thoroughly is key to preventing mold and bad odors. To do this, open all windows and doors to boost airflow. Using fans or a portable air blower directed at the seats can help speed things up.
If possible, place the seats in direct sunlight because UV rays help kill bacteria and dry out moisture. Just keep in mind that even small damp spots can cause problems later on.
Here’s a quick guide to airflow methods:
| Method | Benefits | Tips |
|---|---|---|
| Open Windows | Natural ventilation | Keep doors open for hours |
| Use Fans | Faster drying | Position fans evenly |
| Sunlight Exposure | Disinfects and dries | Avoid prolonged exposure |
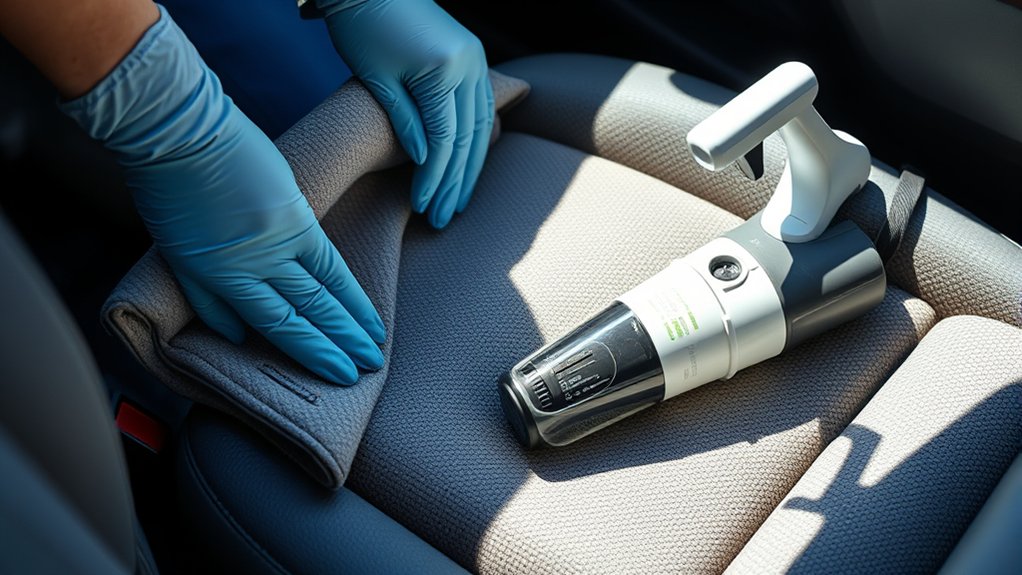
Use Towels for Absorption
Using towels for absorption is a great way to remove residual moisture from your car seats safely and thoroughly. After cleaning, grab a clean, dry towel and gently press it onto the fabric or upholstery.
Avoid rubbing, as this can push moisture deeper or damage the material. Instead, blot the wet areas to lift water away.
Use multiple towels if needed, replacing them as they become damp to maximize absorption. Focus on seams, creases, and textured spots, which tend to trap moisture.
This process helps speed up drying and prevents mold or mildew growth. Keep applying pressure with the towels until the seats feel noticeably drier.
Once you’ve absorbed as much moisture as possible, you’re ready to move on to the next drying step.
Ensure Complete Drying
Making sure your car seats are completely dry is essential to prevent mold, mildew, and lingering odors. To do this, open your car windows and doors to promote airflow.
Use a fan or a hairdryer on a low setting to speed up the drying process, especially in hidden crevices. Check for damp spots regularly, and avoid sitting on the seats until they’re dry.
Proper drying makes certain your seats stay fresh and clean long-term. Here’s a quick guide for drying methods:
| Method | Tips |
|---|---|
| Air drying | Keep windows open for several hours |
| Blower or fan | Use in hard-to-reach areas |
| Towels or cloth | Absorb residual moisture |
Following these steps assures your seats dry thoroughly and safely.
Tips to Prevent Future Stains on Car Seats
To keep your car seats looking clean and fresh, take proactive steps to prevent stains before they happen. First, use seat protectors or covers, especially if you often carry messy items or kids.
Avoid eating or drinking in the car, or at least be cautious and use trays or lids to prevent spills. Regularly vacuum your seats to remove dust and debris that can cause staining over time.
Keep a stain removal kit handy for quick action if spills happen. Encourage passengers to be mindful of their belongings and avoid leaving greasy or staining items behind.
Finally, clean up any spills or dirt promptly to prevent them from setting in. This helps keep your car fresh and stain-free for longer.
Common Mistakes to Avoid When Cleaning Car Seats
One common mistake people make when cleaning car seats is using too much water or cleaning solution. This can lead to mold growth or damage to the fabric. To avoid this, use small amounts and test a small area first.
Over-saturating seats can also cause the padding to break down over time. Rushing the drying process traps moisture and can cause unpleasant odors.
Here’s a quick guide to avoid these errors:
| Mistake | Solution |
|---|---|
| Using too much water or suds | Use minimal cleaner and water |
| Not testing a small patch | Always test in an inconspicuous area |
| Rushing drying | Allow plenty of time for thorough drying |
| Ignoring manufacturer instructions | Follow cleaning product labels |
| Using harsh chemicals | Stick to gentle, upholstery-safe solutions |
When to Hire a Professional Car Seat Cleaning Service
Wondering when to call in a professional for car seat cleaning? You should consider hiring a pro if your seats have deep stains or persistent odors that DIY methods can’t remove. Also, if you notice mold or mildew, professional cleaning is essential for safety and health.
Seek help if your seats are heavily soiled after multiple spills or pet accidents. Additionally, when you see color fading or fabric damage, experts can clean without risking further harm. Finally, if your car is new or valuable, professional cleaning helps protect your investment.
You might want to hire a professional if:
- Stains won’t come out after multiple attempts
- Odors linger despite cleaning
- Mold or mildew is present
- Fabric is damaged or fading
- Your vehicle is high-value or new
Troubleshooting Persistent Stains and Odors
Persistent stains and odors can be stubborn, but solving them often needs specific strategies. If a stain won’t come out with your usual cleaner, try applying a mix of equal parts white vinegar and water directly on the spot.
Let it sit for 10-15 minutes, then blot with a clean cloth. For smells, sprinkle baking soda over the area and leave it overnight. Vacuum it up the next day.
If the odor sticks around, think about using an enzymatic cleaner made for pet or organic stains. Always test any solution on a small, hidden spot first to avoid discoloration.
You might need to repeat treatments for tough stains or lingering smells. Patience and the right products will help bring your car seats back to fresh, clean condition.
Frequently Asked Questions
Can I Use a Carpet Cleaner on Leather or Fabric Car Seats?
You shouldn’t use a carpet cleaner on leather car seats because it can damage the material. For fabric seats, a carpet cleaner can work well if you pick a gentle, fabric-safe formula.
Always vacuum first, test a small area, and use light pressure. For leather, choose a cleaner made specifically for it to avoid drying out or cracking.
Proper cleaning keeps your seats looking fresh without risking damage.
How Often Should I Deep Clean My Car Seats?
You should clean your car seats consistently, ideally every three to six months, to keep them spotless and smelling fresh.
Regularly removing dirt, dust, and debris prevents buildup and helps your seats last longer.
If you notice stains, spills, or odors, it’s a good idea to deep clean sooner.
Staying proactive with your cleaning schedule keeps your car comfortable and clean, making each drive more enjoyable.
Plus, it helps keep your seats in top shape and looking great over time.
Are There Any Safety Precautions for Children or Pets During Cleaning?
Yes, there are safety precautions. Keep children and pets out of the car during cleaning and until surfaces are completely dry.
Use non-toxic, pet-friendly cleaning solutions to avoid harmful fumes. Make sure the area is well-ventilated by opening windows and doors.
Wear gloves and a mask if needed, and always follow the manufacturer’s instructions carefully.
Before cleaning the entire surface, test a small area first to prevent damage or discoloration.
This helps ensure a safe environment for everyone afterward.
What Types of Stains Are Safe to Remove With a Carpet Cleaner?
You can safely remove most common stains like dirt, mud, coffee, soda, pet urine, and food spills with a carpet cleaner.
For tough stains like ink or dye, it’s a good idea to test a small area first to avoid any damage. Always follow the manufacturer’s instructions.
Avoid using harsh chemicals on delicate fabrics. Regular cleaning helps keep your car seats looking good and prevents stains from setting in permanently.
Can I Use Household Carpet Cleaners on My Car Seats?
You can use household carpet cleaners on your car seats, but be careful. Check the label first to make sure it’s safe for upholstery and avoid products with harsh chemicals.
Always do a patch test on a small, hidden spot to prevent any damage or discoloration. Use a gentle setting and avoid over-wetting the fabric.
Make sure to dry the seats thoroughly afterward to prevent mold and mildew from forming.
Conclusion
Cleaning your car seats with a carpet cleaner might seem a bit daunting at first, but with the right prep and technique, you’ll be amazed at how fresh and new they can look. It’s kind of like finding that forgotten $20 in your pocket — a little effort can make a big difference.
Just keep these tips in mind, and you’ll enjoy that fresh, clean feeling every time you hit the road. Sometimes, the best surprises are just a clean seat away, especially when you use a carpet cleaner on your car seats safely.