How to Remove Car Seats for Cleaning in 8 Easy Steps
Many car owners find cleaning their car seats to be a daunting task. You’re not alone—removing and cleaning car seats can seem complicated and time-consuming.
But with the right steps, it’s easier than you think.
To remove your car seats for cleaning, start by gathering the right tools and preparing a clean workspace. Disconnect the battery for safety, then locate and remove the seat bolts using a socket wrench.
Carefully detach electrical connections and seat belts before lifting the seat out.
Inspect and clean the tracks and anchors, then reinstall the seat, reconnecting all components.
Finally, test the seat’s functions to verify everything works smoothly. Keep going to learn more about each step in detail.
Key Takeaways
- Gather all the tools, safety gear, and clear a spacious workspace before you start. It’s always better to be prepared and have everything within reach.
- Disconnect the vehicle’s battery and make sure to follow all safety precautions. This step is crucial to avoid any electrical mishaps or injuries.
- Next, remove the seat bolts and mounting hardware using the proper tools. Once those are out, detach the electrical connections and seat belts carefully.
- Carefully lift and remove the seat from the car. Keep good posture and a firm grip to prevent any damage or injury during the process.
- After removing the seat, test all the seat functions and safety features. This way, you can make sure everything is working properly before you start cleaning.
Gather Tools and Prepare Your Workspace

Before you start removing your car seats, gather all the necessary tools and clear a good workspace. Get basic tools like screwdrivers, socket wrenches, and pliers, depending on your seat bolts.
Keep a container or tray nearby to hold screws and small parts so nothing gets lost. Make sure the area around your vehicle is clean and well-lit, giving you enough space to work comfortably.
Clear the seat area of mats, loose debris, or personal items. If you can, use a mat or blanket on the ground to protect your floor and make cleanup easier.
Taking these steps helps you work efficiently and avoid losing small parts, making the removal process smoother.
Disconnect the Battery and Follow Safety Precautions
Before you start removing the seats, make sure to disconnect the battery to avoid electrical problems.
Always follow proper handling procedures to stay safe and prevent damage.
These safety steps will help ensure the cleaning process goes smoothly and without risks.
Safety First Measures
To guarantee your safety while removing car seats for cleaning, it’s essential to disconnect the vehicle’s battery first. This prevents electrical shorts or accidental airbag deployment, which could cause injury.
Before starting, confirm your vehicle is turned off and keys are removed. Wear gloves and safety glasses to protect against dust and debris.
Keep tools organized to avoid slips or accidental damage. Also, consult your vehicle’s manual for specific safety warnings related to your car model.
Avoid rushing; take your time to follow all safety procedures carefully. If you’re unsure about any step, seek professional assistance.
These precautions help protect you from electrical hazards and guarantee a safer, smoother removal process. Safety always comes first when working on your vehicle.
Proper Battery Handling
Removing the car battery safely is a crucial step to prevent electrical accidents or accidental airbag deployment during seat removal. First, turn off your vehicle and remove the keys from the ignition.
Wear gloves and eye protection to guard against sparks or acid leaks. Locate the negative terminal, usually marked with a minus sign and black cable, and loosen its clamp with a wrench.
Carefully lift the cable away from the terminal, making sure it doesn’t touch any metal parts. Repeat for the positive terminal, which is typically marked with a plus sign and red cable.
Once disconnected, secure the cables away from the battery to prevent accidental reconnection. This process minimizes risk and protects you from electrical hazards while working on your vehicle.
Remove Seat Bolts and Mounting Hardware
Start by locating all the bolts and mounting hardware securing the car seat to the floor. Once you find them, gather the right tools—usually a socket wrench and the correct size socket.
As you loosen and remove each bolt, feel a sense of progress and anticipation. Keep a firm grip on the hardware to prevent losing any parts. Remember, these bolts can be tight, so take your time.
Be mindful of your surroundings to avoid hurting yourself or damaging nearby trim. Removing the bolts can be an empowering step toward a cleaner car interior.
Feel the thrill of regaining control over your space. Experience satisfaction with each bolt you free.
Overcome the frustration of stubborn fasteners and face the challenge of a DIY project. Enjoy the relief of making progress.
Detach Electrical Connections and Seat Belts
Carefully disconnect the electrical connections and seat belts to ensure safety and avoid damage. Find the electrical connectors under or beside the seat and gently unplug them. Be careful not to pull on the wires directly.
Many connectors have tabs or clips you need to press or lift before unplugging. Next, unbolt or unclip the seat belts from their anchor points. Use the right tools to remove the bolts securing the seat belt mechanism and set them aside safely.
Be cautious during this process to prevent damaging wiring or the seat belt parts. Once everything is disconnected, you can move the seat safely without worrying about electrical issues or seat belt restrictions.
Always double-check that all connections are fully detached before you move on.
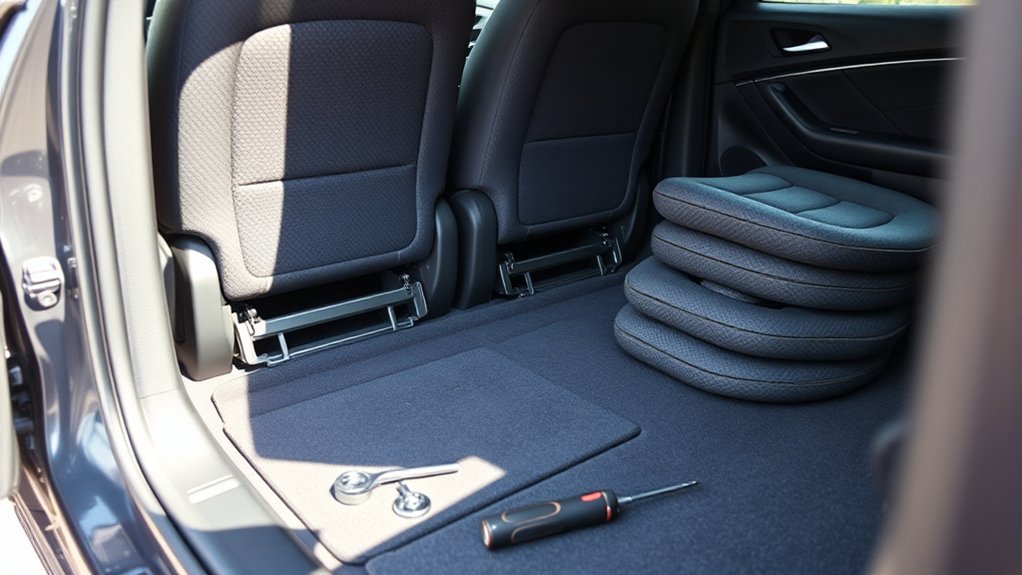
Lift and Remove the Car Seat Carefully
When lifting the car seat, make sure to get a secure grip by holding the edges firmly so it doesn’t slip.
Keep your back straight and bend your knees to maintain good posture and avoid any strain.
Take your time and pay attention to your technique—this makes removing the seat safer and easier.
Secure Grip Techniques
Grasp the car seat firmly with both hands, making sure you have a secure hold before lifting. Your grip should be confident and steady to prevent slips that could cause injury or damage. Keep your hands close to the seat’s center of gravity for better control.
Use your core strength to stabilize yourself during the lift. Remember, a secure grip reduces strain and helps you avoid dropping the seat unexpectedly.
Feel empowered as you take control of the task. Avoid sudden slips that could cause frustration or accidents. Protect your back by using your hands wisely and maintaining good posture.
Gain confidence with each careful movement, and prevent damage to the seat or vehicle interior. A strong grip isn’t just about safety; it’s about taking pride in handling the job right.
Proper Lifting Posture
To lift and remove the car seat safely, maintain a proper posture that supports your back and reduces strain. Stand close to the seat with your feet shoulder-width apart for stability.
Bend at your hips and knees, not your waist, to get a low center of gravity. Keep your back straight and engage your core muscles to stabilize your spine.
Use your legs to lift rather than your back, applying steady, controlled force. Avoid twisting your torso during the lift; turn your whole body instead.
Hold the seat firmly with both hands, ensuring a secure grip. By following these steps, you minimize the risk of injury and make removing the seat easier and safer.
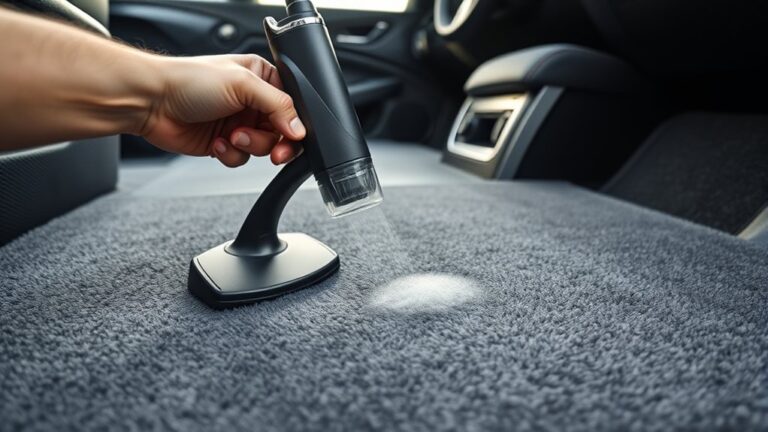
Inspect and Clean Seat Tracks and Anchors
Start by checking the seat tracks and anchors for any debris, dirt, or corrosion that could interfere with cleaning or safety. Use a brush or compressed air to remove grime or rust. This helps ensure the seat moves smoothly and stays securely in place.
Keep an eye out for rust, loose bolts, or damaged parts—these can be safety hazards. Address any corrosion or instability right away to stay safe.
Watch for rust, loose bolts, or damage—address issues immediately to ensure safety and stability.
Feel confident that your seat is secure and safe.
Enjoy peace of mind with a smooth, secure ride.
Protect yourself and loved ones from potential dangers.
Make sure your car’s interior looks and functions like new.
Take control of your vehicle’s safety with a thorough check.
Reinstall the Seat and Reconnect All Components
Carefully position the seat back into its designated tracks, making sure it lines up properly with the mounting points. Once it’s in place, slide it gently forward and backward to check that it moves smoothly and sits securely.
Reconnect any electrical connectors or wiring harnesses, ensuring each clip clicks into place. If your seat has seatbelt attachments or sensors, double-check that they’re properly reconnected and secure.
Secure the seat using the original bolts or screws, tightening them in a crisscross pattern to distribute pressure evenly. Use a torque wrench if you have one, to tighten the bolts according to the manufacturer’s specifications.
Once everything is secured, give the seat a gentle shake to confirm it’s firmly installed and doesn’t shift. Make sure all components are reconnected before moving on to the final checks.
Test Seat Functionality and Perform Final Checks
Before finishing up, it’s important to test the seat’s functionality to make sure everything’s working correctly. Check that the seat moves smoothly, locks securely, and all electronic components respond properly.
Test the seat adjustments—forward, backward, tilt—and listen for any unusual sounds. Make sure built-in safety features like airbags and sensors activate as they should. If your seat has heating or cooling functions, test those to see if they work well.
Doing these checks gives you peace of mind and ensures your seat is safe and fully functional.
Performing these checks guarantees your seat is safe, reliable, and ready for a worry-free drive.
- Feel confident knowing your seat is secure and working properly
- Avoid unexpected malfunctions that could affect safety
- Make sure all electronic features are operating flawlessly
- Prevent future issues and costly repairs
- Drive with peace of mind, knowing everything’s in perfect order
Frequently Asked Questions
Can I Remove Car Seats Without Professional Help?
Yes, you can remove car seats without professional help. First, gather the necessary tools like a socket wrench and screwdrivers.
Then, carefully disconnect any electrical connections or sensors if they’re present. Next, locate and unscrew the bolts securing the seat.
With patience, gently lift the seat out of the vehicle. Just make sure to follow your car’s manual for specific instructions and safety precautions to avoid damage or injury.
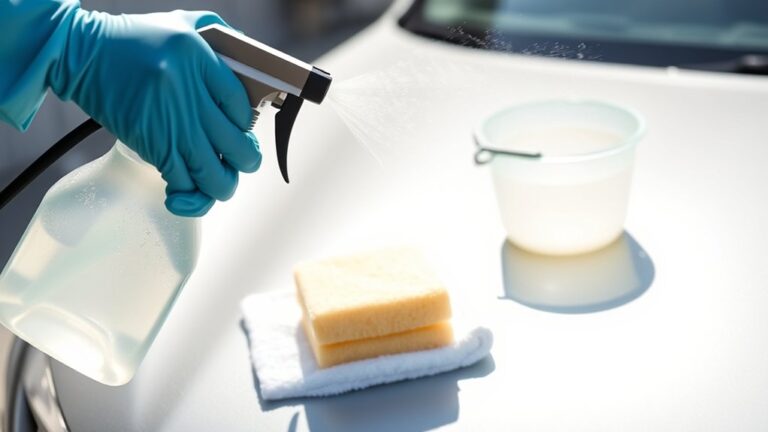
What Cleaning Products Are Best for Car Seats?
You should use a mild fabric or upholstery cleaner for cloth seats, and a leather cleaner for leather ones. For stubborn stains, mix a small amount of dish soap with water or use a dedicated stain remover.
Always test any product on a hidden area first to avoid damage. After cleaning, wipe seats with a damp cloth and let them air dry for the best results.
How Can I Prevent Damage During Seat Removal?
To prevent damage during seat removal, start by carefully reading your vehicle’s manual to understand the specific process. This helps you know what to expect and avoids mistakes.
Use proper tools like a wrench or screwdriver to avoid forcing parts. Forcing can cause damage to the clips, bolts, or upholstery.
Keep track of all bolts and clips as you remove them. Staying organized makes reinstallation easier and reduces the risk of losing parts.
Work gently and patiently to prevent tearing upholstery or damaging connectors. Rushing can lead to costly repairs later.
Taking your time and being organized helps ensure a smooth, damage-free removal process.
Is It Necessary to Replace Seat Mounting Hardware?
Is replacing seat mounting hardware necessary? Not always. If the hardware looks good and shows no signs of rust or damage, you can usually reuse it.
But if you see rust, corrosion, or any damage, it’s best to replace it. That way, you ensure safety and stability.
Think of it like renewing your car’s backbone. Sometimes, a fresh set of bones is needed for long-lasting support.
Always check carefully before putting everything back together. And don’t forget to consult your vehicle’s manual for any specific recommendations.
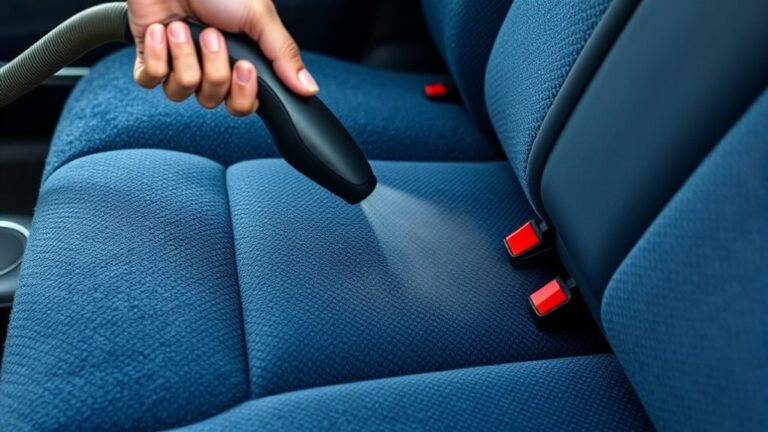
How Often Should I Clean My Car Seats?
You should clean your car seats every three to six months, or more often if you have pets, kids, or spill drinks frequently.
Regular cleaning helps remove dirt, stains, and allergens, keeping your interior fresh and extending the seats’ lifespan.
Use appropriate cleaning products for fabric or leather seats, and consider deep cleaning with a vacuum or steam cleaner periodically for thorough maintenance.
Conclusion
And there you have it—removing your car seats isn’t quite the Herculean task it once seemed. Sure, it takes a bit of patience and some tools, but with these steps, you’ll be a pro in no time.
Just remember, the hardest part might be resisting the urge to leave them out forever and turn your car into a fancy lounge. Happy cleaning. Your seats will thank you, even if they don’t quite say “thanks.” Removing car seats for cleaning can be easier than you think!