Do It Yourself Car Carpet Cleaning in 8 Easy Steps
Many car owners struggle with keeping their vehicle’s interior clean, especially the carpets. It can feel overwhelming trying to tackle dirt, stains, and debris all at once. But don’t worry—you’re not alone, and with a little know-how, you can do it yourself easily.
To clean your car carpets yourself, start by preparing the interior—roll down windows, remove trash, and disconnect the battery for safety.
Next, remove seats and access hidden areas, then vacuum and spot clean the carpets and mats.
Deep clean with a mix of hot water and mild soap or a carpet cleaner, and use steam for stubborn stains.
Finish by protecting surfaces and reassembling everything carefully.
If you want to master each step, keep going for expert tips and tricks.
Key Takeaways
- Remove and vacuum the floor mats and carpets first. This helps get rid of loose dirt and debris before you start cleaning.
- Next, use hot water mixed with dish soap or a carpet stain remover. Focus on treating any stains you see, so they don’t set in.
- For a deep clean, use a steam cleaner or a water-injecting vacuum. This will help lift embedded dirt and stubborn stains from the carpet fibers.
- Once everything is cleaned, let the carpets dry completely. After they’re dry, apply a carpet protectant to help prevent future stains and damage.
- Finally, reassemble the seats and interior components. Make sure everything is clean and properly fitted before you’re done.
How to Prepare Your Car Interior for a Deep Clean

Before you start cleaning, it’s important to properly prepare your car interior to guarantee a thorough job and prevent any damage. First, roll down the windows to stop cleaning solutions and protectants from settling on the glass surfaces.
Open the trunk and disconnect the negative battery terminal to avoid electrical issues or accidental door lock activation. Remove all loose debris, trash, and personal items from the interior and trunk to make sure nothing gets overlooked.
To improve how the seats look after cleaning, carefully remove them and disconnect wiring harnesses, especially if your vehicle has airbags. Don’t forget to clear dirt and debris from beneath the seats and in the trunk.
This prep work will make your deep cleaning more effective and help your car look fresh and well-maintained.
Remove and Access Car Seats for Better Cleaning
To get a thorough cleaning, it’s a good idea to remove your car seats so you can access hidden dirt and debris. Carefully unscrew the front seats and disconnect any wiring harnesses, especially if your vehicle has airbags, to prevent any damage.
Removing the rear seats using release levers or clips can reveal hard-to-reach areas that definitely need some attention. It’s a bit of extra work, but it makes a big difference in getting your car really clean.
Seat Removal Process
Removing your car seats is an essential step to access the carpet thoroughly for cleaning. To do seat removal, start by unscrewing the bolts securing the front seats to the seat tracks.
Be sure to disconnect any wiring harnesses, especially if your seats have electronic controls, heated features, or sensors. For rear seats, press release levers or pull tabs to lift them out of their anchors carefully.
During seat removal, support the seats to prevent scratches or damage to interior panels and avoid injury. Carefully disconnect wiring harnesses, which is critical in vehicles with integrated electronics.
Once removed, you’ll have full access to the carpet and floorboards, making your cleaning more effective. Reassemble the seats in reverse order, ensuring all bolts and connectors are securely reattached.
Accessing Underneath Seats
Accessing underneath your seats is crucial for a thorough car carpet cleaning because dirt, debris, and stains often hide in these spots. Once you’ve removed the seats, you can get full access to the carpet and floor underneath.
To do this effectively, carefully unscrew the bolts holding the front seats and disconnect any wiring harnesses, especially if your car has airbags. For the rear seats, press the release levers or lift from designated points to detach them easily.
With the seats out of the way, you’ll be able to clean side panels, center consoles, and those hard-to-reach areas that are usually hidden. Properly removing and handling the seats helps prevent damage to upholstery or electrical parts while giving your interior a complete clean.
Handling Wiring Safely
Before you start disconnecting the wiring or removing the seats, it’s essential to turn off your vehicle and disconnect the negative battery terminal. This step helps prevent electrical issues and accidental airbag deployment.
Carefully unplug wiring harnesses attached to the seats, especially those connected to airbags, to avoid damage or triggering warning lights. Use proper tools, like a socket wrench and trim removal tools, to carefully unscrew and lift out the seats.
Keep track of all hardware and wiring connections so reassembly goes smoothly. Handling wiring safely is vital to prevent accidental discharges or damage, ensuring your DIY carpet cleaning process remains safe and efficient.
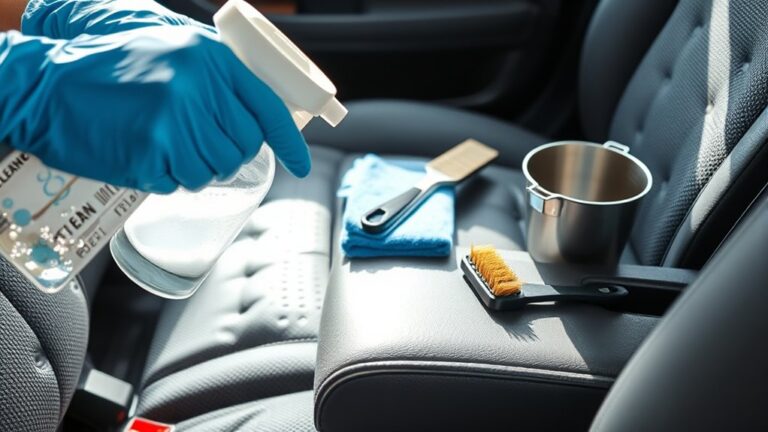
Clean and Protect Your Car’s Carpets and Floor Mats
Start by removing and folding your floor mats to keep dirt from settling back onto the carpets. Then, vacuum thoroughly to lift loose debris.
Focus on targeted spot cleaning for stubborn stains. Consider using a protectant to shield your carpets from future dirt and spills.
Once everything’s cleaned, let the carpets dry completely. This helps maintain a fresh, like-new look.
Removing and Folding Mats
Have you ever thought about how removing and folding your car’s floor mats can make cleaning easier? Taking out the mats stops dirt from falling back onto the carpets, helping you clean more thoroughly.
To do this efficiently, carefully remove the mats so you don’t drag dirt onto your carpets. Fold the mats to access both sides and the edges easily.
Vacuum the mats thoroughly to lift loose dirt and debris before washing. Folding them also helps you target specific spots on the carpet underneath for spot cleaning or shampooing.
Properly removing and folding your mats reduces dirt transfer during cleaning and keeps your car interior cleaner. Once they’re clean, using protectants on your mats can help prevent stains and extend their lifespan.
Vacuuming Surface Dirt
Vacuuming surface dirt is a crucial step in maintaining your car’s interior because it effectively lifts loose dust, crumbs, and debris from carpets and mats, preventing them from settling deeper. Using a high-powered wet/dry vacuum with strong suction makes it easier to extract embedded dirt and moisture, ensuring a thorough clean.
Vacuuming before applying any cleaning solutions helps surface dirt come off easily, making stain treatment more effective. Be sure to pay attention to edges, corners, and under seats, where dirt tends to hide and cause odors if ignored.
Regular vacuuming keeps your carpets looking fresh, extends their lifespan, and sets the stage for deeper cleaning and protection.
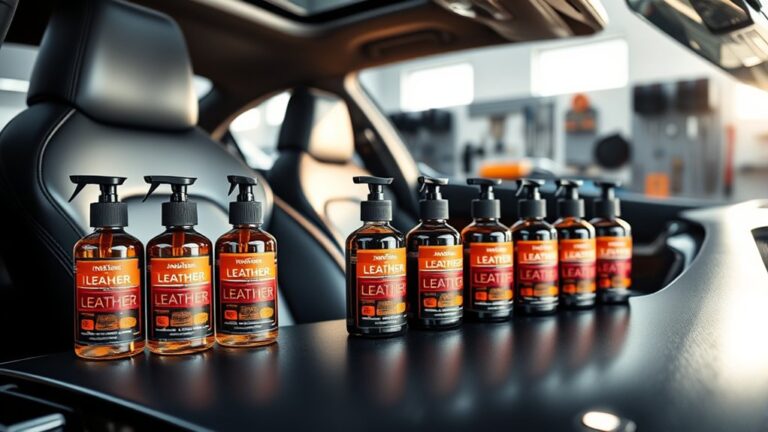
Applying Carpet Protectant
Once your carpets and mats are thoroughly cleaned and dried, applying a carpet protectant helps keep them looking fresh and prevents future stains. To do this effectively, spray the protectant evenly across the surface, making sure you cover everything.
Then, use a microfiber cloth or brush to work the protectant into the fibers. This step helps improve adhesion and makes the protectant last longer.
Spray the protectant in a steady, sweeping motion for even coverage. After that, let it cure for at least 24 hours before walking on the carpets or exposing them to moisture.
Regularly applying a protectant will help extend your car’s interior life and make future cleanings easier.
Deep Clean the Trunk and Hidden Interior Spaces
Ever wonder how to truly deep clean your trunk and hidden interior spaces? Start by thoroughly vacuuming to remove dirt, leaves, and debris, which helps prevent buildup and water intrusion.
Use a carpet cleaner or a waterless wash with wax to clean and safeguard trunk surfaces without scratching or trapping dirt. For tight spaces, spray a cleaner and gently scrub with a soft brush to remove grime from corners and crevices.
After cleaning, replace any removed trunk components and wipe down surfaces to restore a fresh, organized look. Regular maintenance of your trunk and rain gutters helps prevent water damage and keeps the interior looking pristine.
Taking these steps ensures your trunk stays clean, protected, and free of hidden dirt.
How to Clean and Maintain Your Car Headliner and Delicate Surfaces
Cleaning and maintaining your car’s headliner and delicate surfaces requires a gentle touch to prevent damage. Start by using minimal liquid and dry cleaning methods.
First, lightly rub the headliner with a microfiber towel to lift surface dirt and dust. Second, for stains, lightly spray a carpet cleaner onto a microfiber towel and gently work it into the fabric, avoiding oversaturation.
Third, employ a soft brush to carefully lift stubborn stains or dirt without pressing too hard. After cleaning, wipe the headliner with a microfiber towel to remove any remaining moisture and dirt.
This method guarantees a thorough clean while protecting fragile materials. Regular gentle maintenance keeps your headliner looking fresh and prevents deterioration over time.
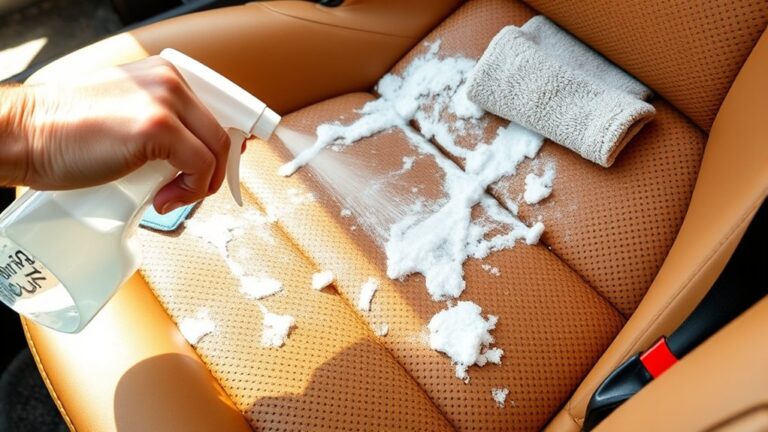
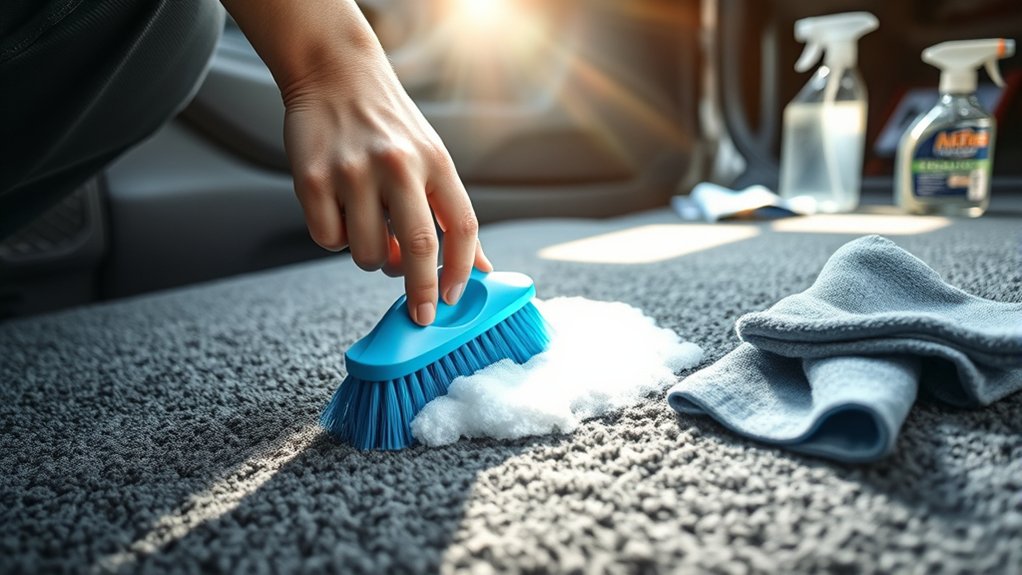
Effective Techniques for Removing Car Carpet Stains
When tackling car carpet stains, choosing the right technique can make all the difference in getting it thoroughly clean. For common stains like chocolate or gum, mix hot water with a bit of dish soap and use a soft-bristled brush to loosen and lift the stain.
For stubborn spots, apply a specialized carpet stain remover and let it sit for a few minutes before gently scrubbing. Always blot stains with a microfiber towel—rubbing can push the stain deeper and make things worse.
Deep cleaning with a steam cleaner or a water-injecting vacuum helps remove embedded dirt and restores your carpet’s look. After you finish, make sure the carpet dries completely to prevent mold and odors.
| Stain Type | Technique | Tips |
|---|---|---|
| Light stains | Hot water plus dish soap and brush | Blot, don’t rub |
| Stubborn stains | Carpet stain remover plus gentle scrub | Allow to sit briefly |
| Embedded dirt | Steam cleaning or water-injecting vacuum | Deep clean thoroughly |
| General tip | Always dry completely after cleaning | Prevent mold and odors |
Final Detailing and Restoring Your Car’s Interior
Final detailing transforms your car’s interior into a fresh, like-new space by thoroughly cleaning and protecting every surface. During this step, focus on three key actions:
- Gently clean all surfaces, including carpets, plastic trim, and headliners, using minimal liquid and soft brushes to prevent damage.
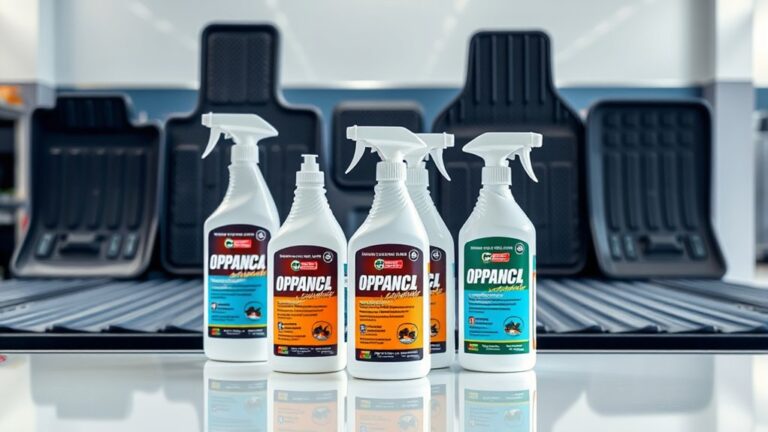
- Apply protectant sprays to plastic and vinyl parts, restoring their appearance and boosting durability.
- Carefully reassemble removed components, such as seats and trunk parts, making sure they fit properly and are spotless.
The goal of final detailing is to eliminate odors, improve visual appeal, and keep your interior clean over time. With careful attention, your car will look and feel revitalized, ready for many more miles.
Troubleshooting Common Interior Cleaning Challenges
Even with careful detailing, certain issues can still challenge your efforts to keep the interior spotless. Stubborn stains like melted chocolate or gum often need specialized treatment, such as steam cleaning or targeted spot cleaning, to remove them completely.
Odor retention from dirt, spills, or debris can linger. Deep cleaning with odor-neutralizing products or deep extraction methods can help eliminate these smells. Delicate surfaces like headliners are vulnerable; over-saturating or aggressive scrubbing can cause damage or sagging.
Hard-to-reach areas under seats, in tight corners, or rain channels can hide dirt and debris. This makes thorough cleaning difficult but necessary. To troubleshoot these challenges, start with proper preparation. Remove loose debris and disconnect electrical components so your deep clean is effective and avoids further issues.
Frequently Asked Questions
What Is the Best Homemade Carpet Cleaner Solution for Cars?
The best homemade carpet cleaner for your car combines equal parts white vinegar and water. It helps break down dirt and neutralize odors effectively.
Add a few drops of dish soap for extra grease-cutting power. Sprinkling baking soda before vacuuming also helps absorb odors and loosen dirt.
For stubborn stains, try a mix of hydrogen peroxide and dish soap. Always test your solution on a small area first to avoid any damage.
What’s the Easiest Way to Clean Car Carpet?
The easiest way to clean your car carpet is to start by vacuuming thoroughly to get rid of loose dirt and debris.
Next, use a water-injecting vacuum or steam cleaner to lift stubborn stains with ease.
Spot-treat tough spots with a mix of dish soap and hot water, then gently scrub with a soft brush.
Finally, make sure to let the carpet dry completely to prevent mold and keep it looking fresh longer.
How to Loosen and Remove Caked up Dirt in Car Carpet?
You can’t let that dirt win! First, grab a stiff brush or carpet rake and vigorously loosen the caked grime lodged deep in your carpet fibers. Imagine it’s a stubborn stain you must conquer.
Then, apply a carpet cleaner or soapy water directly onto the dirt, gently agitate, and let it sit. Finish by vacuuming thoroughly with a powerful wet/dry vacuum. Your car’s carpets will look like new!
How Do Car Detailers Get the Carpet so Clean?
Car detailers get carpets so clean by using high-powered vacuums with water injection to pull out dirt and moisture deep down. They then apply special shampoos, scrub with brushes, and often do steam cleaning to sanitize and tackle stubborn stains.
After cleaning, they use microfiber towels and waterless protectants to make the carpet look great and help prevent future stains. Finally, they ensure everything dries thoroughly with fans or air drying, leaving your carpet spotless, fresh, and like new.
Conclusion
Now, with these steps etched into your routine, your car’s interior will shine like a starry night sky. Each sweep and scrub is a brushstroke on the canvas of your ride, turning grime into gleam.
Welcome the process, and soon, your car will radiate freshness, inviting you to enjoy every drive. A sparkling interior isn’t just a clean car. It’s a reflection of your care and a smooth melody in the symphony of your journeys.